Usually, Meyer lemons are available only in winter. Some are darker in color, kind of a light orange color, which can be confusing. The first time I saw a Meyer lemon was when a co-worker brought it in to work. Thinking it was an orange, she bit into it–her face had the expression of a sour surprise …
A good way to enjoy them even when they’re not in season is to preserve them and make a preserved lemon condiment, which means to let them pickle in their own juices and salt until they become tender with perfect balance of tart , saltiness and a hint of bitterness (from the rind).
Most preserved lemon recipes call for at least 2 to 3 weeks before it is ready to be used. I find that with the Meyer lemons it’s much quicker. Five to seven days is enough; the thin skin and slicing them very thin speeds up the process. If you can’t find Meyer lemons, use regular lemons, but just keep in mind that they will take longer to preserve.
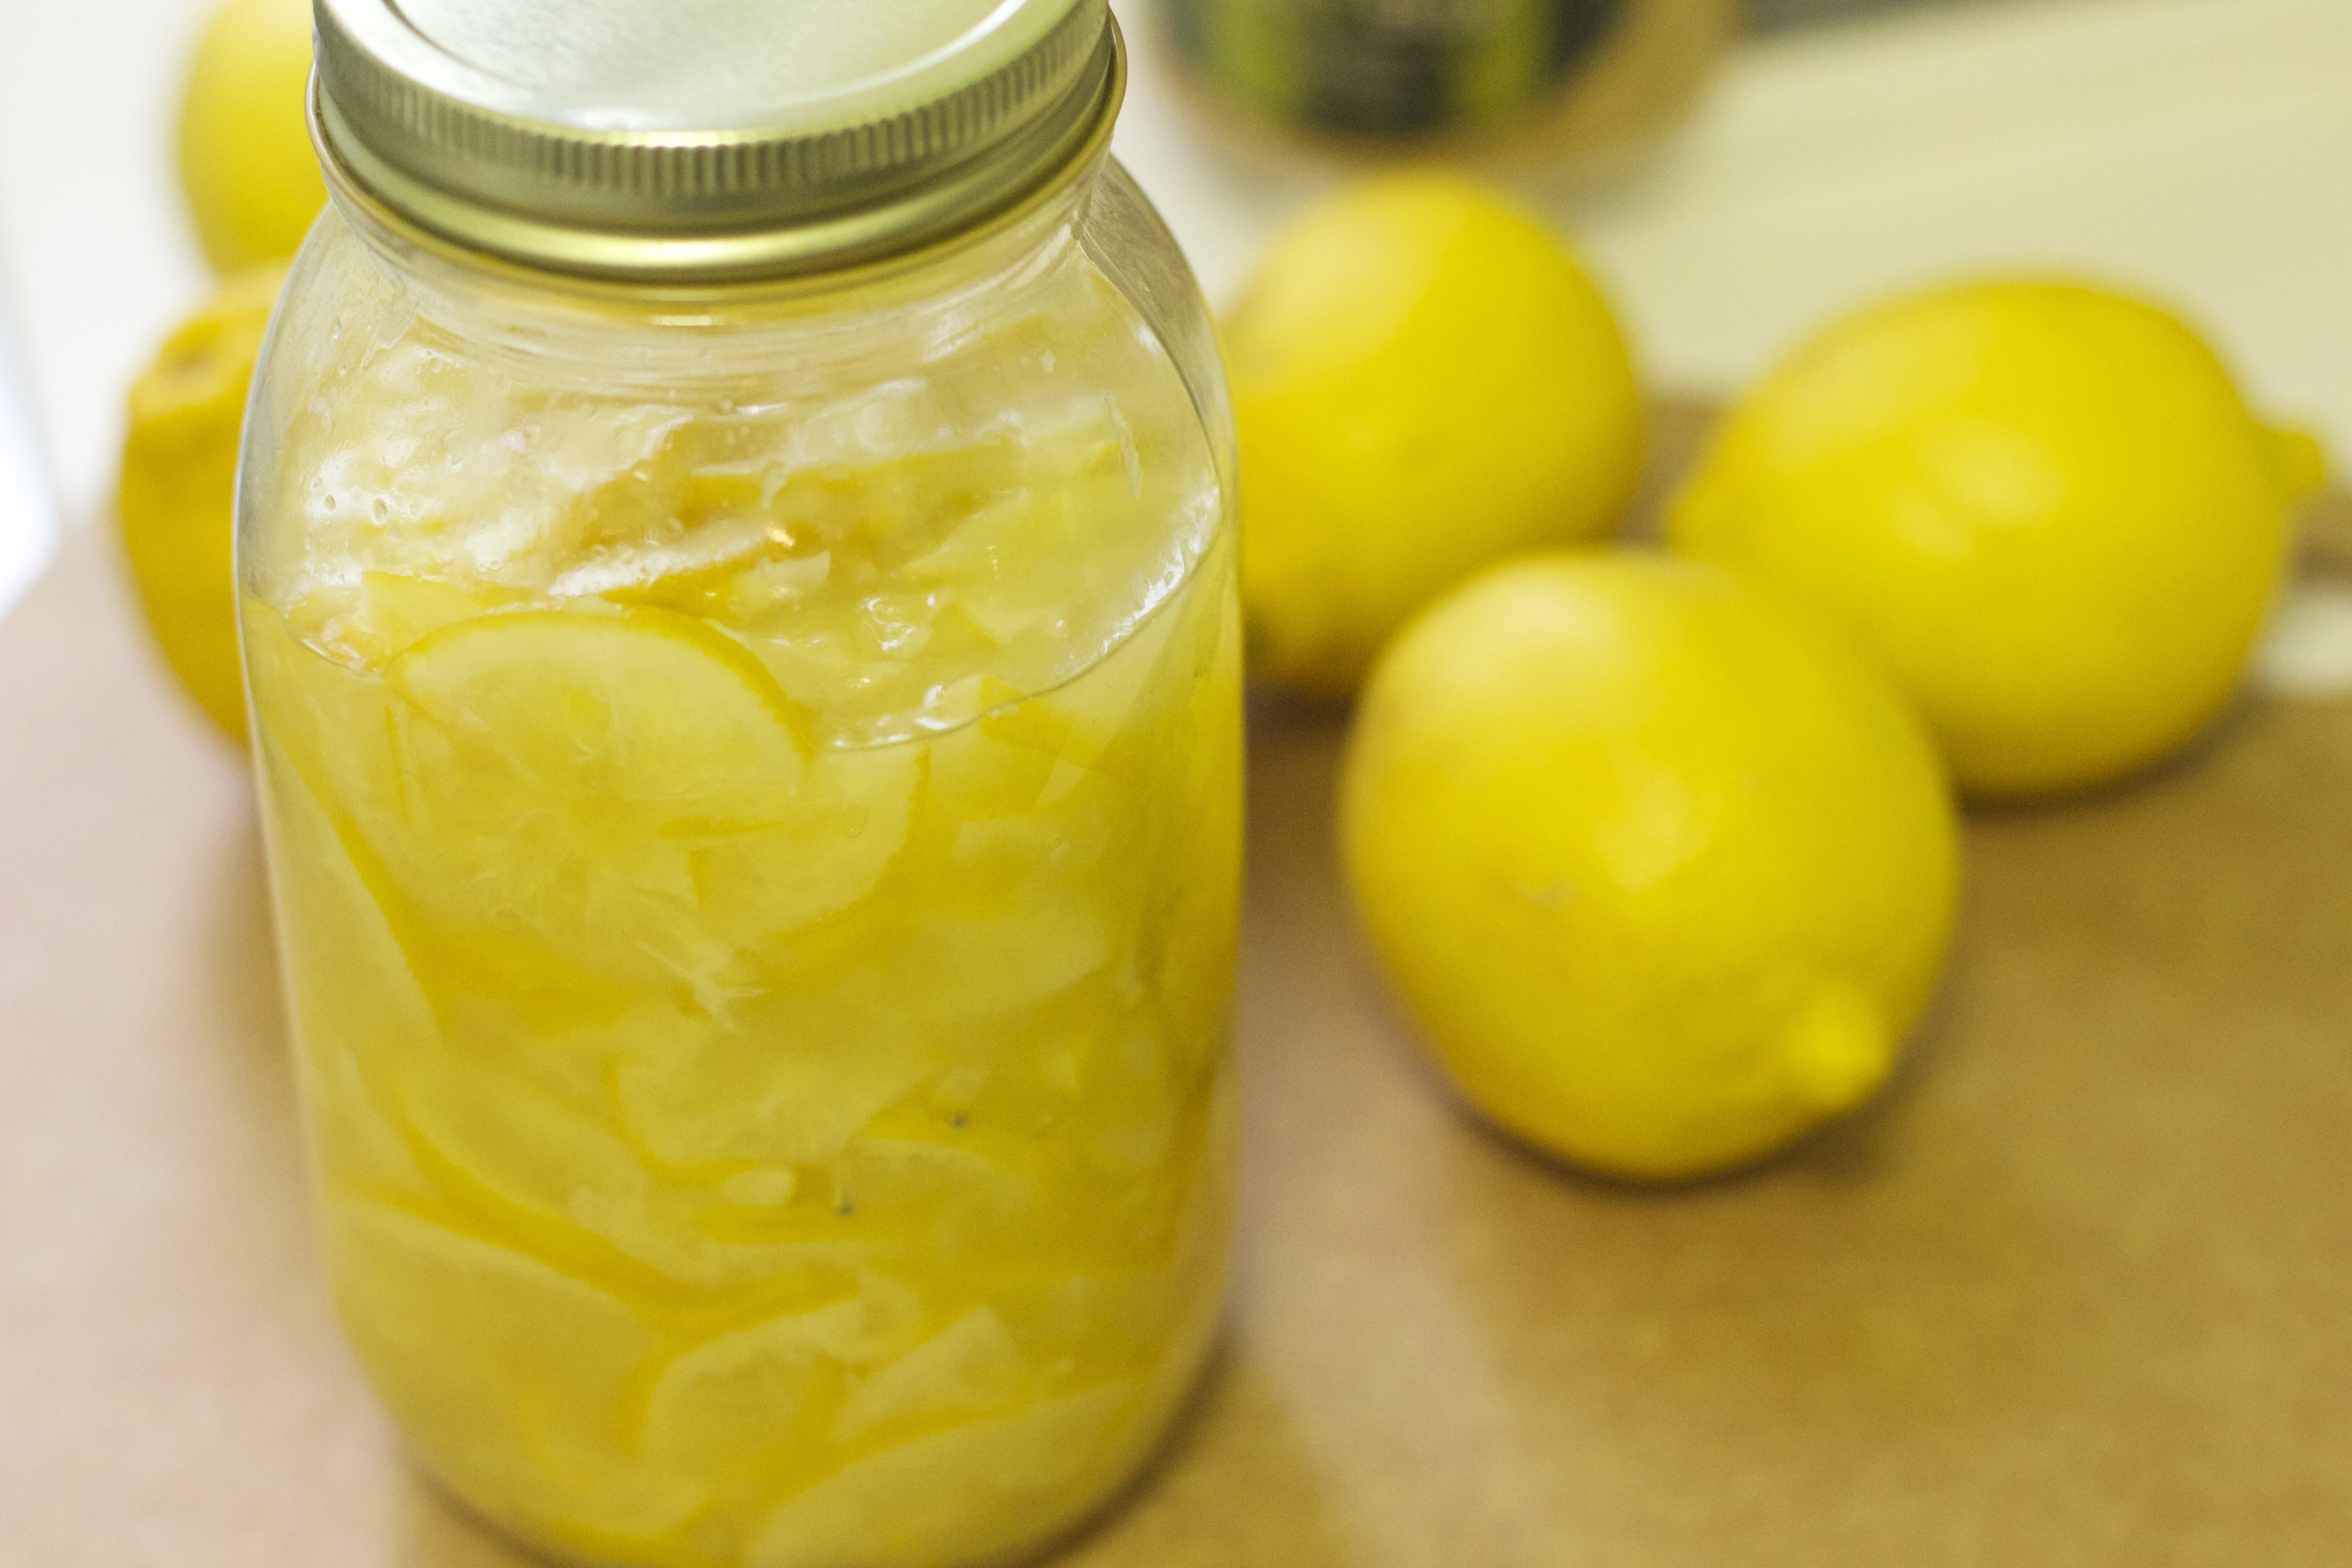
When ready, the liquid becomes thicker–almost like an oily jelly consistency. A deeper flavor will develop with time; the more it sits in the liquid the better. Oh… the flavor! So simple to make but yet so intense and bold.
If you’re like me, you will treat this stuff like a jar of gold… I add just a little bit at a time to stews, sauces, sandwiches, salad dressings; or garnish just like in this stuffed grape leaves recipe. Once it’s in the fridge, it’s good for up to 6 months.
Ingredients
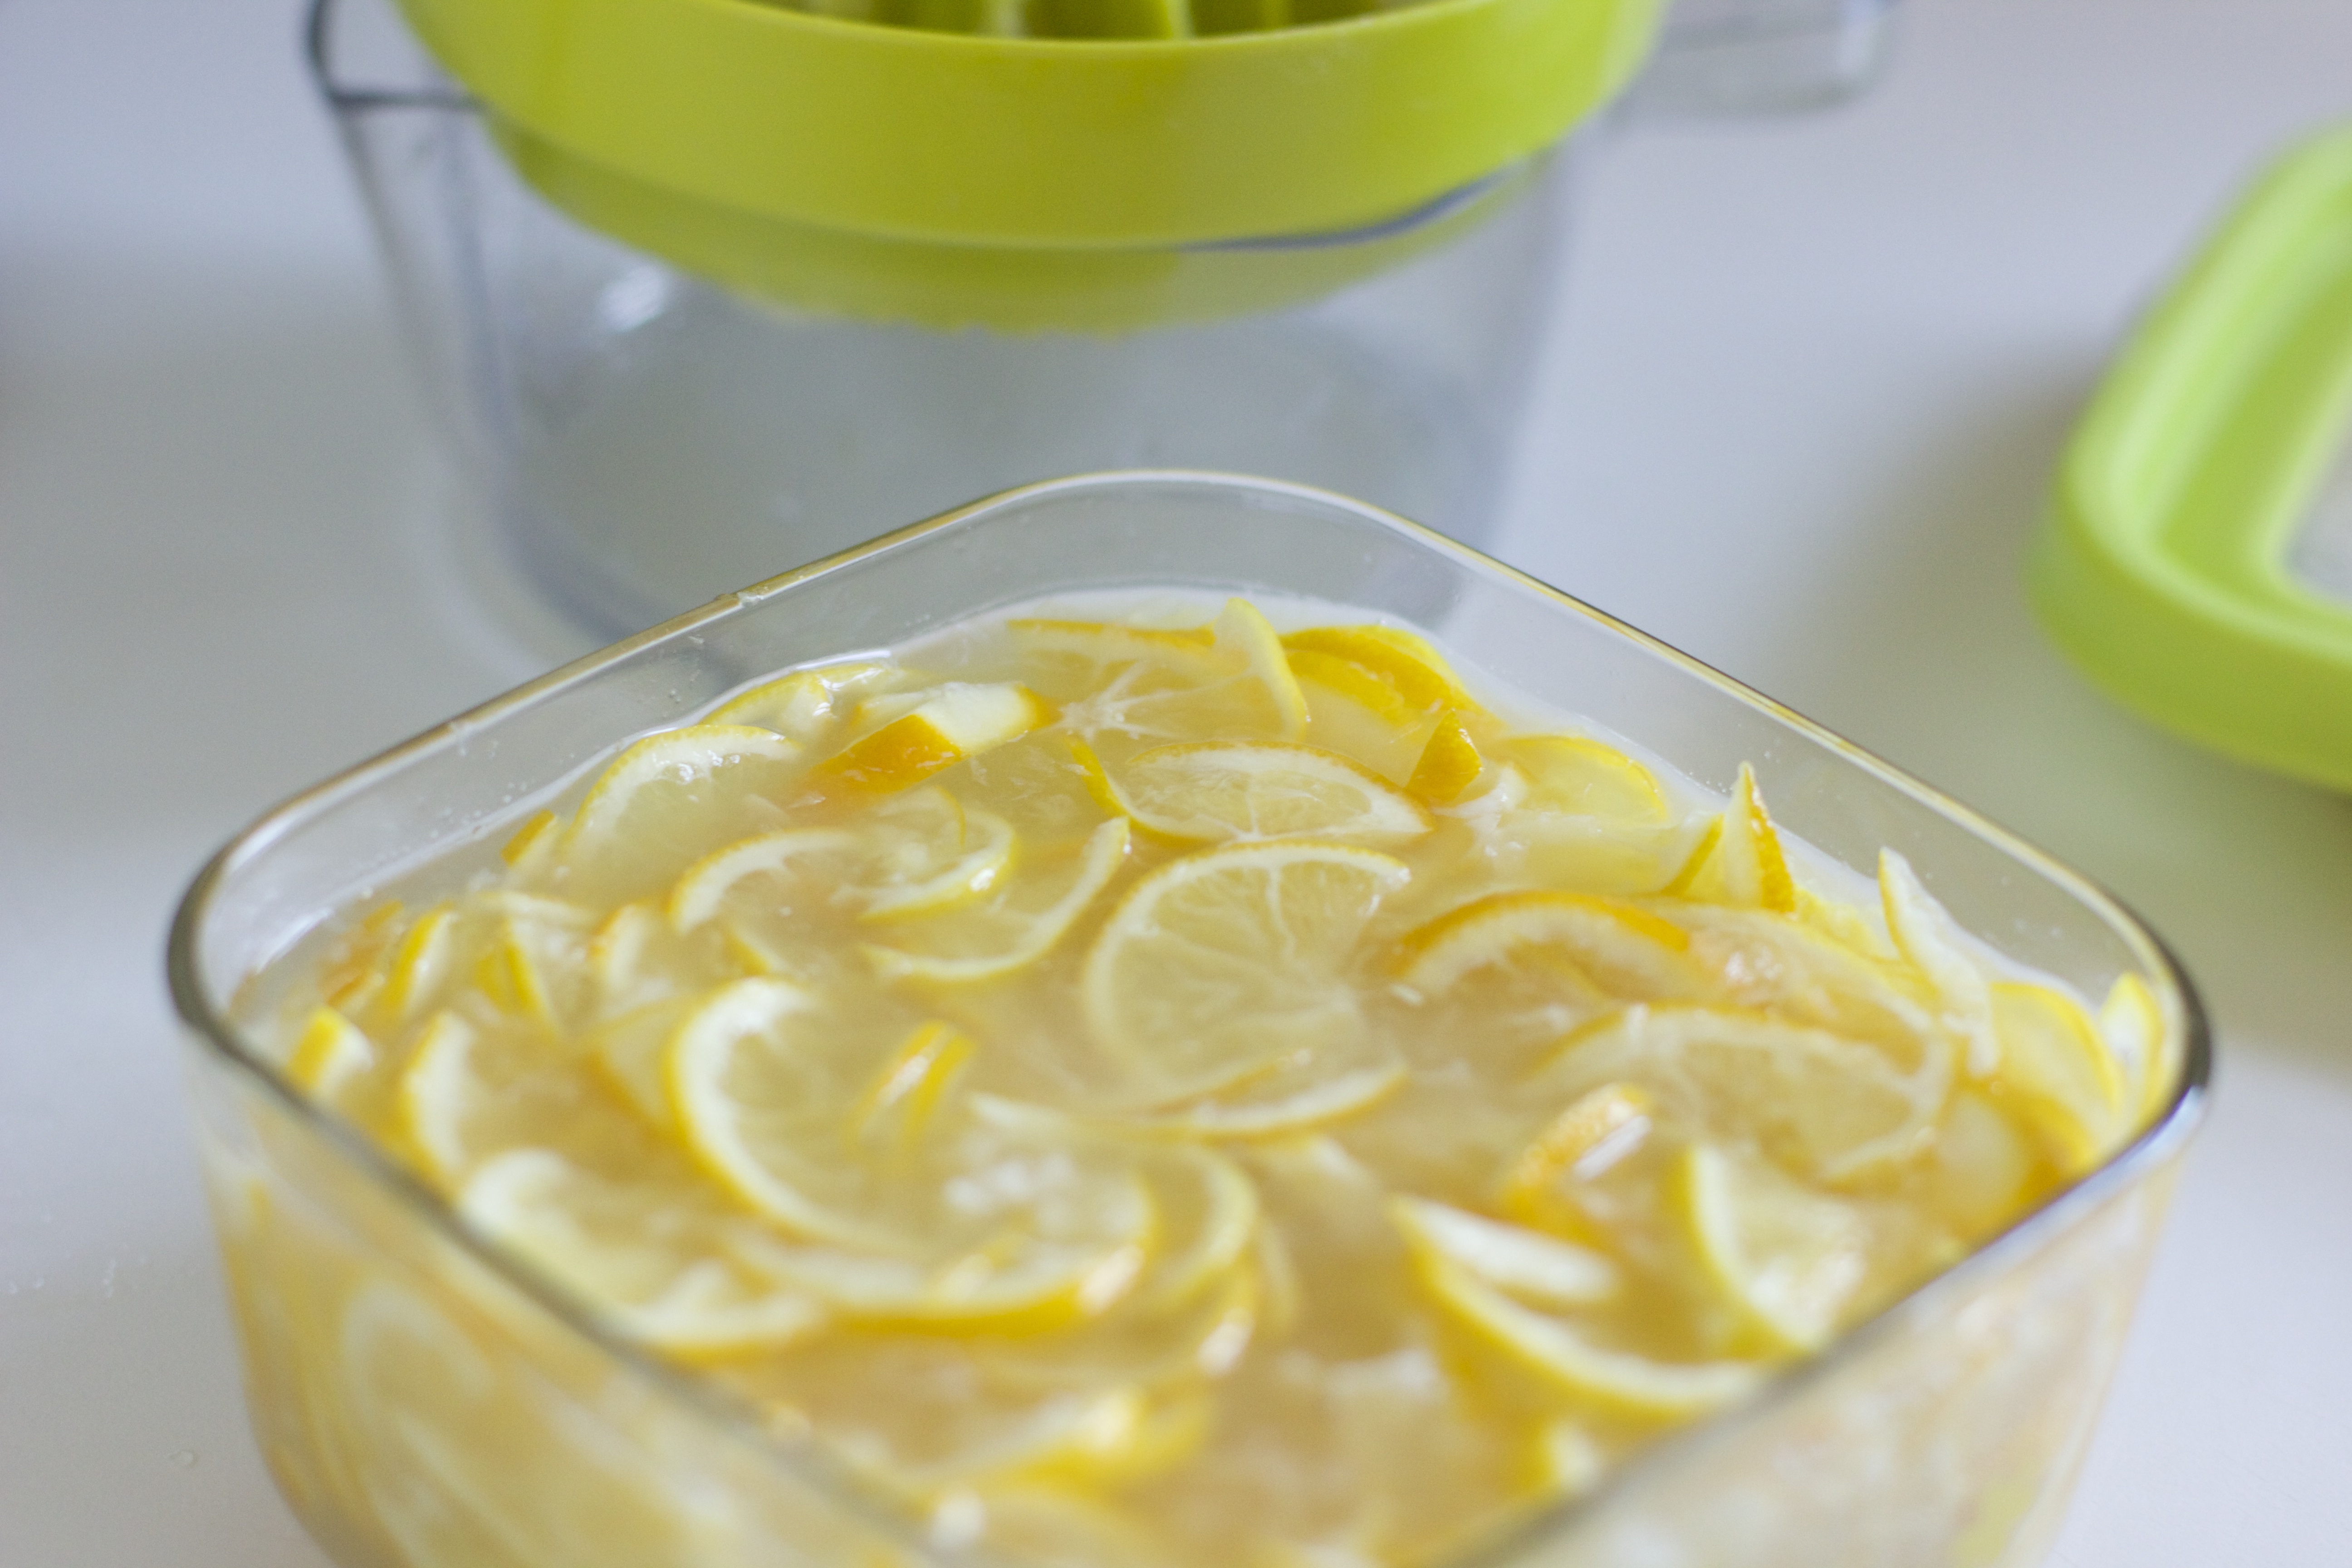
4-5 Meyer Lemons
1 Tbsp. Sea Salt
1 Cup fresh Lemon Juice
1 Cup filtered Water
Preparation
First, wash the lemons and trim both ends.
Slice the lemons very thinly, and remove the seeds.
Combine the brine liquid and pour over the lemons in a glass bowl. Press down on the lemons a bit with a large spoon or fork to squeeze out more juice and to soften them. Make sure everything is submerged in the liquid and cover. Set aside for 5 to 7 days at room temperature.
When ready, transfer into an airtight container/ jar and store in the refrigerator.
You can always adjust the saltiness if it’s too salty for your taste. Just wash some in water before you use them or add more water into the jar.