Chocolate Covered Strawberries

IMG_7659

I’ve been planning to post this recipe for a long time but I couldn’t find the words for it. Last week, while devouring our delicious vegan desserts at the V-Note, I asked two of my girlfriends for some inspiration. Words like “Romantic”, “Sensual”, “Indulgence” and “Seductive” were thrown in the air. One of them even mentioned the similarity between a strawberry and a tongue Oh..Kay, let’s not go there… there’s kids in the audience. 😉 Speaking of kids, here’s an idea for a fun playdate activity. Children love to help dip strawberries in chocolate and it’s like a mini science project to see the chocolate turn back to solid. The only “problem” I found with this recipe is that for some reason when I put them in the fridge to let the chocolate set, somehow they mysteriously disappear!! So my advice is to make plenty because they will fly off quickly.

Ingredients

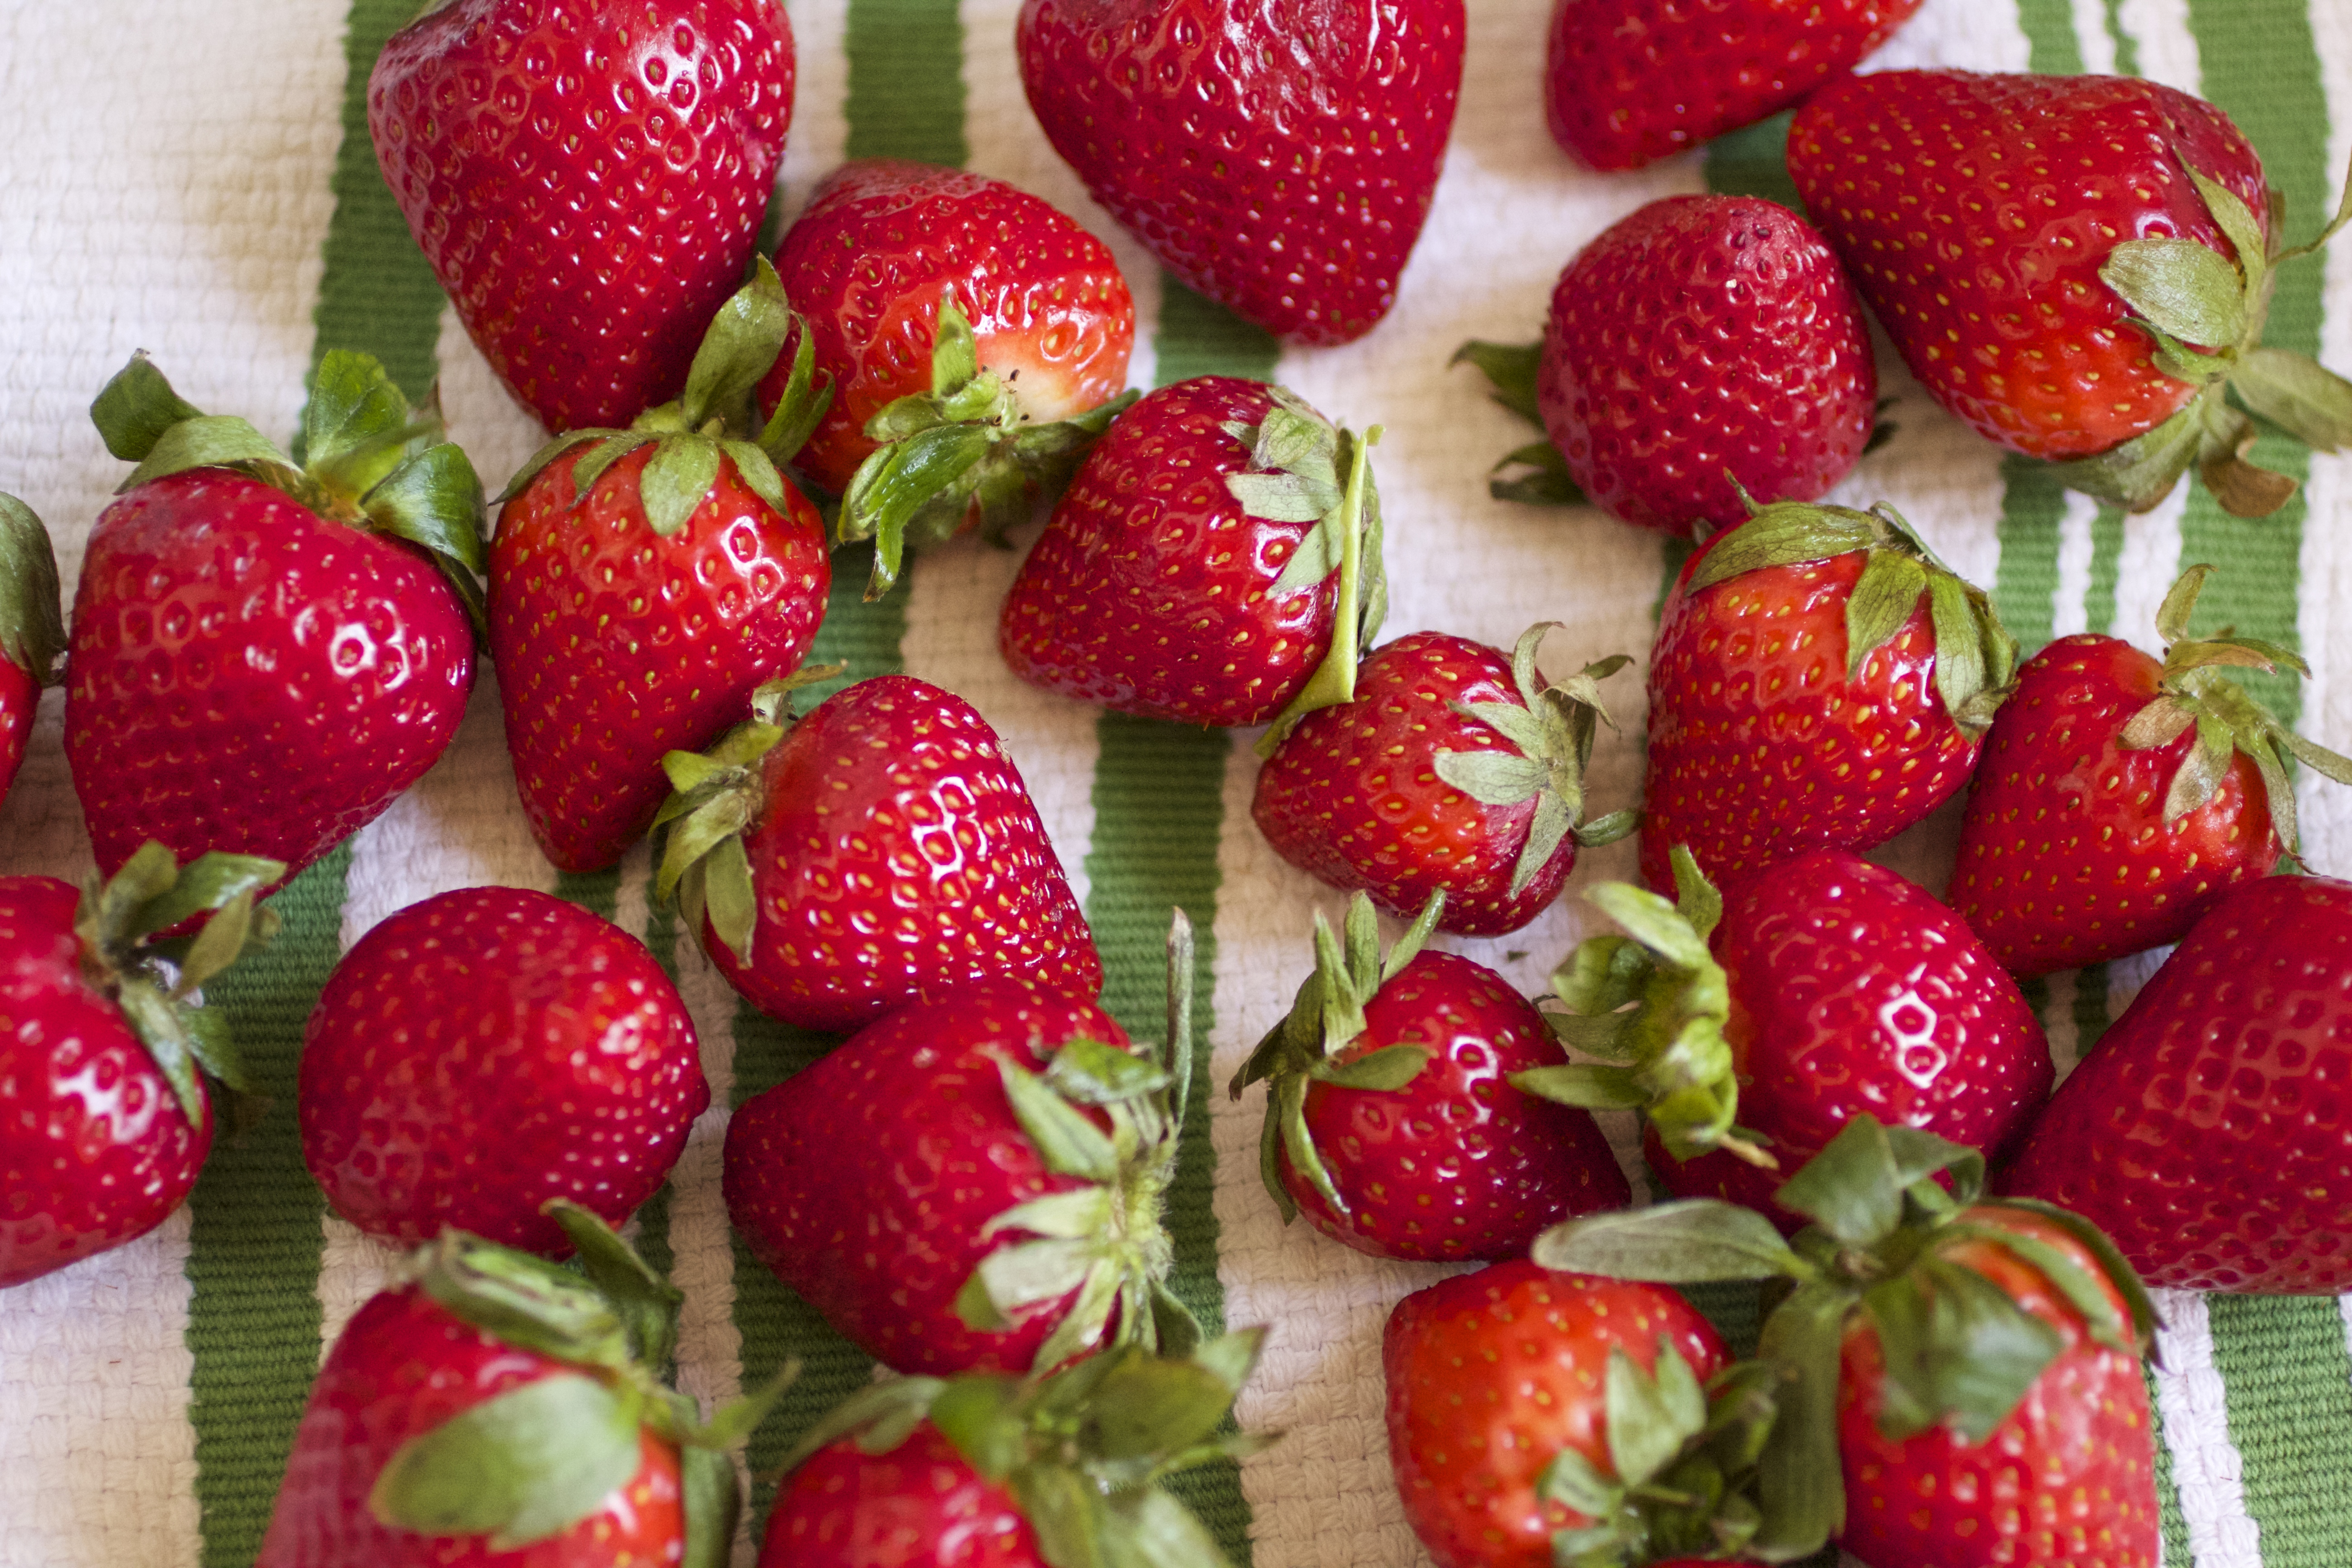
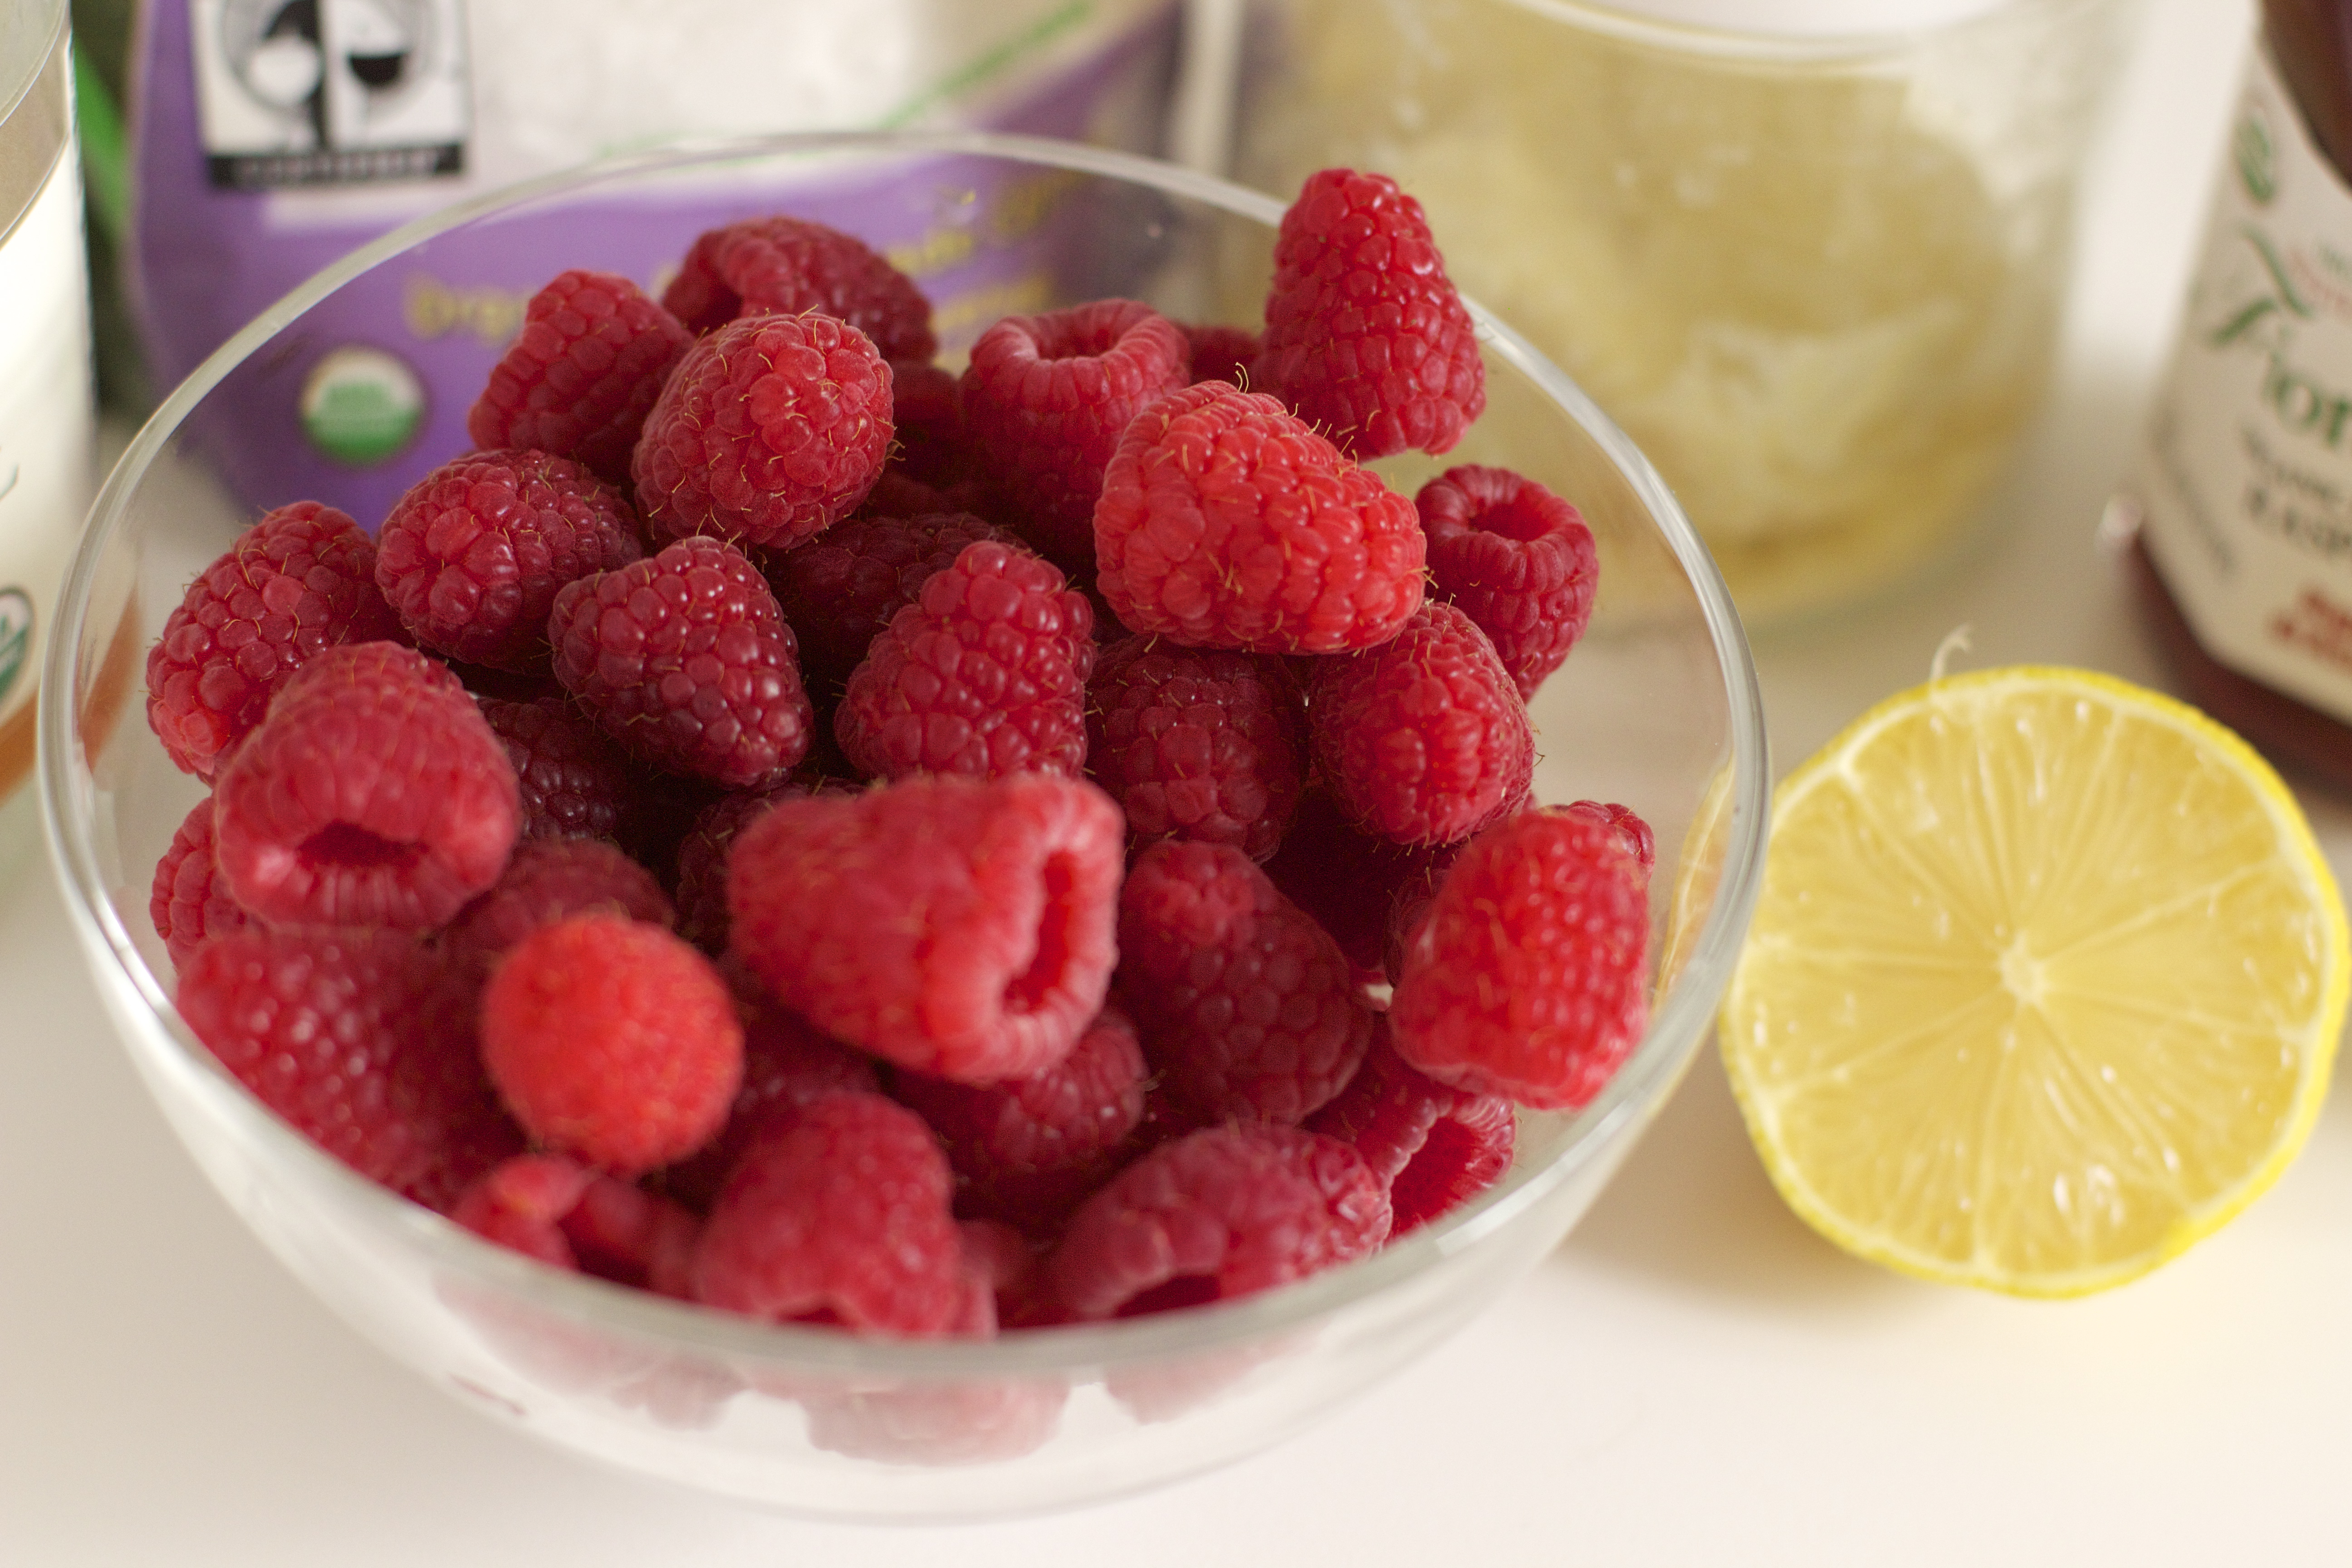
25-30 Fresh Strawberries

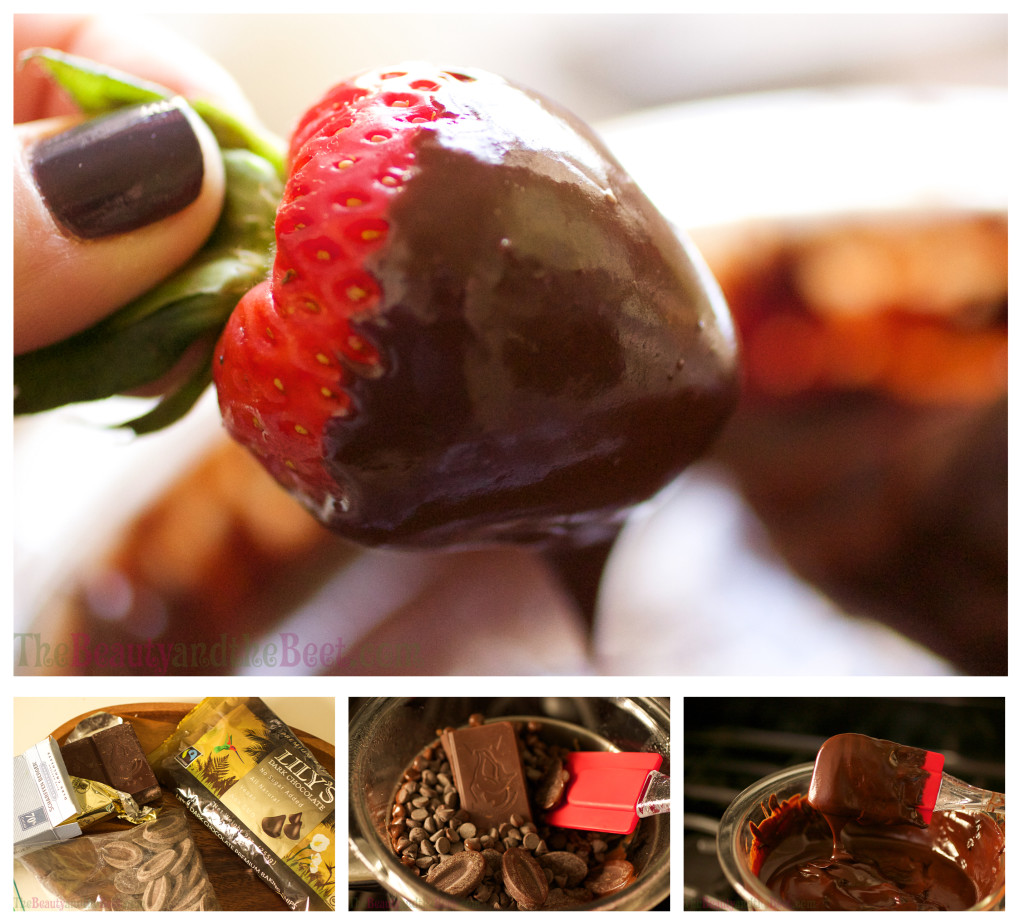
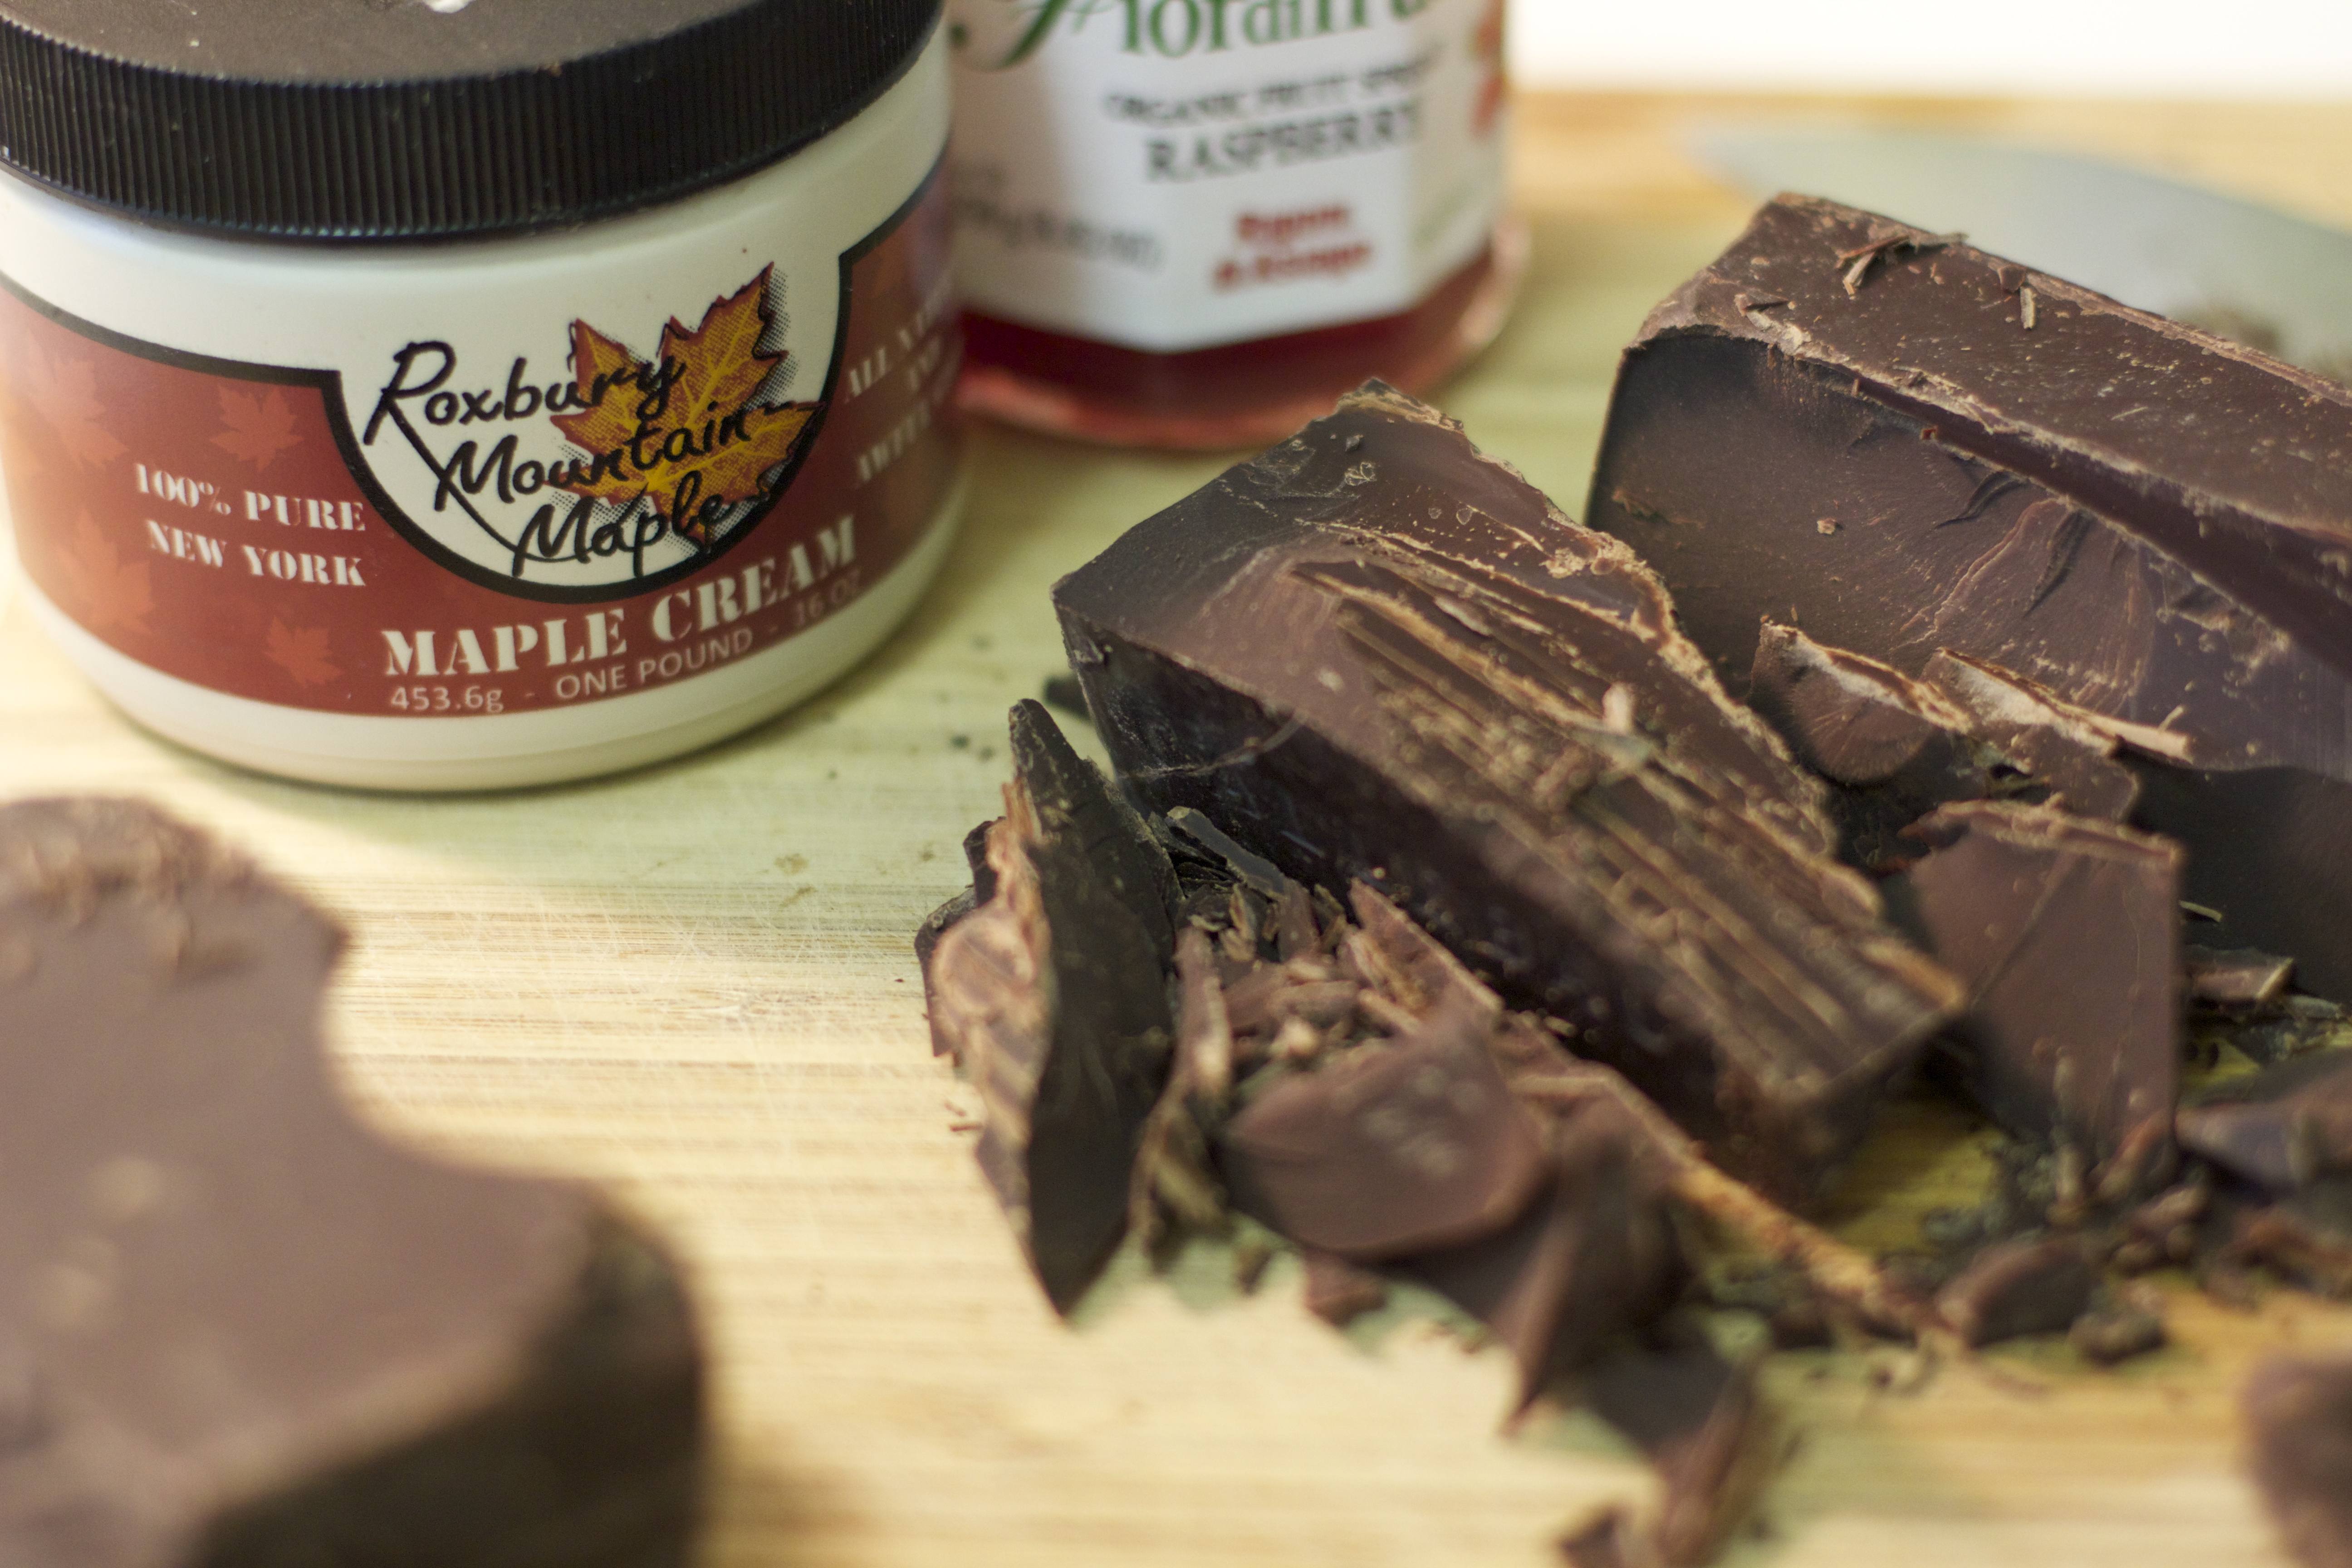
1 ½ Cup of mixed Vegan Chocolate (I had left overs so I used Chocolate Chips and Bitter Sweet Dark Chocolate chunks)

1 tsp Coconut Oil

1/4 Cup Maple Syrup

1/2 to 1 Cup Soy Milk (add as you go, you might not need all of it)

1 tsp Almond Butter

1/2 tsp. Vanilla Extract

For dipping:

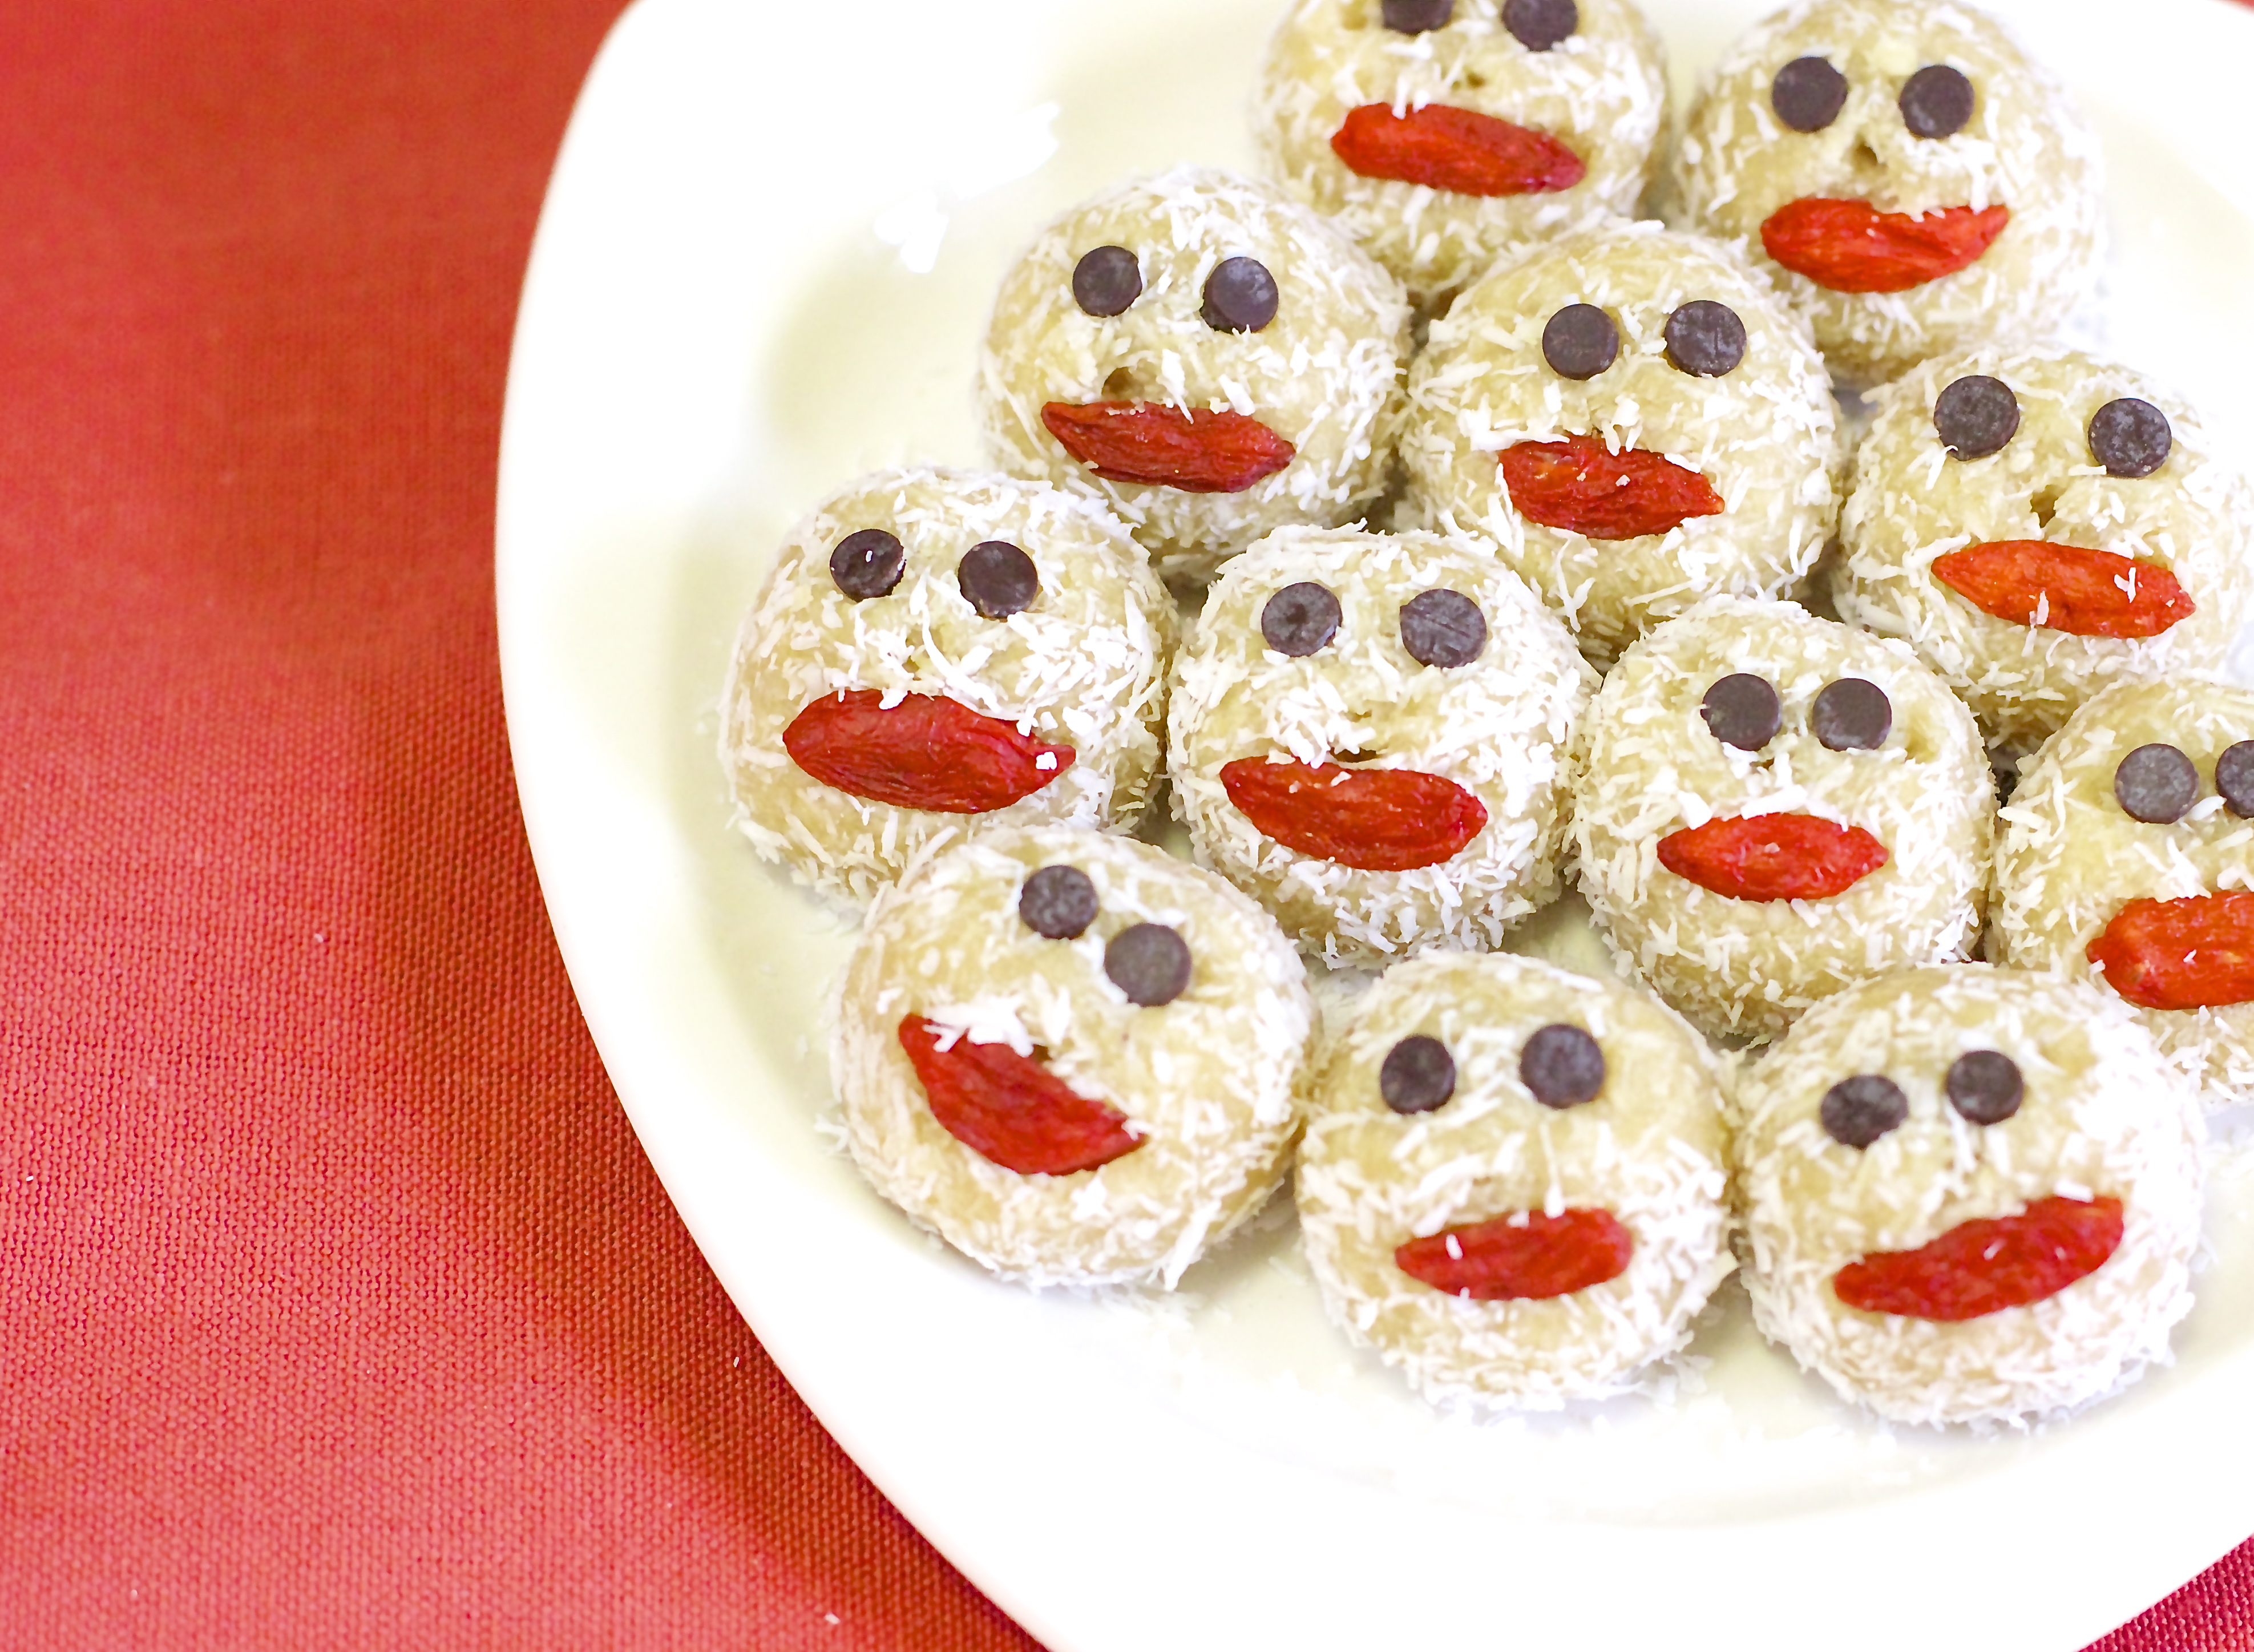
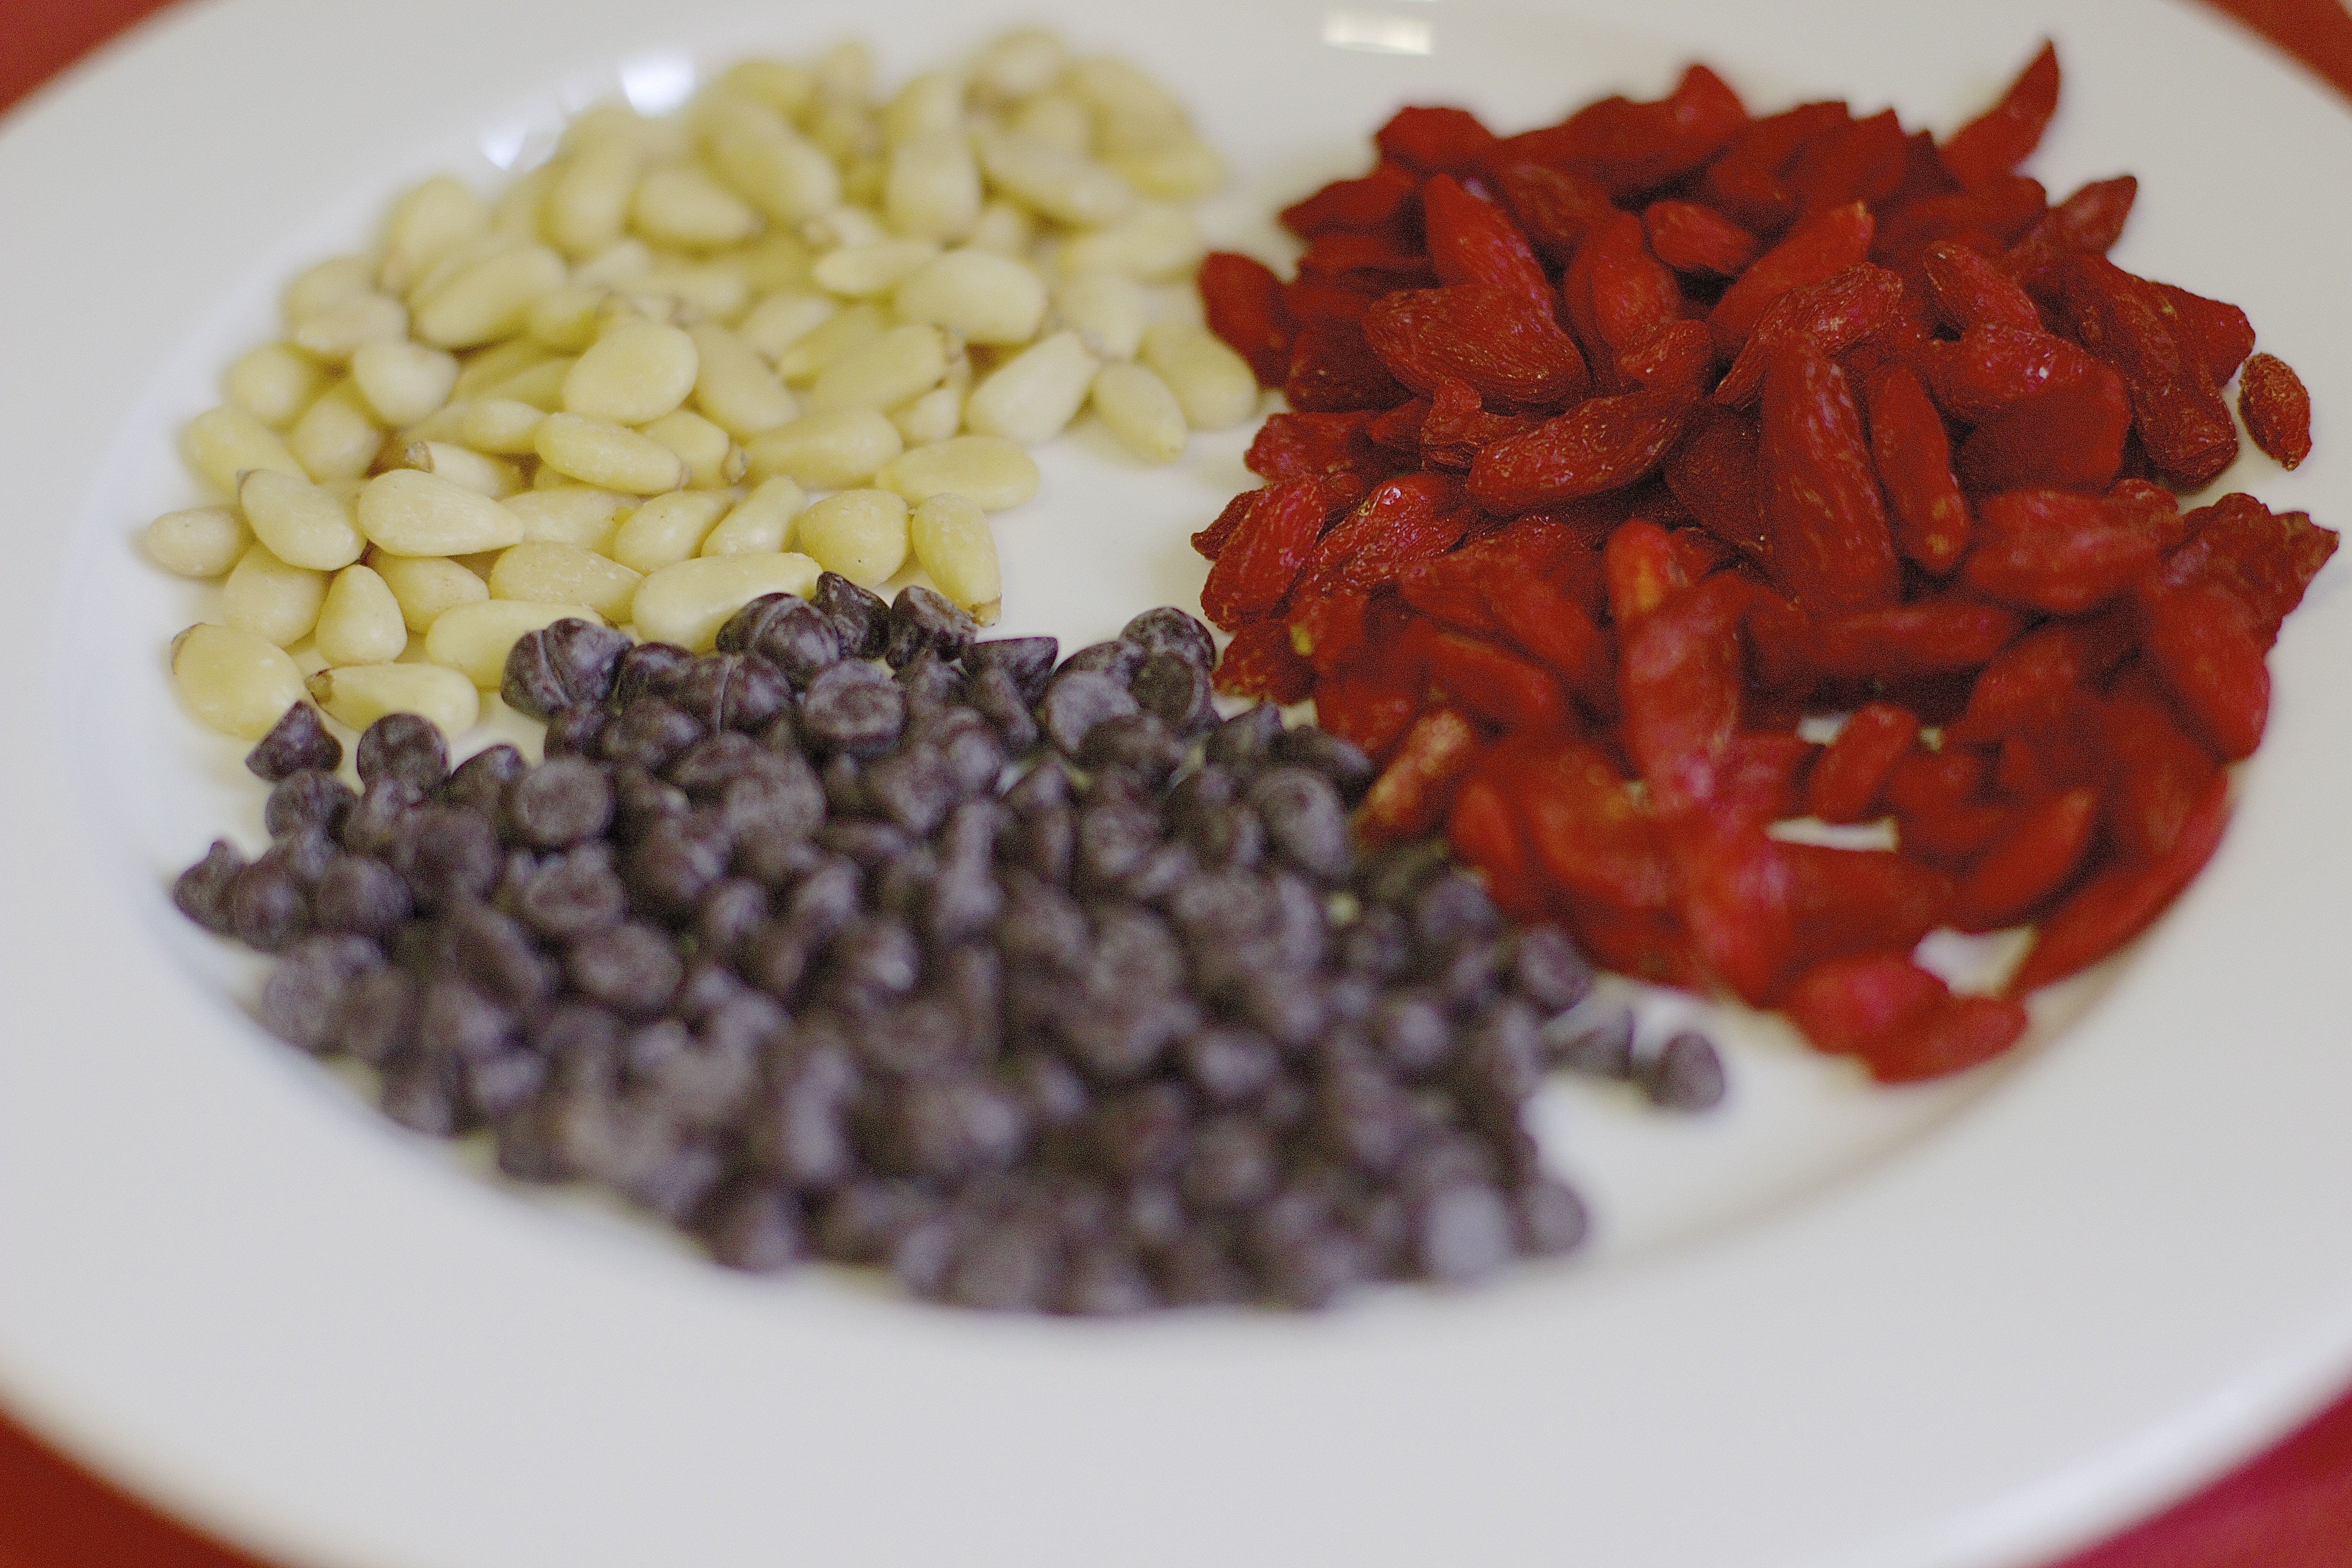
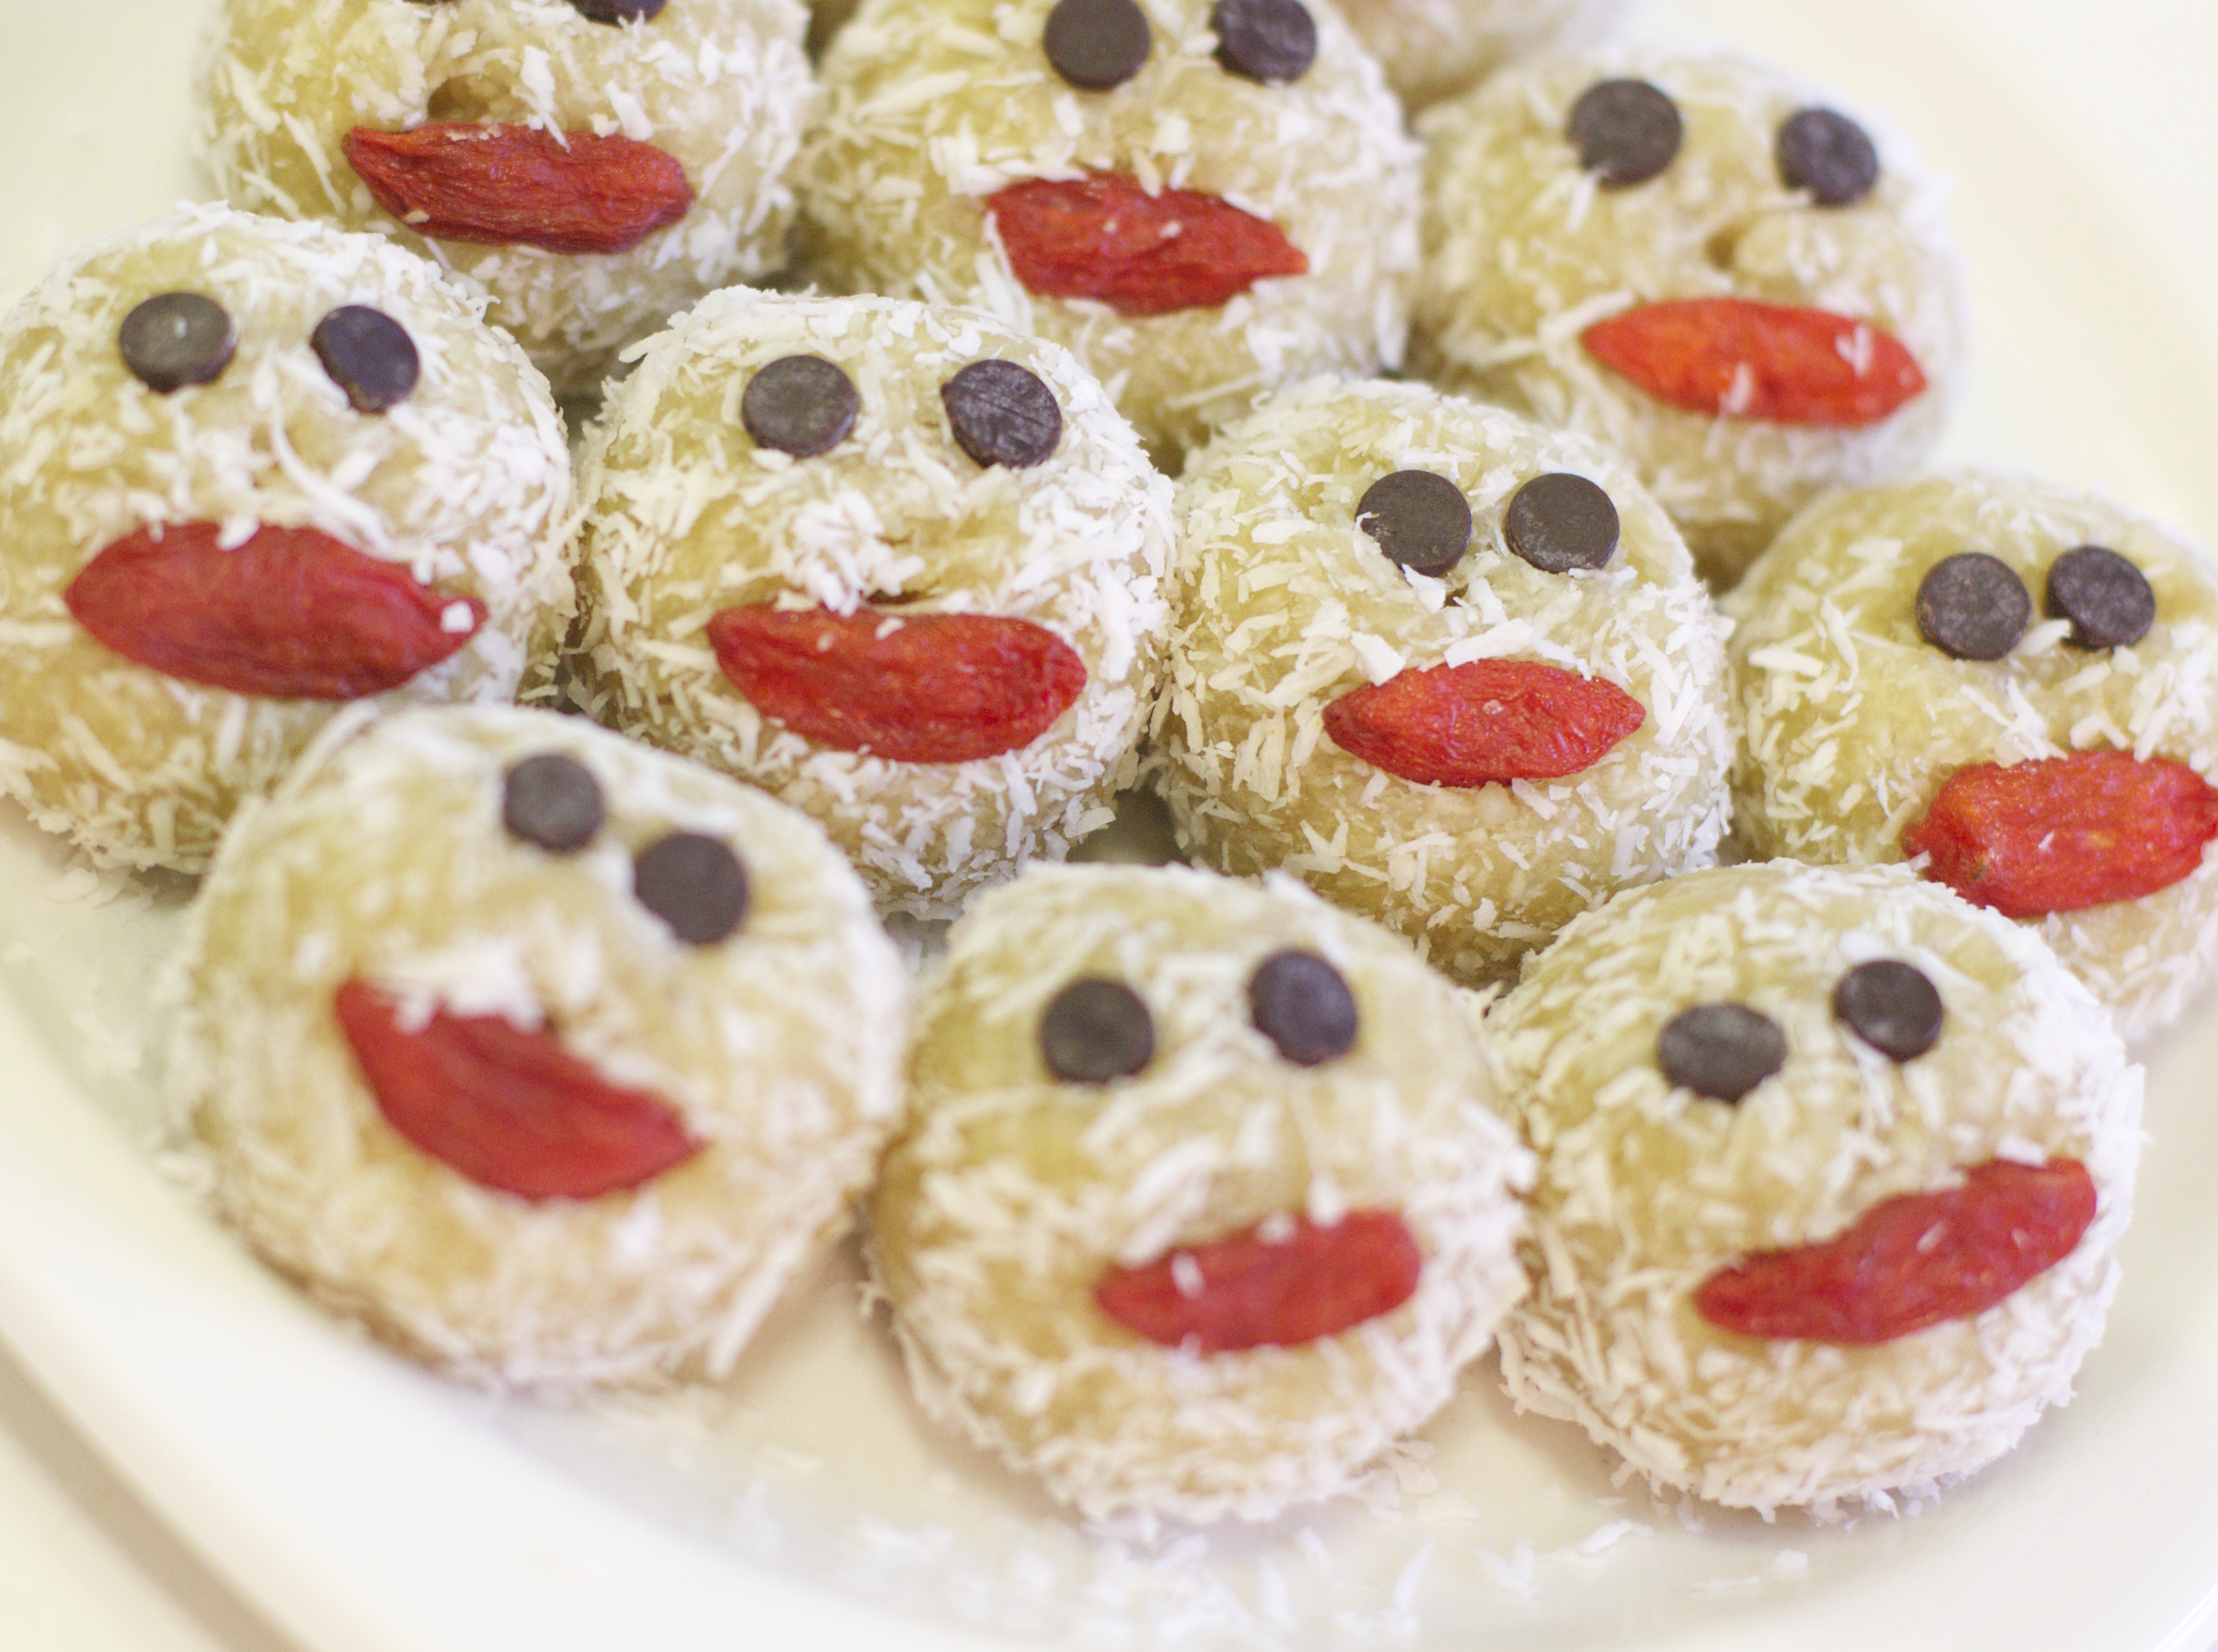
A handful of finely shredded coconut, cacao powder, chopped almonds and crushed pistachio – I crushed them with a heavy coffee mug. Great for letting out some aggression 😉

Preparation

Wash the strawberries and pat dry on a kitchen towel.

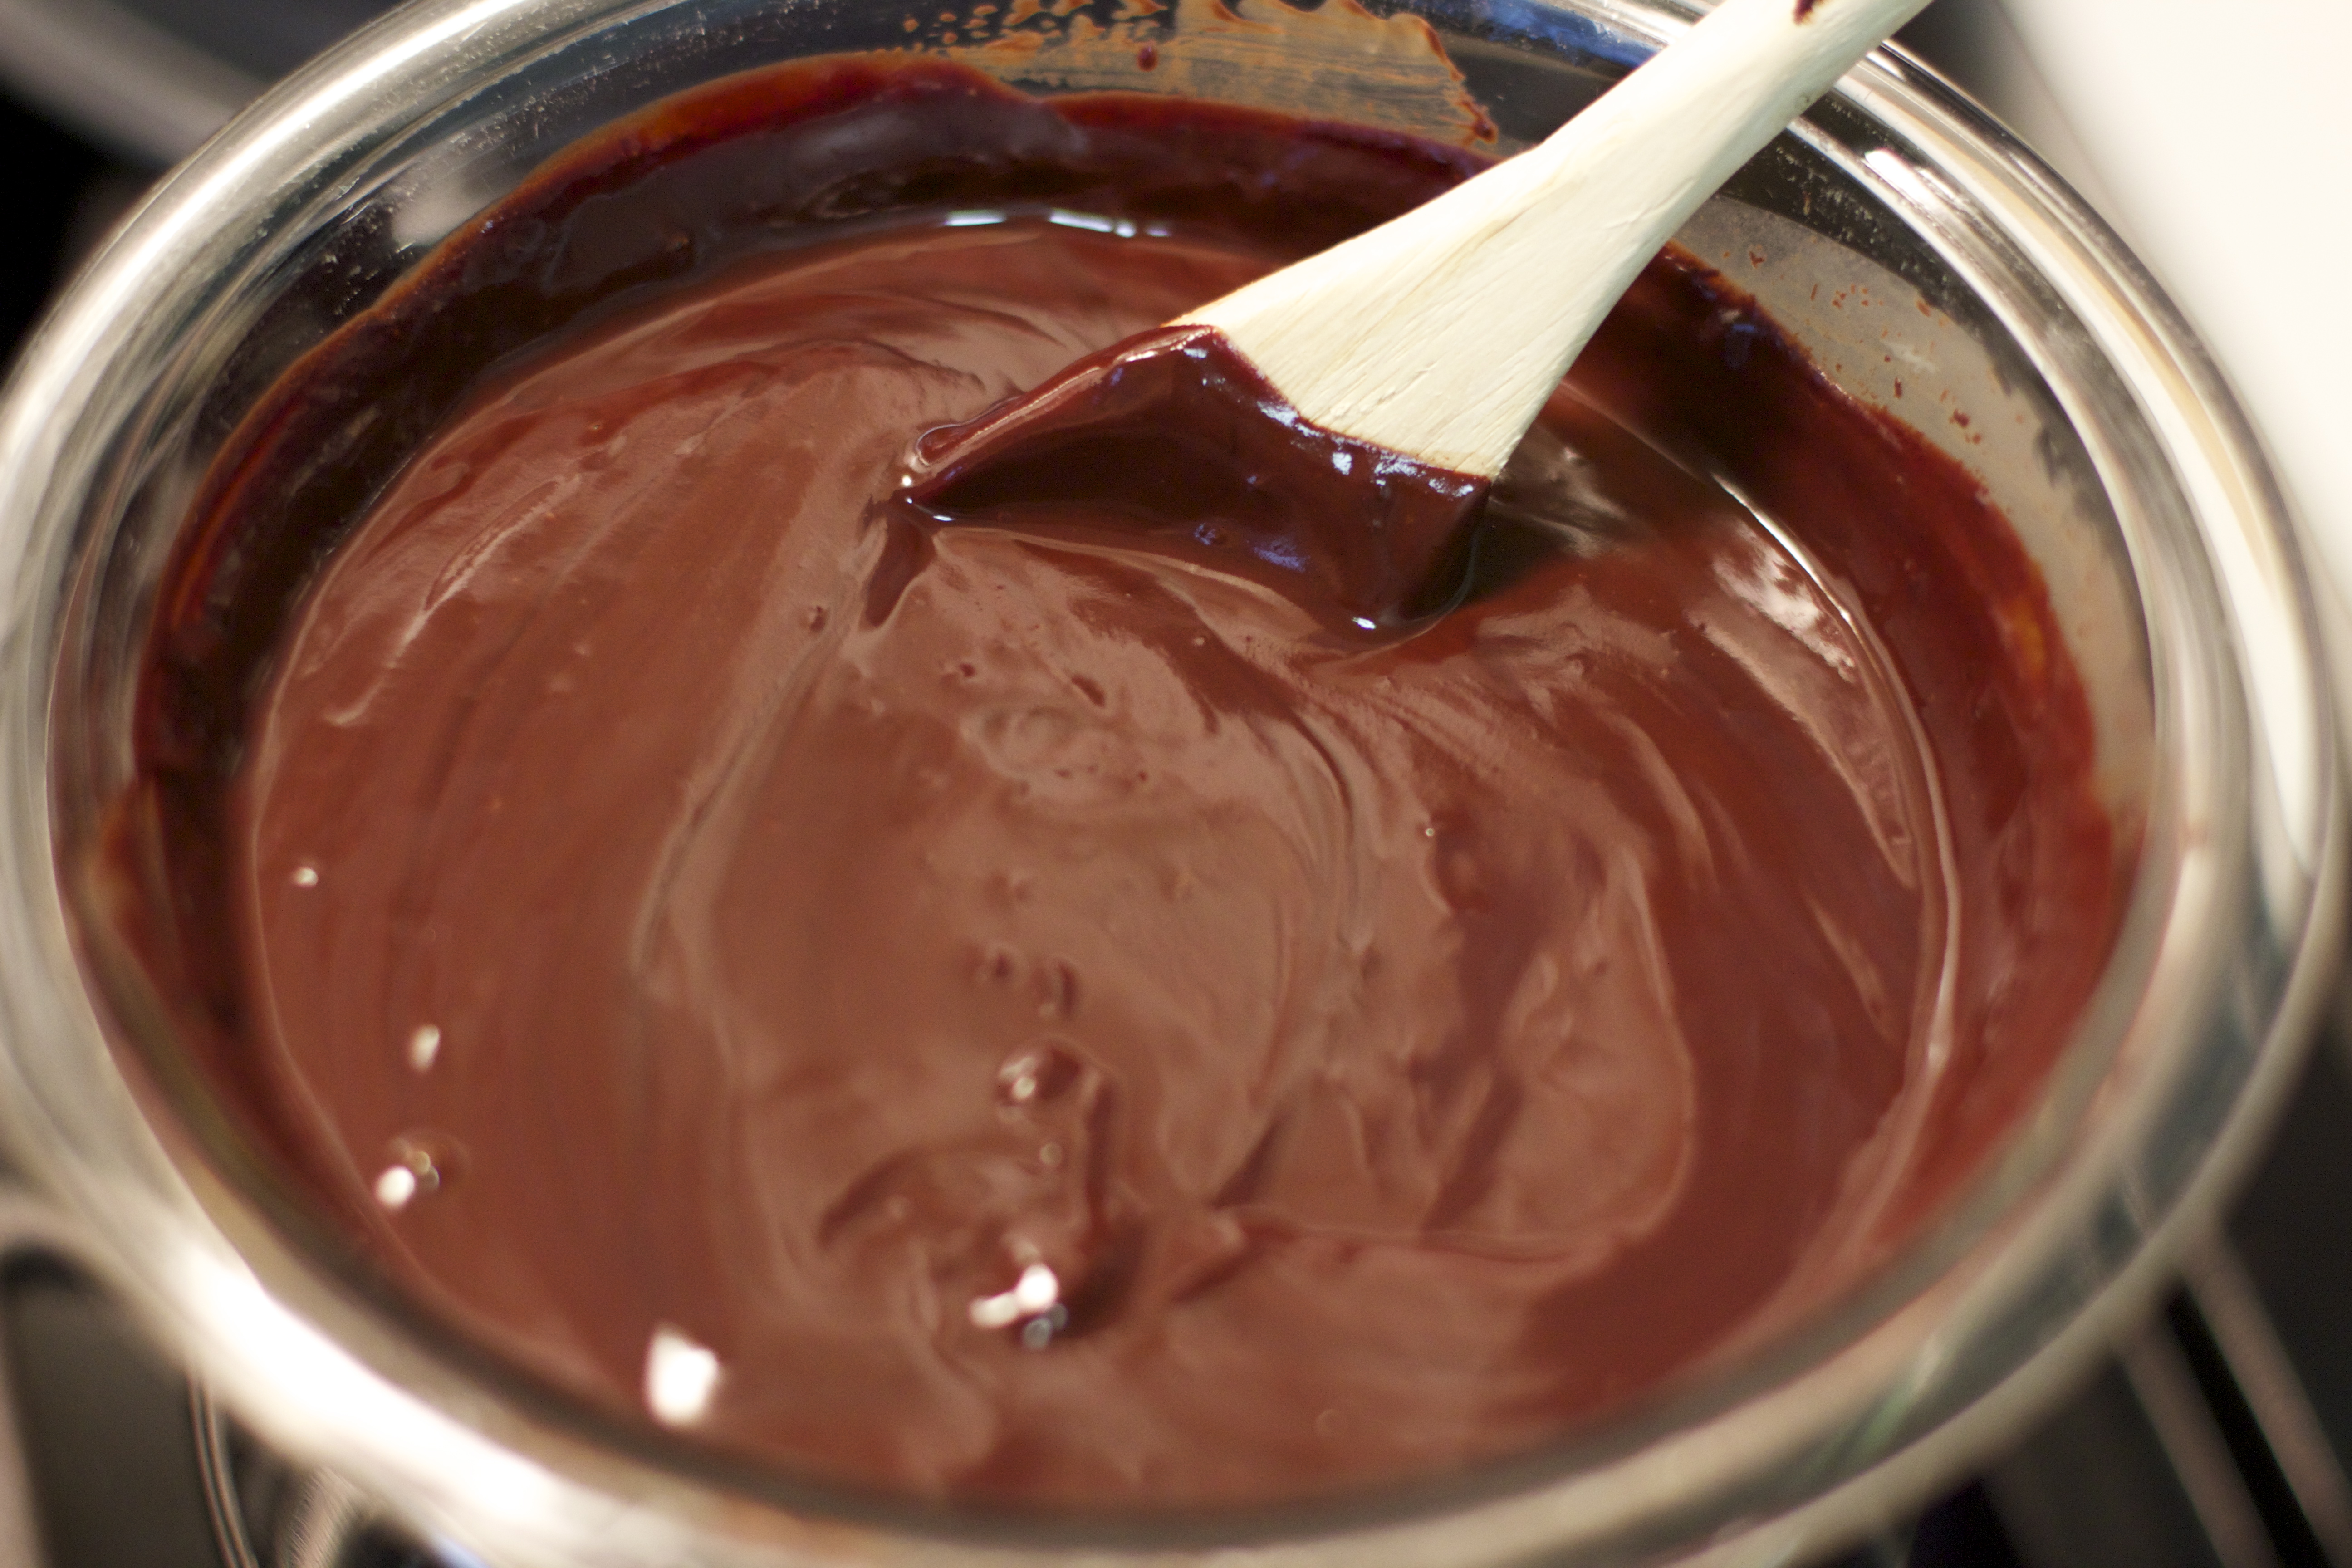
Set-up a double boiler (Bain Marie) – you can use a sauce pan with water and a glass bowl over it. Bring water to a simmer on medium heat. Melt the chocolate in the glass bowl,  just make sure there is no direct heat on the chocolate. Add the coconut oil, maple syrup, almond butter, soy milk and vanilla. Stir well until smooth ganache consistency.

Line-up the toppings on a plate or tray –the shredded coconut, chopped almond, pistachio and cacao powder — to dip the chocolate covered strawberries.

Hold the strawberries by the stem or leaves, dip into the melted chocolate mixture, twist and then dip the tip gently in the toppings.

Lay out the dipped strawberries onto a non stick surface — a baking sheet with parchment paper or a silicone mat.

Place in the refrigerator for at least 30 minutes until the chocolate is firm.

IMG_7574chocolate strawberry collageIMG_7597IMG_7658IMG_7655

Signature

Stuffed Grape Leaves in Green Tahini Sauce

IMG_7481

Stuffed grape leaves or as they are  traditionally called, ‘Dolmas’, always seem like a holiday party food to me. Something that aunts and grandmas prepare in groups while gossiping in some far away village a long, long time ago. I wanted to try and make them to see if I could roll food that looks like cigars… I also like the surprise factor of when you cut open a roll or a stuffed vegetable and discover the filling inside, so I decided to take on the challenge.

I looked for recipes and inspiration and finally made a combination of cooked traditional recipes and the raw version made by my favorite raw food restaurant in NYC, Pure Food and Wine. Their idea of adding preserved lemon oil and cilantro tahini sauce is so refreshing and makes a beautiful presentation! I found it therapeutic to do the work of stuffing and rolling the leaves. It takes time and some practice, but don’t  you worry …Watch a few Youtube videos  and you, too, will roll it like a pro. 🙂

Ingredients

1 Jar of Grape Leaves (I used 2/3 of a 16 oz. Jar) about 35-40 leaves

1 Cup Rice

1 Cup Water

1 Medium Onion , Chopped

1/3 Cup Pine Nuts

Salt & Black Pepper

Handful one of each:

Chopped Mint

Chopped Dill

Chopped Cilantro (+ one more Cup for the Tahini Sauce)

Lemon Zest

Olive Oil

Tahini Sauce:

1/2 Cup Tahini

3/4 Cup Water

1-2 Cloves Garlic

1/4 Cup Fresh Lemon Juice

1 Cup Cilantro, Chopped

1 tsp. Salt

Preserved Lemon Oil:

1/4 Cup Preserved Lemons

1/4 Cup Olive Oil


Preparation

Sauté the onion in olive oil until golden brown.

Add the rice, pine nuts, salt, pepper and water. Cover and let simmer, lower the heat and ‘half-cook’ the rice for only 10 minutes and let it cool.

Add the chopped greens (dill, mint and cilantro) and lemon zest into the rice mixture, add salt and pepper and adjust it to your liking.

Open the leaves very carefully in a bowl with water (they come rolled together very tightly in the jar).

Cut the stem off each leaf and stretch it on a flat surface. Be careful not to tear. Lay the vain side up so it will be the inside and the smooth side would be on the outside.

Take a small amount of the filling (see picture), about 1 1/2 tablespoon and place it on the center -bottom of the leaf.

Start rolling and folding the bottom, then the sides and roll into a cigar shape.

Place a few unstuffed leaves (the ripped ones) on to the bottom of a pot with a little bit of water, lemon and olive oil mixture (about a cup, just to cover the bottom of the pot)

Pile up the stuffed grape leaves very tightly so they’re not going to open during cooking — I had 2 layers. (Some recipes call for placing a plate on top of the layers to keep them tight during cooking.)

Cook for 20-30 minutes covered on low heat until the rice is completely cooked and all the flavors blend together.

Make the Cilantro Tahini sauce:

Blend the tahini, water, lemon, garlic, cilantro, salt and pepper in a food processor

Make the preserved lemon dressing in a blender, blend the preserved lemons and olive oil until smooth.

To serve:

Place the cilantro tahini sauce on a plate, a few stuffed grape leaves on top and drizzle the preserved lemon sauce on top and some more of the chopped herbs.

IMG_7407“Half cook” the rice

IMG_7409Grape leaf final

IMG_7427 IMG_7423

IMG_7489


Signature

Homemade Hummus Spread with Baby Bella Mushrooms

IMG_3029

Hummus is a must have staple in our kitchen, it’s always in the fridge and ready to use as a base for sandwiches, wraps or just like in this recipe – as a dip topped with mushrooms, served with fresh pita bread and chopped salad. Hummus is a Mediterranean spread/dip made from Garbanzo beans A.K.A Chic Peas, Tahini paste, lemon and spices. It is a good source of protein, calcium (in the Tahini) and is very satisfying.

I sometimes buy a good quality Hummus but prefer to make it myself from scratch. It takes 5 minutes on the clock to prepare, and yes, I did time myself  (:  I like to use the BPA-Free Tetra Pak® Garbanzo Beans or the BPA-Free Can (just like in my Mexican Black Bean Dip recipe). Sometimes I add a bunch of pitted olives into the food processor, for added zest, and make an Olive- flavored Hummus, which is  absolutely De-Lish’!

Ingredients

1 Can or 1½ Cup Cooked Garbanzo beans (about 15oz)

1½-2 Tbsp. Tahini

2 Tbsp. Lemon Juice (Juice of ½ lemon)

1 tsp. Cumin

1 Tbsp Olive Oil

Salt to taste

For the Mushroom Topping:

1 Pack Baby Bella Mushrooms, sliced ,stems off

Oilve Oil

Salt and Pepper

Chopped Parsley ,Scallion and Paprika  for garnish

Preparation

Place all Hummus ingredients in a food processor and mix, add lemon juice and olive oil gradually, until it becomes paste like consistency. Taste and adjust to your liking.

If it’s too “dry”, I like to add a little bit of the sesame oil that’s at the top of the Tahini Jar. (It also adds more flavor).

You can add more lemon juice or water if it is still not as smooth as you like, add it gradually, a Tbsp at a time so it won’t be too “watery”.

Don’t forget to leave some whole chic peas on the side for later.

Sauté the mushrooms in oil for a few minutes, until soft, add salt and pepper to taste.

To serve,  generously spread homemade Hummus on a plate. Drizzle olive oil on top, add mushrooms, chic peas and scallion. Decorate with paprika and parsley.

Get some fresh pita bread and start “wiping”…

IMG_2985

IMG_2959 IMG_2966 IMG_2970 IMG_2971  IMG_2990 IMG_3027

Signature

Vegan Chocolate Cake with Raspberry Sauce

IMG_6158

Just saying “chocolate cake” makes everyone smile 🙂 . Chocolate cake with raspberry sauce makes me smile even more. It was one of my pregnancy cravings… I was addicted to a chocolate soufflé with raspberry sauce from a Belgian restaurant in NYC and made my husband go with me or bring it home every chance I got… Sometimes at crazy hours. Well, you get a permit to harass your husband when you’re hormonal 😉

According to a Parenting magazine, chocolate is the number 2 most craved food by pregnant women, right after ice!  It said “Chocolate — or any sweet for that matter — is something pregnant women can’t get enough of. This could be because chocolate makes you happy, and since there’s no drinking for pregnant women, chocolate is literally the next best thing. An old wives’ tale states if you crave sweets it means you’re carrying a girl”. Can you believe it?! Pregnant or not, nobody says NO to a piece of this moist chocolaty gorgeous red raspberry goodness.

I wanted a taller cake so I actually made two cakes to assemble as two layers. It is perfect as a one layer cake too, so If you want you can skip the second cake and just make it without the jam/sauce in the middle.

Ingredients

For the Cake:

Makes One 9 -Inch Round Layer

Dry:

1 ½ Cup All Purpose Flour

1 Cup Sugar (I used Turbinado Cane Sugar)

1/3 Cup Cocoa Powder

1 tsp. Baking Soda

¼ tsp. Baking Powder

½ tsp Salt

Wet:

1 Cup Almond Milk (I used sweetened Vanilla Almond Milk)

½ Cup Oil (Canola Oil or Grape-seed oil)

1/8 Cup Apple Cider Vinegar

1 Tbsp. Vanilla Extract

Raspberry Sauce:

2 Cups Fresh Raspberries

2 ½ Tbsp. Water

¼ Cup Sugar

1 tsp. Lemon Juice

1/8 tsp. Salt

 For spreading between the  layers:

3 Tbsp. Raspberry Jam

Chocolate Ganache Frosting:

Dark Chocolate chunks (about 1 and 1/2 – 2 Cups)

1 Cup Almond Milk

4 Tbsp. Maple Syrup (or Sugar)

Garnish:

Fresh Raspberries

Handful roasted Pistachios


Preparation

Cake:

Preheat oven to 350°

Brush with oil a 9-inch round cake pan.

Whisk together wet ingredients in a bowl and set aside.

In another bowl sift together the flour and cocoa powder, add in the rest of the dry ingredients.

Combine the wet into the dry and mix until smooth.

Pour the batter into the cake pan and bake for 30-35 minutes. (check if it’s ready, insert a tooth-pick it should come out dry)

Let the cake cool before adding the ganache and the raspberry sauce.

Raspberry Sauce:

Place all sauce ingredients In a medium saucepan, cook over medium heat for 10-15 minutes.

Place the sauce in a small food processor or a blender and blend until smooth. Press it through a small fine mesh strainer with a spoon to get rid of the seeds. Keep it in the fridge until you’re ready to serve.


Mix 3 Tbsp. of the raspberry sauce with 3 Tbsp. of store bought Raspberry Jam to make it thicker. “Shave” the top of the bottom cake to make it more even. Flip the top layer cake upside down to get a flatter top and spread the raspberry sauce and jam mixture between the two layers of cake before covering with the ganache frosting.

Ganache Frosting:

In a saucepan, boil the almond milk, reduce to simmer, add the chocolate and maple, turn off the heat and stir well until the chocolate has melted.

Cool a bit, spread over the top and sides of the cake and place in the fridge to harden.

To Serve:

When you are ready to serve, cut the frosted cake, decorate every piece with a raspberry, pour some raspberry sauce on top, sprinkle with pistachios and start dieting tommorow…

IMG_6125 IMG_6126

IMG_6015IMG_6041IMG_6058IMG_6117 IMG_6121IMG_6155IMG_6196IMG_6139IMG_6168

Another way to decorate...

Another way to decorate…


Signature

Smiley Coconut Snowballs

IMG_2217

While I was researching the famous phrase: ‘You are what you eat’, to find out who said it, I stumbled upon a very funny comment in one of the sites. Someone said it was his mom who said it first… 🙂 I’m sure she is not the first mom telling it to her kids, wanting them to eat healthy. As a mother, a big part of my life is worrying about what my daughter eats and I know I’m not alone in the ‘Picky Eaters Parents Club’.  So I have to be creative and “sneak-in” the ‘good stuff’ into the food I make for her. It makes me happy to see her eating something healthy in disguise. For her it’s a dessert and all I see is the chia seeds.

Easy and quick, no baking involved so even the kids can help make it. Everyone loves them, including the grown ups! Back to ‘You are what you eat’, even though I don’t have scientific evidence, I’m pretty sure you can become a smiley (and healthy) snowball after eating these cute & delicious munchkins 😉

(makes about 25-35 Balls)

Ingredients

2 Cups Raw Almond Flour/Meal (Ground Almonds)

2 Cups Unsweetened Shredded dry Coconut Flakes

1 Tbsp Chia Seeds, Soaked in ¼ Cup Almond Milk (it will expand into 3 Tbsp. after soaking for 15-20 minutes)

½ Cup Maple Syrup

2 tsp. Vanilla Extract

1 Tbsp. Coconut Oil

Pinch of Salt

Options: Add Teaspoon Raw Almond Butter, Cashew Butter or Cinnamon

(If you want Chocolate balls, just add 1 1/2 Tbsp. of Cocoa Powder)

For the Decoration:

Shredded dry Coconut to cover

Vegan Chocolate Chips (for the eyes)

Goji Berries (for the mouth)

Pine Nuts (for nose)

Preparation

Mix everything well, don’t add the liquid all at once (Almond milk with soaked chia seeds), try to play with the amounts to the desirable consistency. The coconut oil melts in room temperature so after you’re done mixing, place in the fridge for 10-20 minutes to harden, so its easy to work with. Take it out of the fridge and form balls. Dip in the shredded dry Coconut, decorate and serve, or keep in fridge for later. Smile & Enjoy!

IMG_2130 IMG_2150 IMG_2191


Signature