Preserved Meyer Lemons

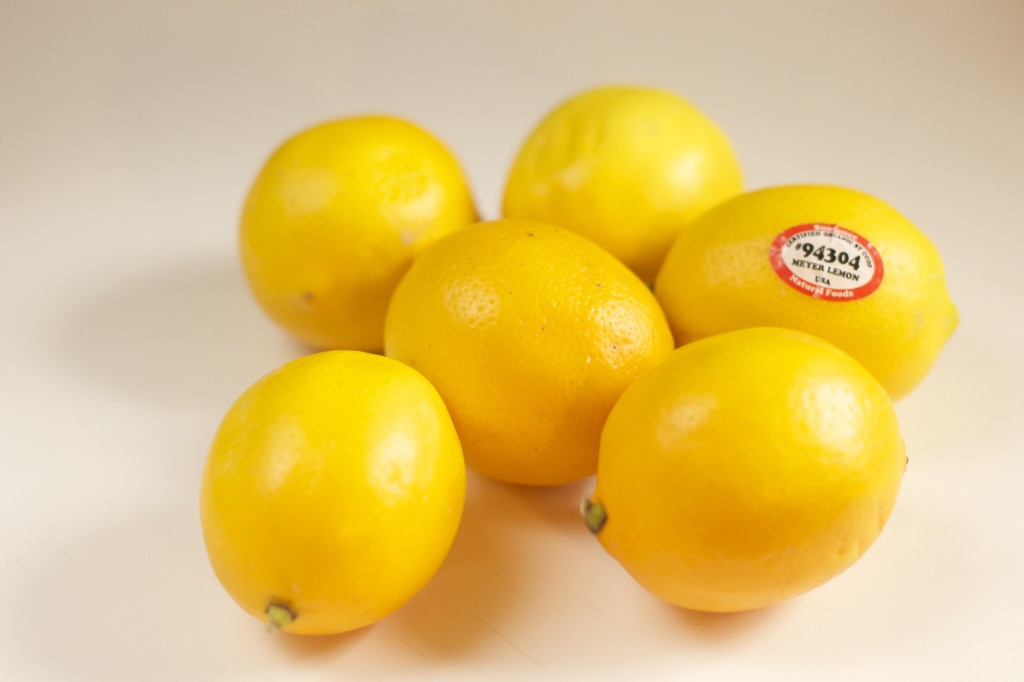
Mayer Lemons

Meyer Lemon is a special lemon. It’s smaller and sweeter than other lemons; its rind is thin and delicate with a fragrant floral aroma. It’s less acidic and tastes like an orange and a lemon had a baby 🙂  That’s how I would describe it …

Usually, Meyer lemons are available only in winter. Some are darker in color, kind of a light orange color, which can be confusing. The first time I saw a Meyer lemon was when a co-worker brought it in to work. Thinking it was an orange, she bit into it–her face had the expression of a sour surprise …

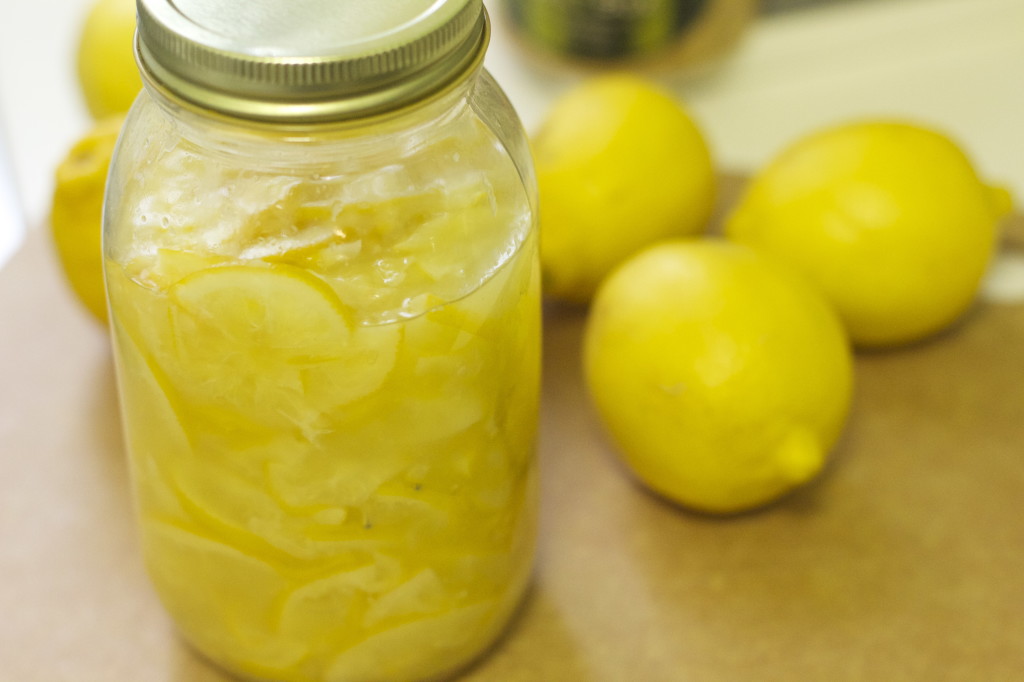
A good way to enjoy them even when they’re not in season is to preserve them and make a preserved lemon condiment, which means to let them pickle in their own juices and salt until they become tender with perfect balance of  tart , saltiness and a hint of bitterness (from the rind).

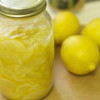
Most preserved lemon recipes call for at least 2 to 3 weeks before it is ready to be used. I find that with the Meyer lemons it’s much quicker. Five to seven days is enough; the thin skin and slicing them very thin speeds up the process. If you can’t find Meyer lemons, use regular lemons, but just keep in mind that  they will take longer to preserve.

When ready, the liquid becomes thicker–almost like an oily jelly consistency. A deeper flavor will develop with time; the more it sits in the liquid the better. Oh… the flavor! So simple to make but yet so intense and bold.

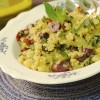
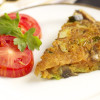
If you’re like me, you will treat this stuff  like a jar of gold… I add just a little bit at a time to stews, sauces, sandwiches, salad dressings; or garnish just like in this stuffed grape leaves recipe. Once it’s in the fridge, it’s good for up to 6 months.

Ingredients

4-5 Meyer Lemons

1 Tbsp. Sea Salt

1 Cup fresh Lemon Juice

1 Cup filtered Water

Preparation

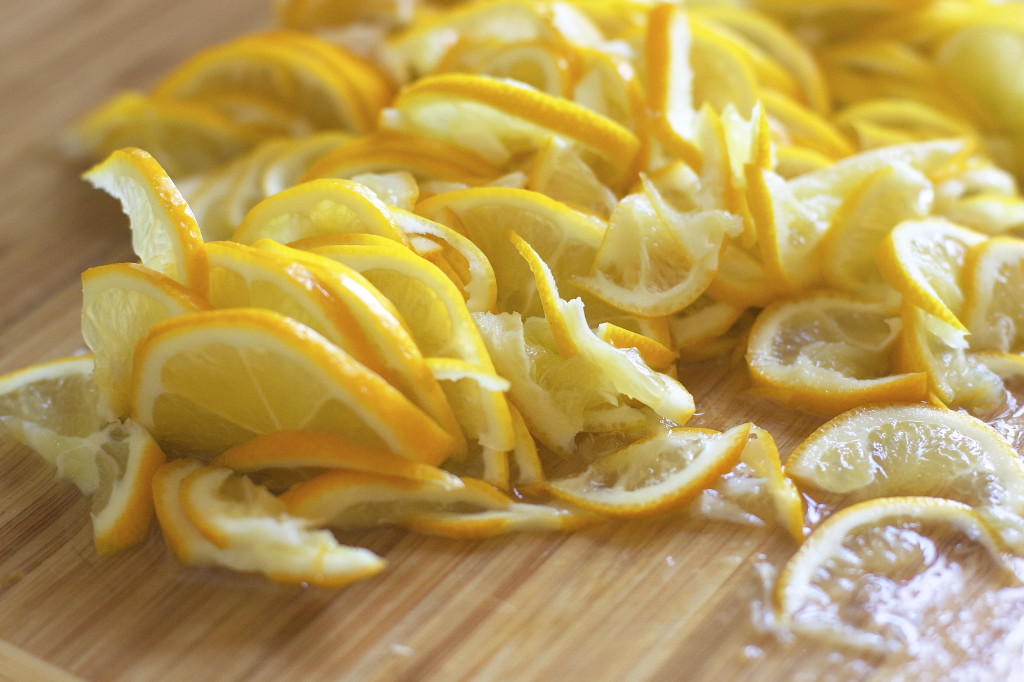
First, wash the lemons and trim both ends.

Slice the lemons very thinly, and remove the seeds.

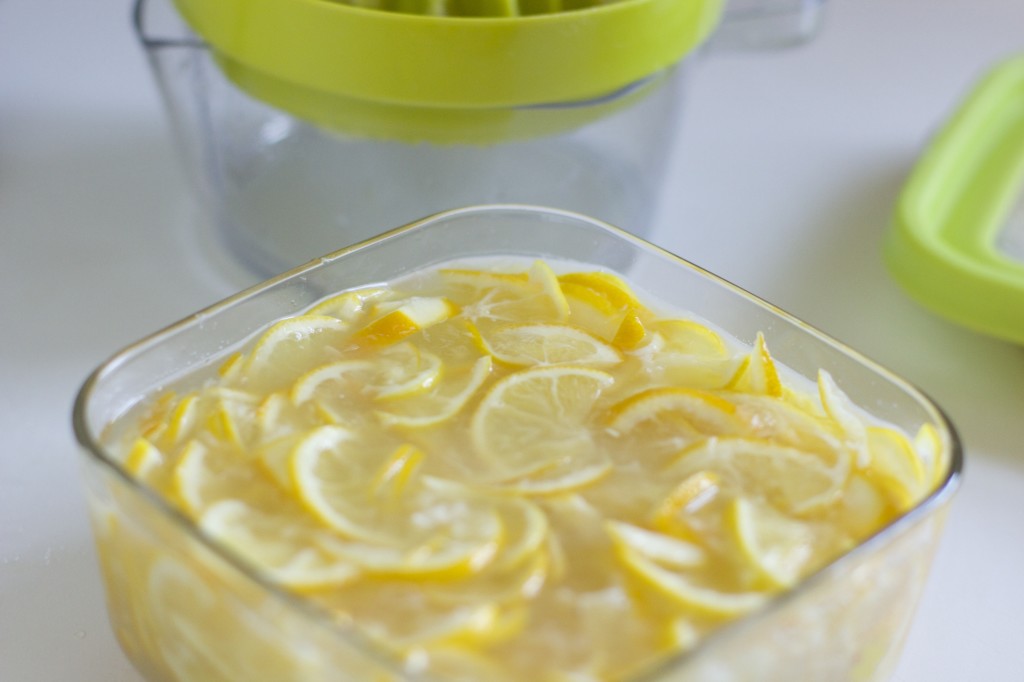
Combine the brine liquid and pour over the lemons in a glass bowl. Press down on the lemons a bit with a large spoon or fork to squeeze out more juice and to soften them. Make sure everything is submerged in the liquid and cover. Set aside for  5 to 7 days at room temperature.

When ready, transfer into an airtight container/ jar and store in the refrigerator.

You can always adjust the saltiness if it’s too salty for your taste. Just wash some in water before you use them or add more water into the jar.

IMG_7014 IMG_7023 IMG_7031

Signature

Homemade Hummus Spread with Baby Bella Mushrooms

IMG_3029

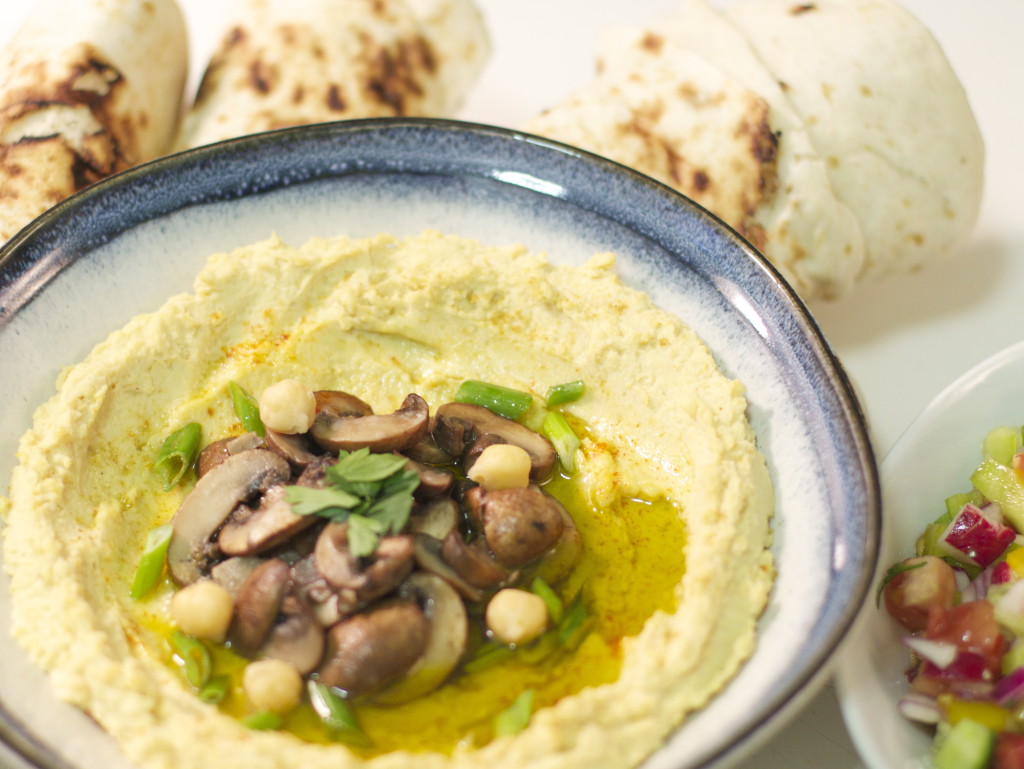
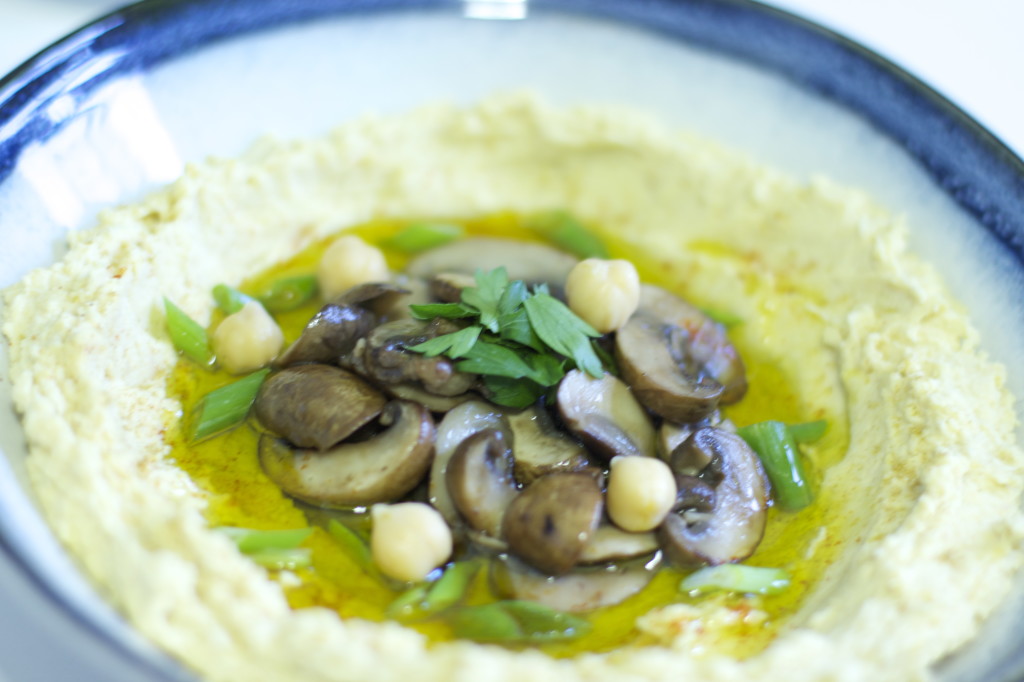
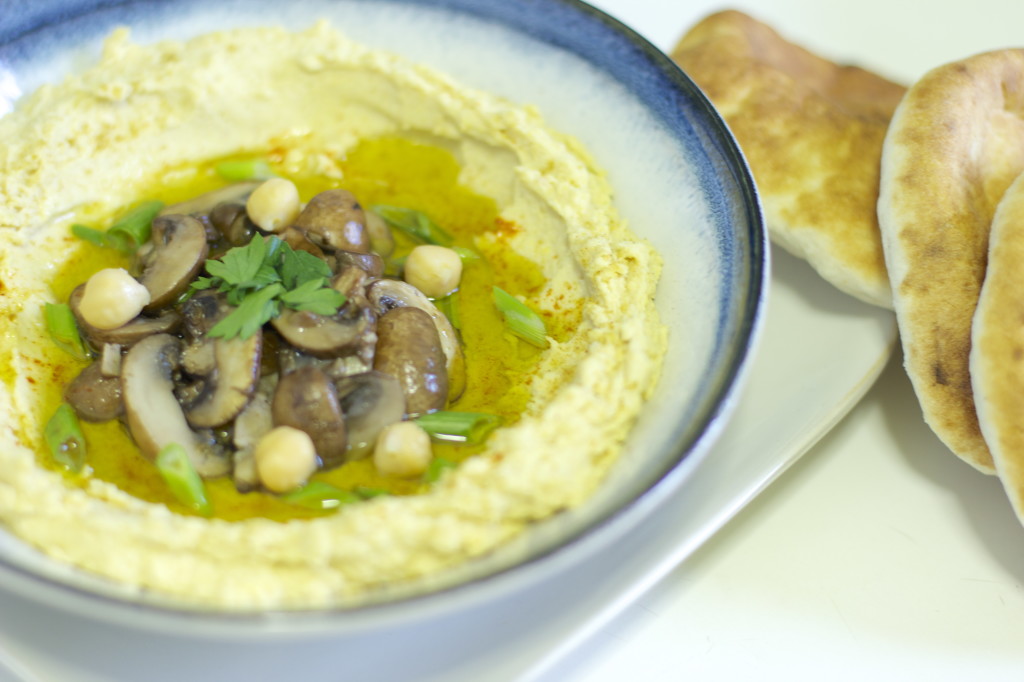
Hummus is a must have staple in our kitchen, it’s always in the fridge and ready to use as a base for sandwiches, wraps or just like in this recipe – as a dip topped with mushrooms, served with fresh pita bread and chopped salad. Hummus is a Mediterranean spread/dip made from Garbanzo beans A.K.A Chic Peas, Tahini paste, lemon and spices. It is a good source of protein, calcium (in the Tahini) and is very satisfying.

I sometimes buy a good quality Hummus but prefer to make it myself from scratch. It takes 5 minutes on the clock to prepare, and yes, I did time myself  (:  I like to use the BPA-Free Tetra Pak® Garbanzo Beans or the BPA-Free Can (just like in my Mexican Black Bean Dip recipe). Sometimes I add a bunch of pitted olives into the food processor, for added zest, and make an Olive- flavored Hummus, which is  absolutely De-Lish’!

Ingredients

1 Can or 1½ Cup Cooked Garbanzo beans (about 15oz)

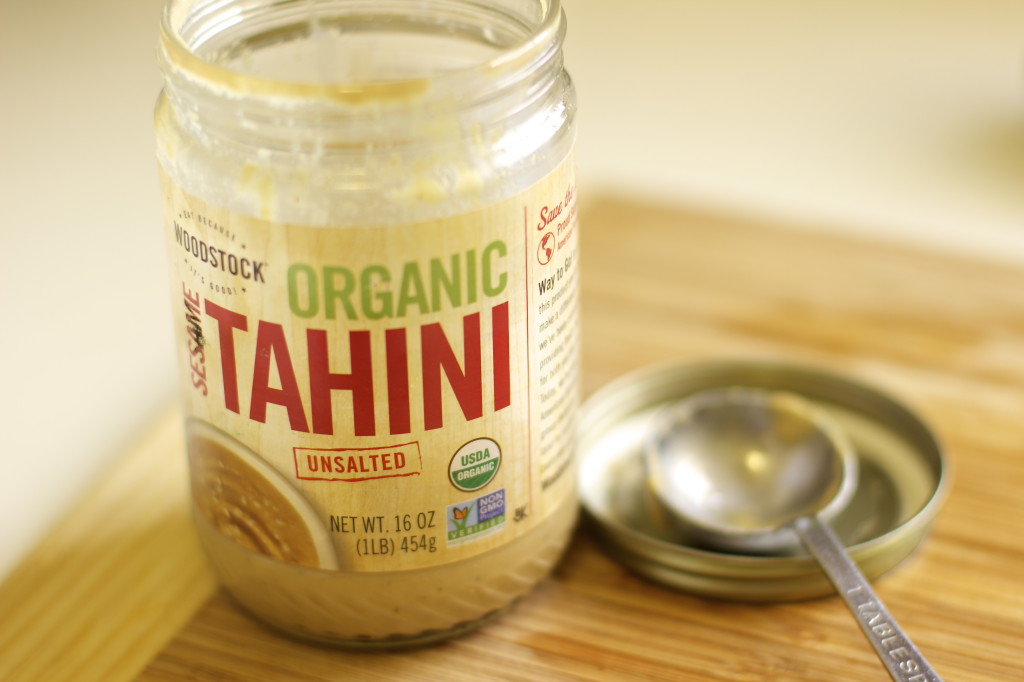
1½-2 Tbsp. Tahini

2 Tbsp. Lemon Juice (Juice of ½ lemon)

1 tsp. Cumin

1 Tbsp Olive Oil

Salt to taste

For the Mushroom Topping:

1 Pack Baby Bella Mushrooms, sliced ,stems off

Oilve Oil

Salt and Pepper

Chopped Parsley ,Scallion and Paprika  for garnish

Preparation

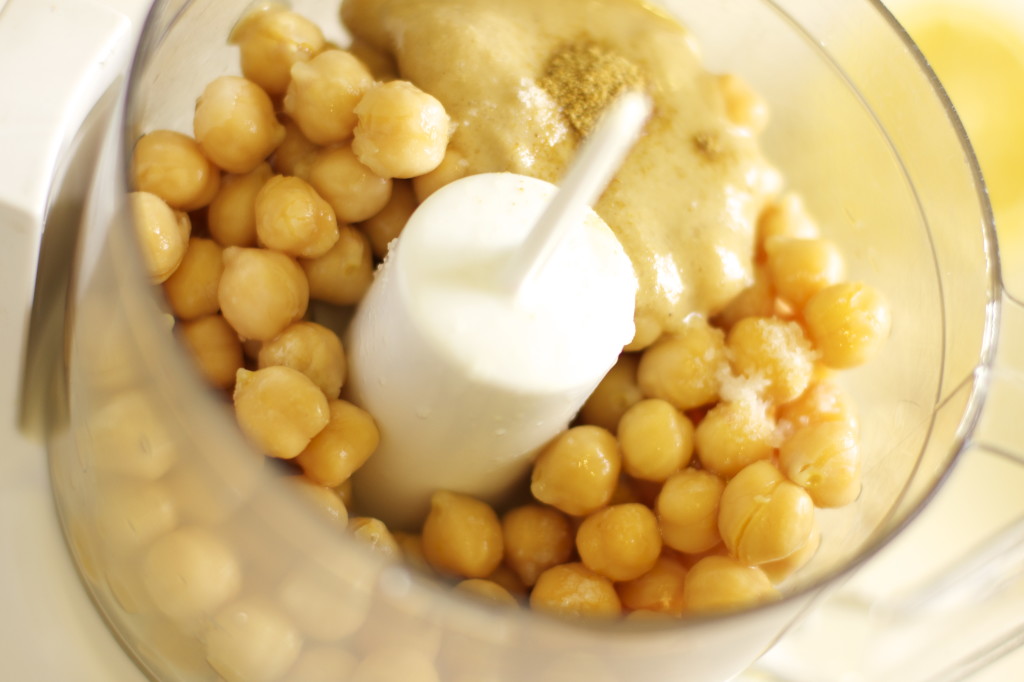
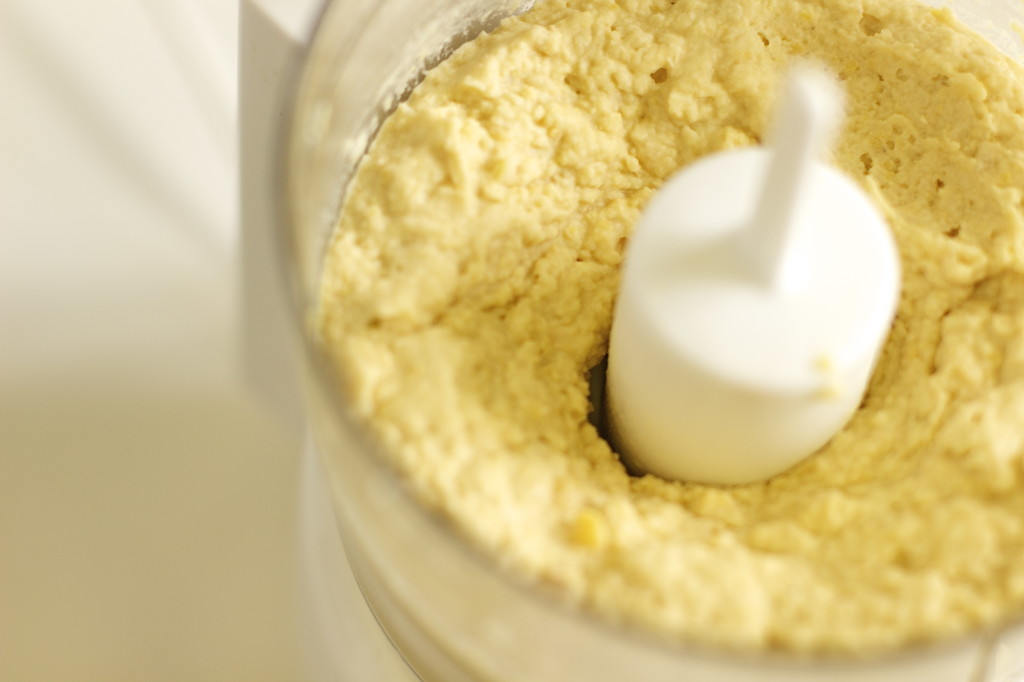
Place all Hummus ingredients in a food processor and mix, add lemon juice and olive oil gradually, until it becomes paste like consistency. Taste and adjust to your liking.

If it’s too “dry”, I like to add a little bit of the sesame oil that’s at the top of the Tahini Jar. (It also adds more flavor).
You can add more lemon juice or water if it is still not as smooth as you like, add it gradually, a Tbsp at a time so it won’t be too “watery”.

Don’t forget to leave some whole chic peas on the side for later.
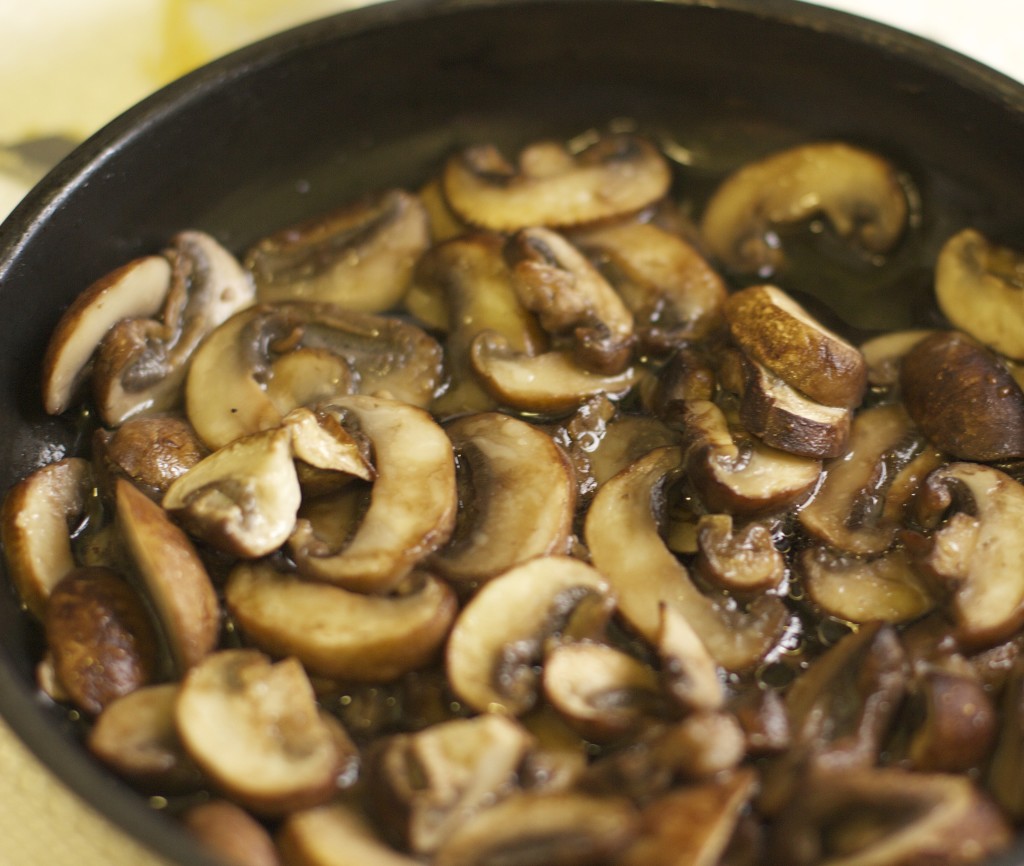
Sauté the mushrooms in oil for a few minutes, until soft, add salt and pepper to taste.

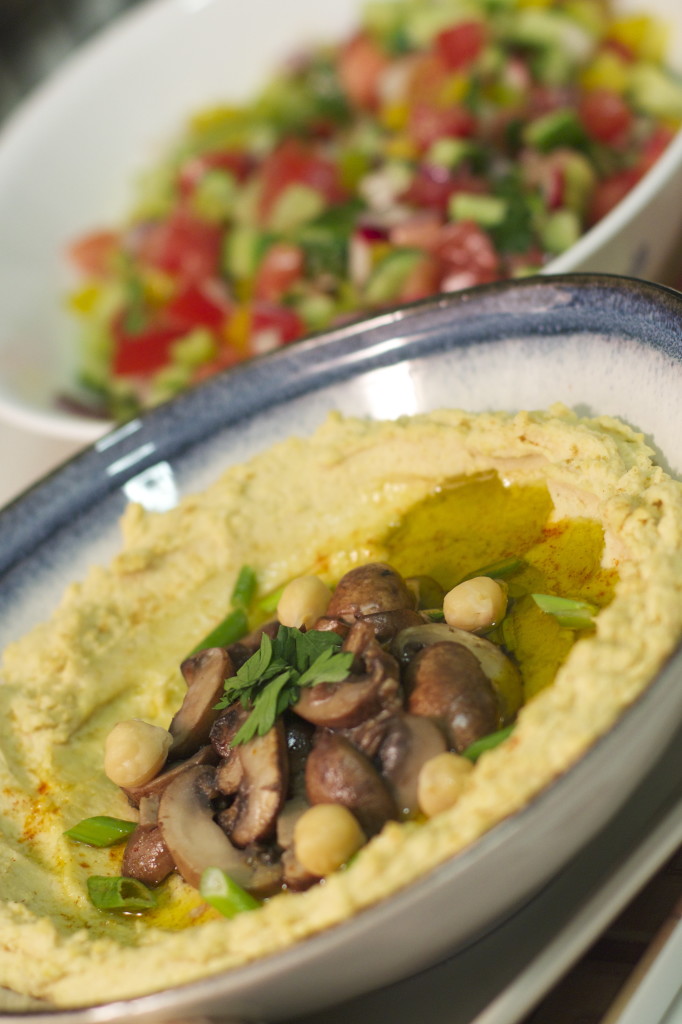
To serve,  generously spread homemade Hummus on a plate. Drizzle olive oil on top, add mushrooms, chic peas and scallion. Decorate with paprika and parsley.

Get some fresh pita bread and start “wiping”…

IMG_2985

IMG_2959 IMG_2966 IMG_2970 IMG_2971  IMG_2990 IMG_3027

Signature

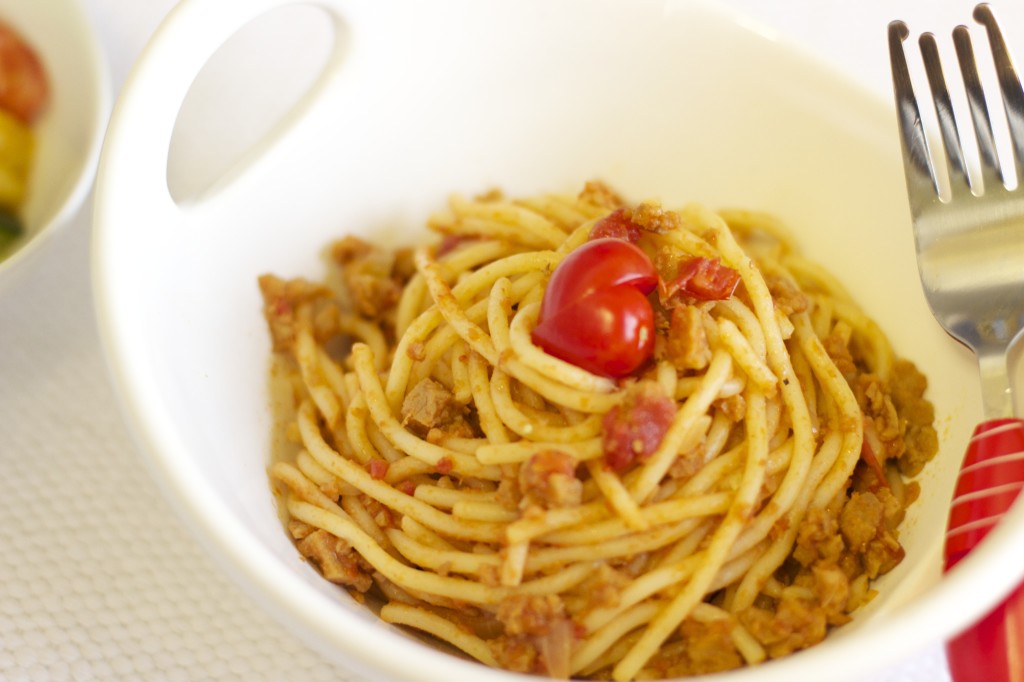
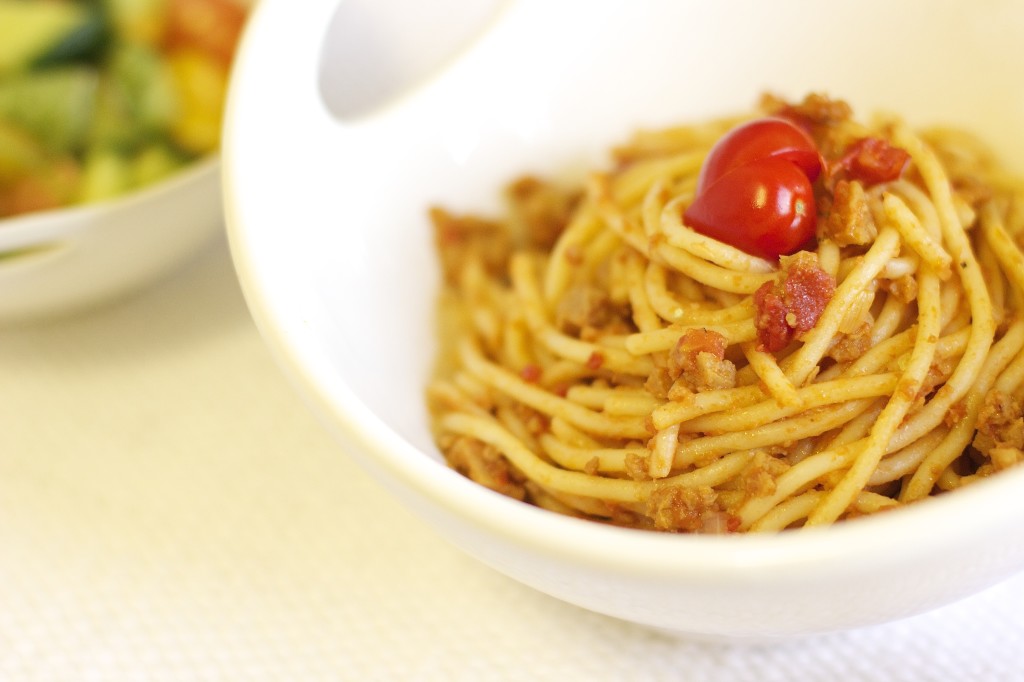
Spaghetti Cardboard-O-Lognese

IMG_5845

There are many kinds of meat substitutes and alternatives. The most common one is Seitan, which is a wheat protein and is the most versatile in its ability to “mock” meat.  It comes in many textures and shapes. The Seitan that looks like ground meat is the easiest type to start with if you want to experiment. It is the closest in texture to ground meat.

I’ve found that there’s an assumption that meat “substitutes” taste like cardboard… but just like animal flesh doesn’t taste good by itself and needs to be flavored with spices and herbs (which come from plants), so does Saiten “meat”. Plus, I’d rather eat cardboard that tastes good and not eat the crushed body parts of a miserable dead cow.

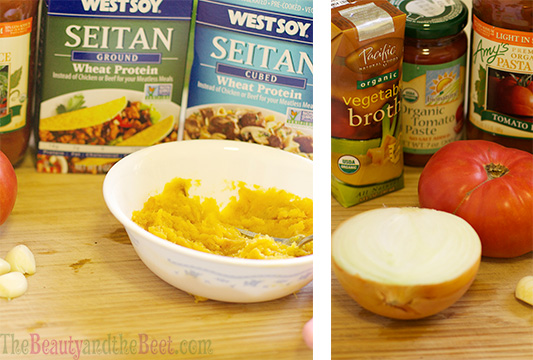
If you haven’t noticed by now, I have a tendency to hide healthy ingredients in my daughter’s food. The “hidden treasure” in this recipe is the mashed acorn squash in the “Bolognese” sauce.  When I made this dish for my daughter’s playdate guests it was a delicious  success! The acorn adds sweetness, blends in perfectly in the sauce and the young vegetable detectives did not catch it. 😉

If you want to learn more about how to start and substitute, watch Colleen Patrick-Goudreau in her funny innovative lecture,

Ingredients

1 pack Spaghetti Pasta

1 medium Onion chopped

3 cloves Garlic minced

1 ripe Tomato

1 can crushed tomatoes

1/2 cup Vegetable Broth

2 packages Seitan (Cubed and Ground, I chopped them both more finely than packaged)

1/2 roasted mashed Acorn Squash (I used the other half from yesterday when I made this Red Lentil Patties recipe; you can use other mashed pumpkin or carrots, or anything that can add sweetness and can “disappear” in the red sauce).

3 Tbsp. Tomato Paste

1 Tbsp. Soy sauce

1 Tbsp. Brown Sugar (Optional)

1 tsp. Adobo Spice Mix (optional,  I stick this stuff everywhere but you dont have to, just season as you like)

Sea Salt

1/2 tsp. Paprika

Olive Oil

Preparation

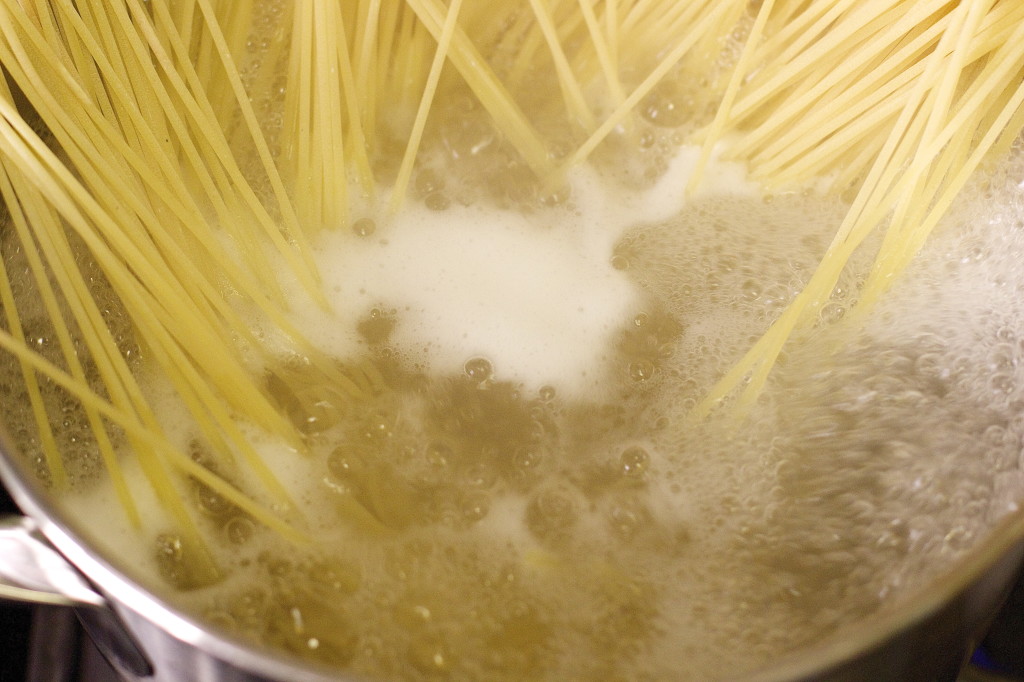
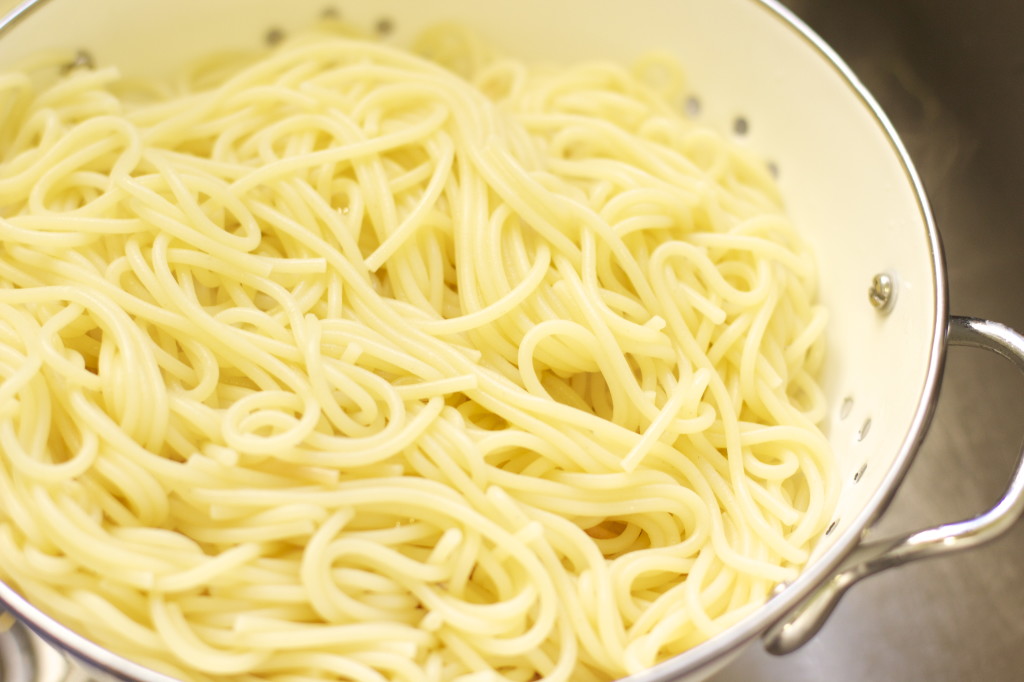
Cook the pasta according to package instructions, it’s important to salt the water. Drain the pasta and set aside until sauce is ready.

Start sautéing the onion and garlic in olive oil, add the ground Seitan. Stir occasionally for a few minutes until golden brown.

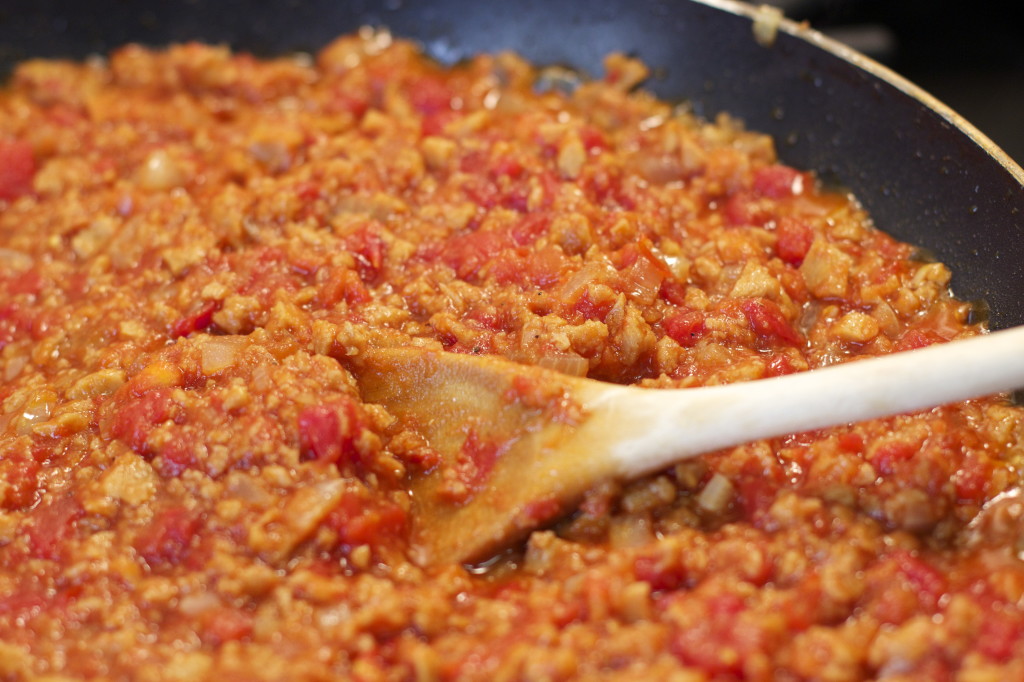
Add the tomato paste, crushed tomatoes, chopped tomato, the mashed squash, brown sugar and spices. Cook until everything blends well. Add the vegetable broth to “open” the sauce. let it simmer for a few m ore minutes until it all comes together and the sauce has a nice color and you like the consistency.

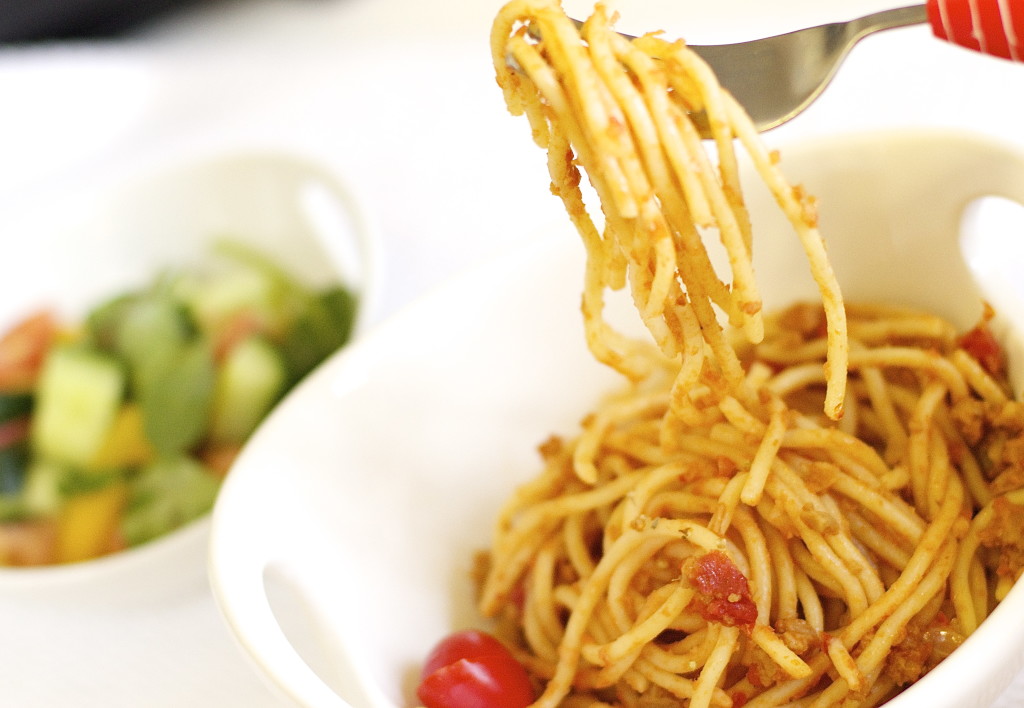
Pour the sauce over the pasta and mix well let it soak in the sauce for a few minutes before serving.

Spaghetti Ingredients with Watermark

Vegan Spaghetti Bolognese Vegan Spaghetti Bolognese Vegan Spaghetti Bolognese

Vegan Spaghetti Bolognese

Vegan Spaghetti Bolognese


Signature

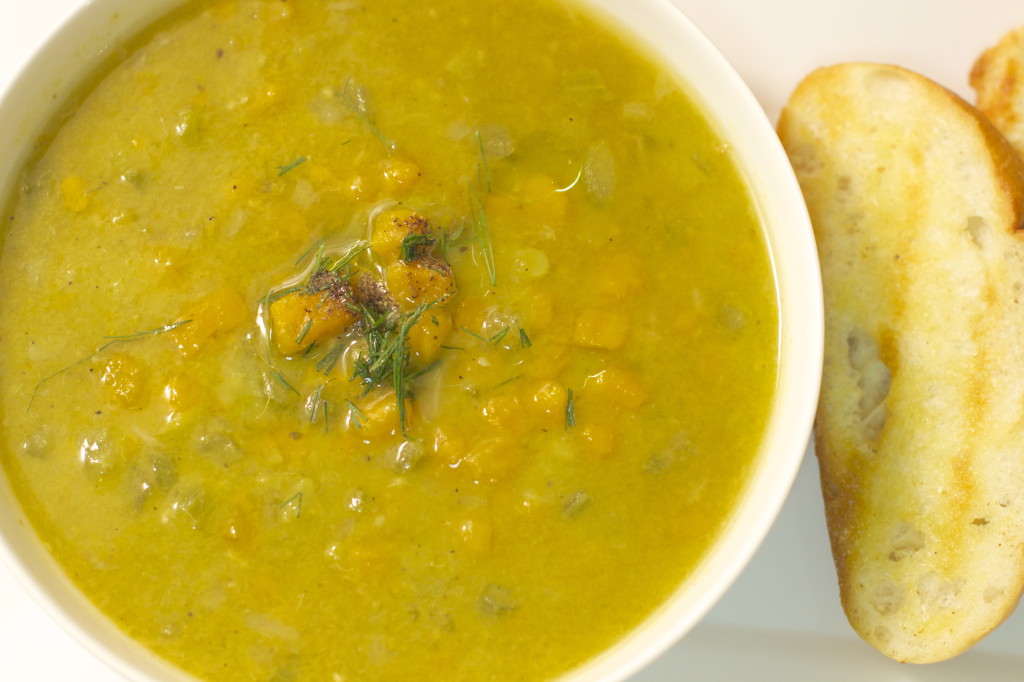
Sweet Green Split Pea Soup

IMG_5925

This recipe is a “Phone recipe” I got from my mom. It’s the kind you don’t get with accurate measures. “Add a little bit of this, a bunch of that and cook until it’s ready”… which is fine here, there is room for adjustments anyway. You can play with the spices, the amount of liquid and the vegetables and it will still be delicious!

As a child, I did not appreciate it as much but now even the smell of it reminds me of Home Sweet Pea Home. It’s so interesting how senses like smell and taste are connected to memories. Winter, coming home from school straight to the kitchen table… that is my childhood pea soup memory. Plus, my hubby said it’s the best soup he ever tasted, but then again, he says that about everything I cook 😉

The soup tends to get very thick when it gets cold, so just add water and it’s good for the next day too.

Ingredients

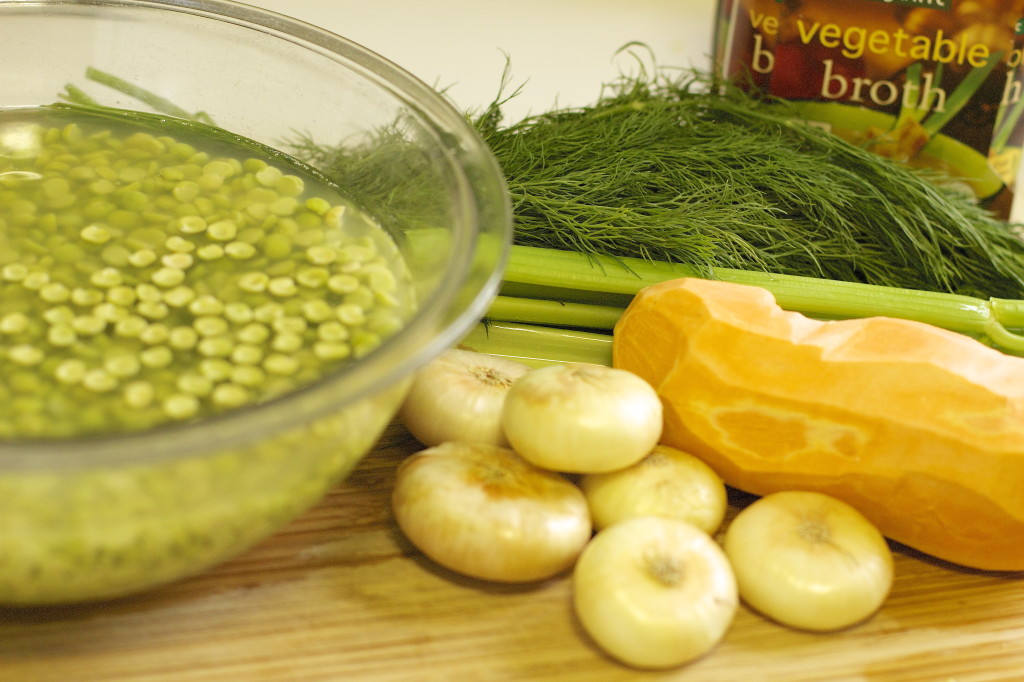
2 Cups Dry Green Split Peas

1 Sweet Potato/Yam Peeled and Chopped into small cubes

4-5 Stalks of Celery, Chopped

1 Onion, Chopped  (I used a few sweet and mild Cipollini small flat onions but any Onion will do)

2 Cups Vegetable Broth

4-6 Cups of Water

2 Tbsp Oil (Olive Oil Or Coconut Oil)

1 tsp. Sea Salt

1 tsp. Adobo Spice Mix

1/2 tsp. Cumin

Black Pepper (the more the better for me…)

Chopped Dill (Optional)


Preparation

Soak the peas for 2-3 hrs. or more (the more soaking time the less cooking time).

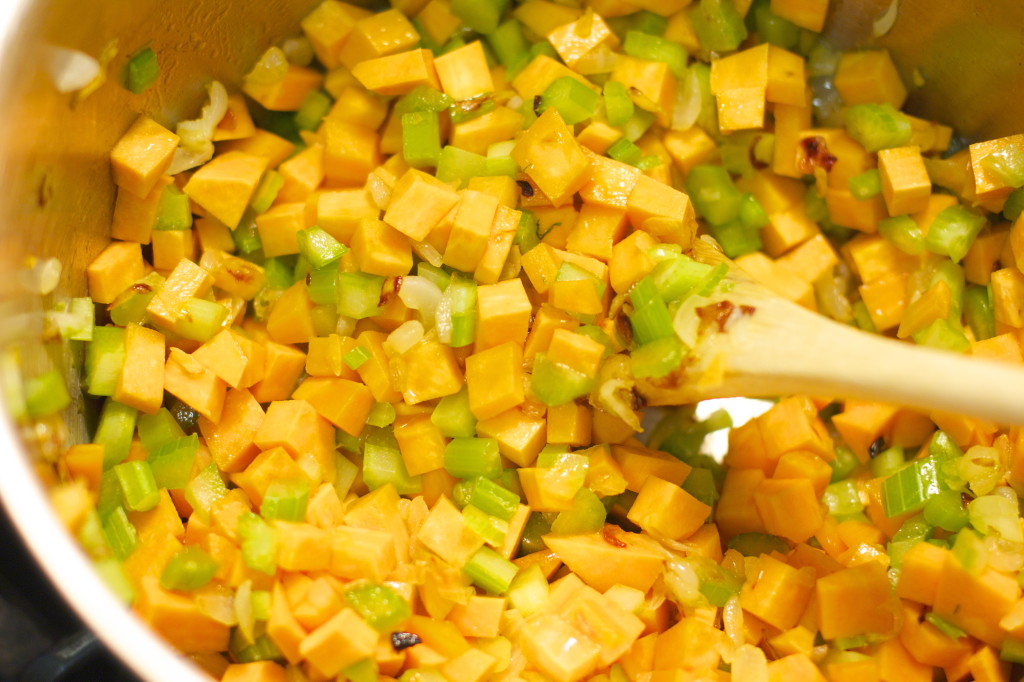
In a large pot, Sauté the onion in oil.

Stir in the sweet potato and celery for a few minutes.

Rinse and drain the split peas and add them to the pot.

Add the Vegetable broth and water, bring to a boil and lower to simmer for 1 1/2 hr. until the peas are “melting”.

Add the salt and spices towards the end.

Serve with croutons and sprinkle chopped dill on top.

IMG_5852IMG_5858IMG_5933

Signature

Red Lentil and Acorn Squash Patties

IMG_5769

I made these patties in a few different versions before. I learned that a great way to experiment with making patties or veggie balls, is to use dry uncooked and soaked legumes as a base ingredient. Add vegetables, herbs and spices and the options are limitless! The fun fact is:, Legumes, due to their high content of starch (that’s the white stuff you see in the soaking water) act like a “glue” so there is no need for eggs. How simple and cool is that?! Actually, Falafel balls are made with the same principle, dry uncooked and soaked chic-peas or Fava beans mixed with spices and herbs and then fried.

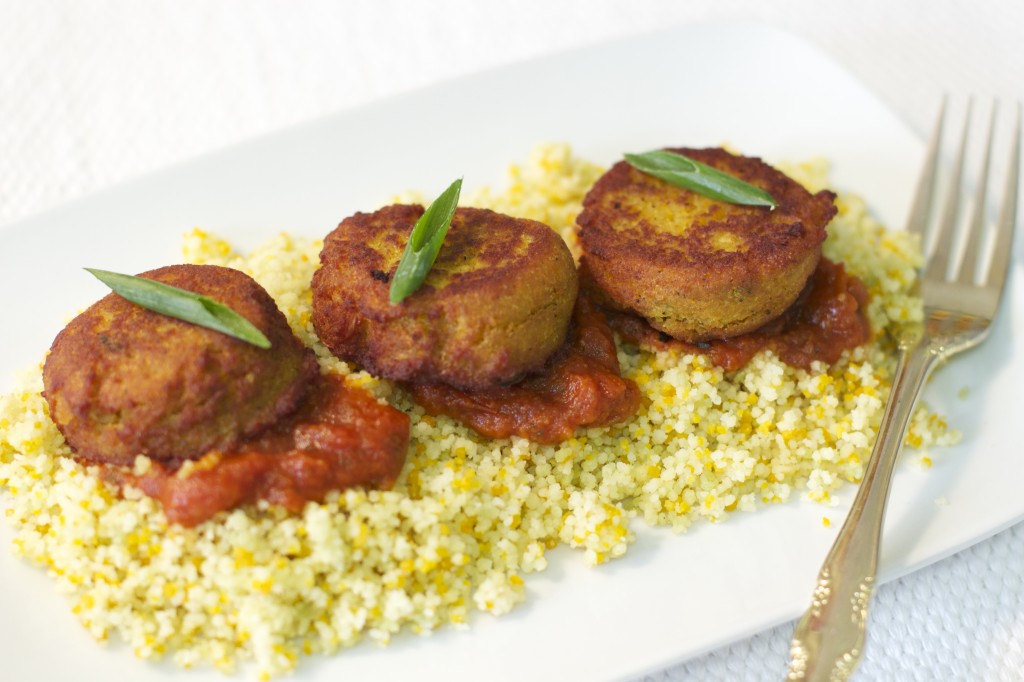
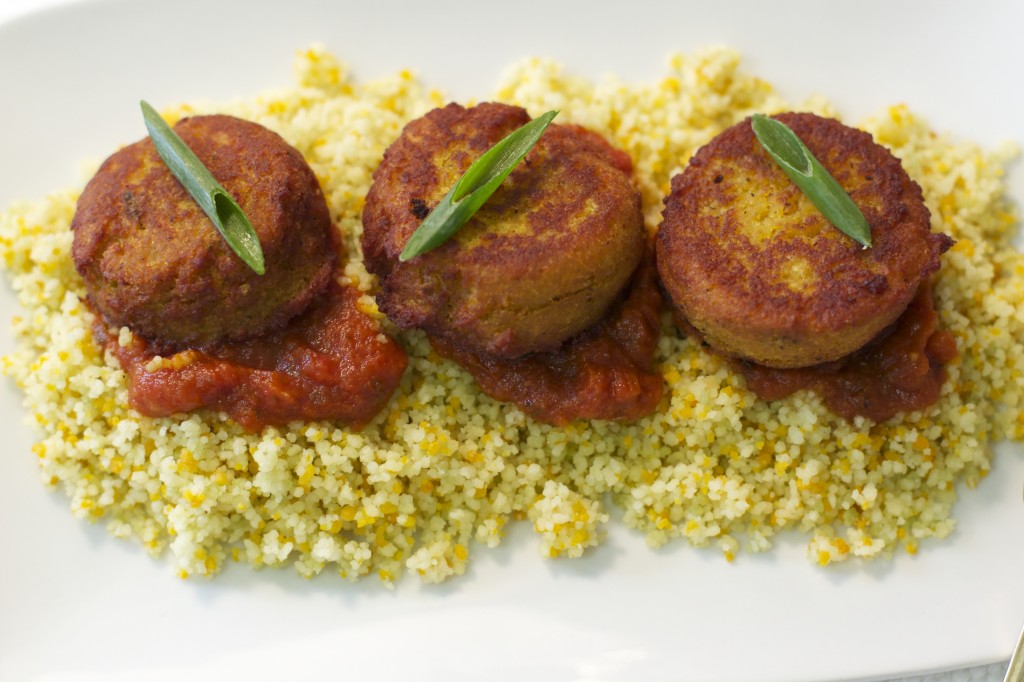
In this recipe I used the beautiful Acorn squash with the red/orange lentils and made it ready for fall…  I served it with tri-color couscous and simple tomato sauce but It’s great in a sandwich too. So lets get to work! start soaking your lents…

Ingredients

1¼ Cup Red Lentils, Soaked in water for about 3 to 4 hours

1/2 Acorn Squash

1 Small Onion

1/2 Cup Bread Crumbs

1 tsp. Fresh Thyme leaves

1 tsp. Salt

1 tsp Cumin

1 tsp. Turmeric

1 tsp. Paprika

1/2 tsp. Dry Ginger powder

1/2 tsp Black pepper

1 Tbsp. Maple Syrup

Oil for Frying

Preparation

Preheat oven to 400º

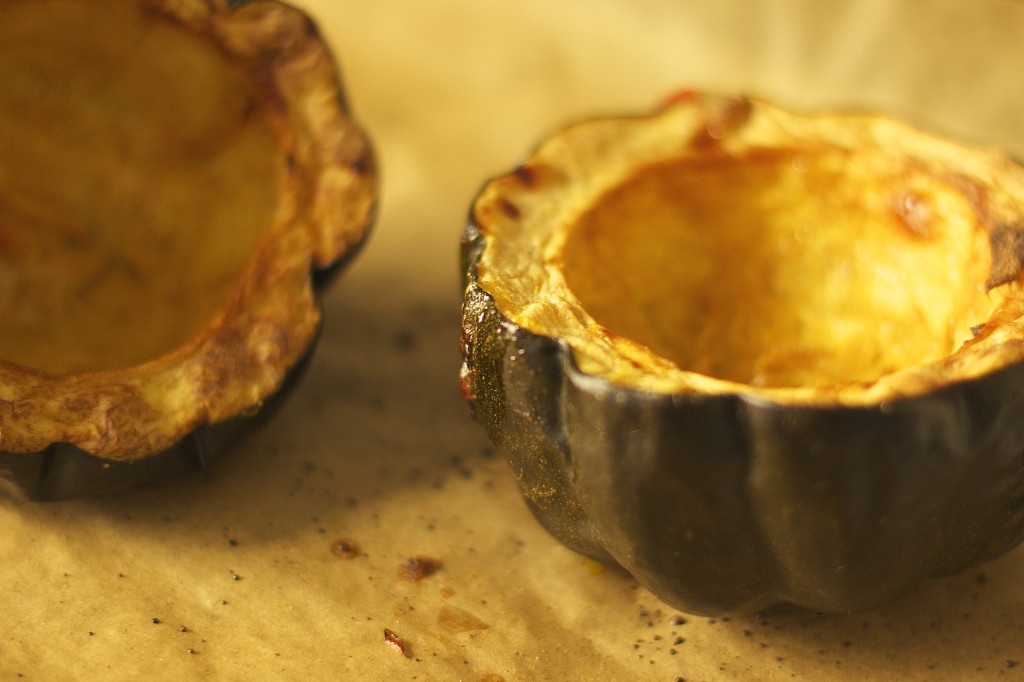
Cut the acorn squash in half, scoop out the seeds, brush with olive oil, maple syrup and sprinkle with sea salt (I used only one half of the squash, the other half I used for another recipe).

Roast in the oven for 45 minutes to an hour until soft. Set aside to cool. After the acorn squash has cooled, scoop the “flesh” from its inside, do not use the skin.

Rinse and strain the lentils and chop the onion.

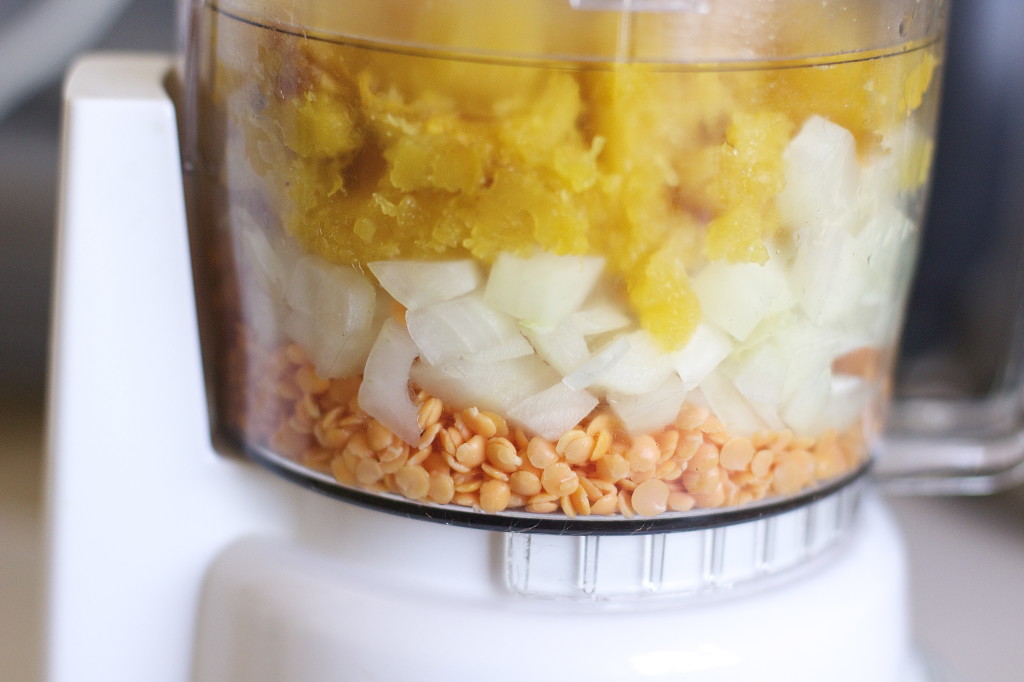
Place the mashed acorn squash, the lentils and the onion in a food processor and blend.

In a mixing bowl, add the mixture, the bread crumbs and the spices.

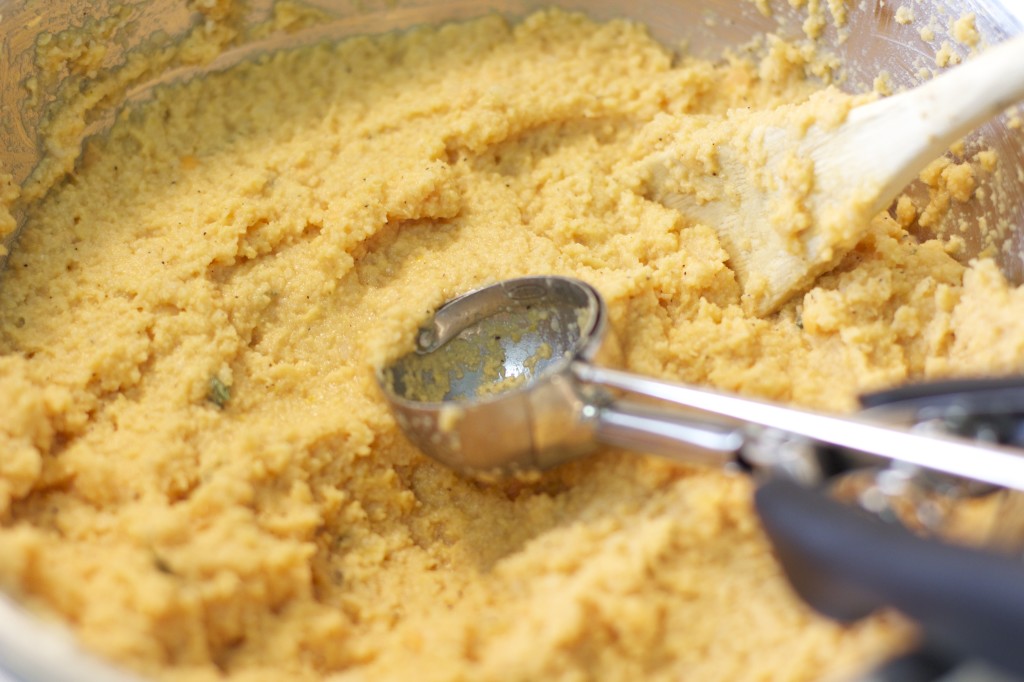
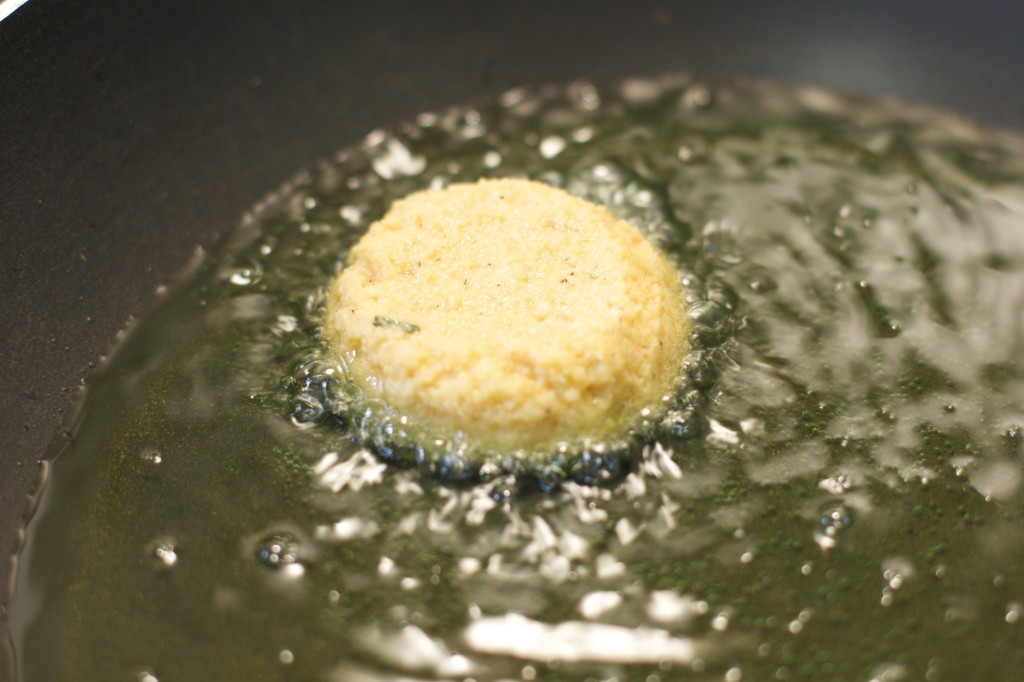
Heat up the oil in a frying pan. Use an ice-cream scooper to form balls, place it in the pan and flatten a little to look like patties. Fry on medium heat for 2-3 minutes on each side.

• Always fry one pattie first to test the flavoring. If more spices are needed, add it to the mixture before frying the whole batch.

• If the mixture is too soft for the ice cream scooper to pick up, add more bread crumbs.

• If you prefer, you can bake them in the oven, it comes out just as tasty. Just brush them with oil before baking.

Maple Roasted AcornIMG_5747IMG_5755IMG_5756Always test one first

IMG_5760


Signature