Red Hot Chili Peppers -The Paste

IMG_2419

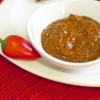
I’m still on a roll to cover all the basics, which means ingredients that I use as “helpers” when I’m ready to “throw something on the stove”, make a quick sandwich or marinade I always have some kind of spread, sauce or a paste like this one to add into the mix and kick it up a notch.

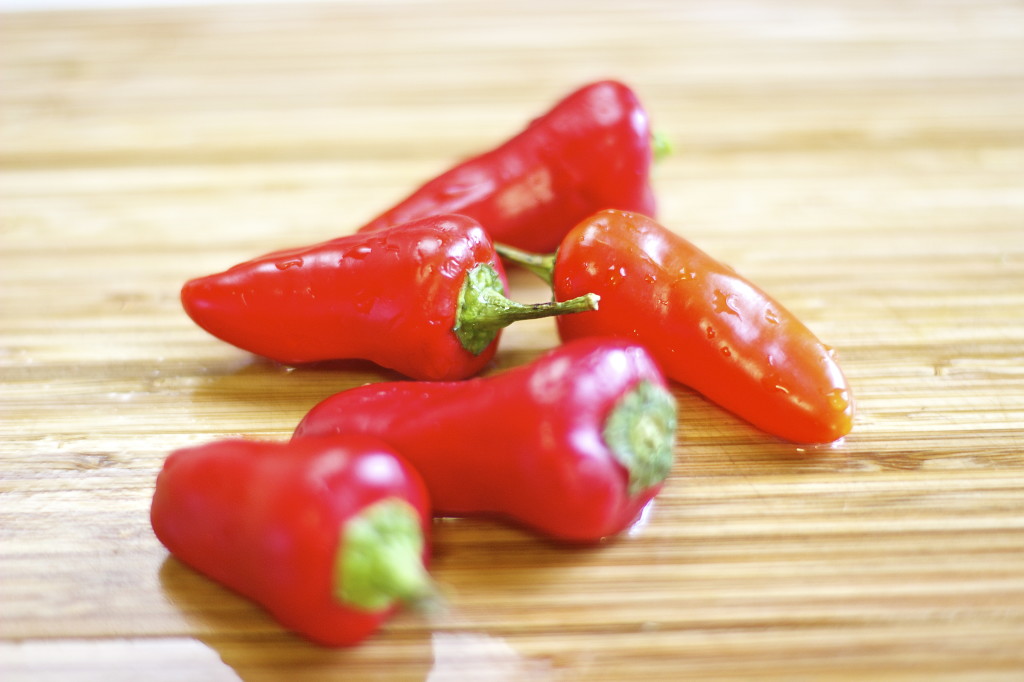
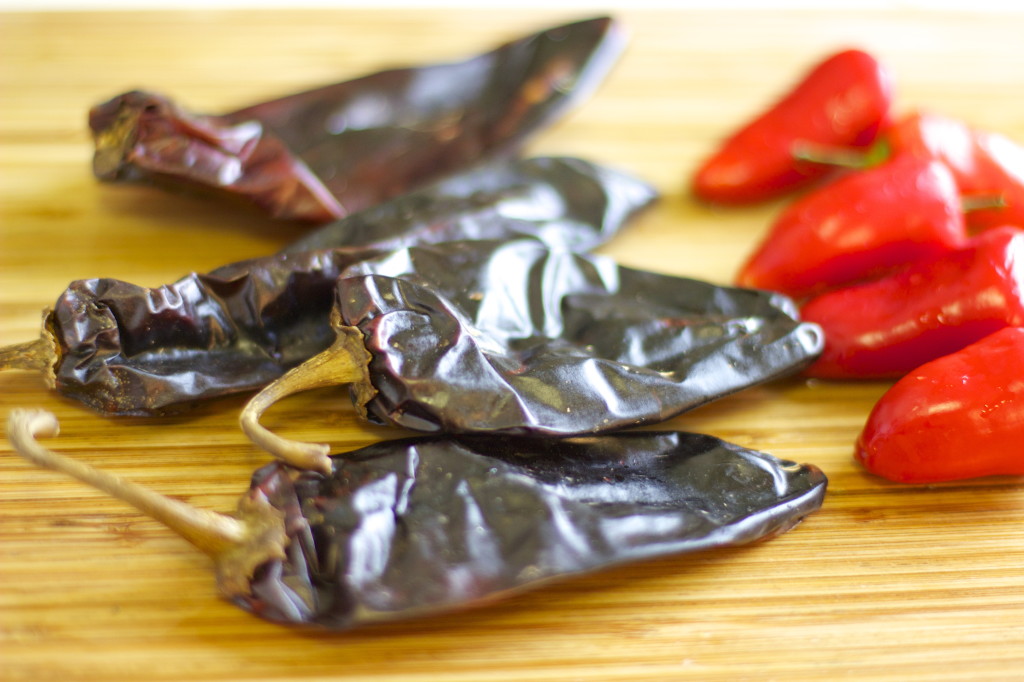
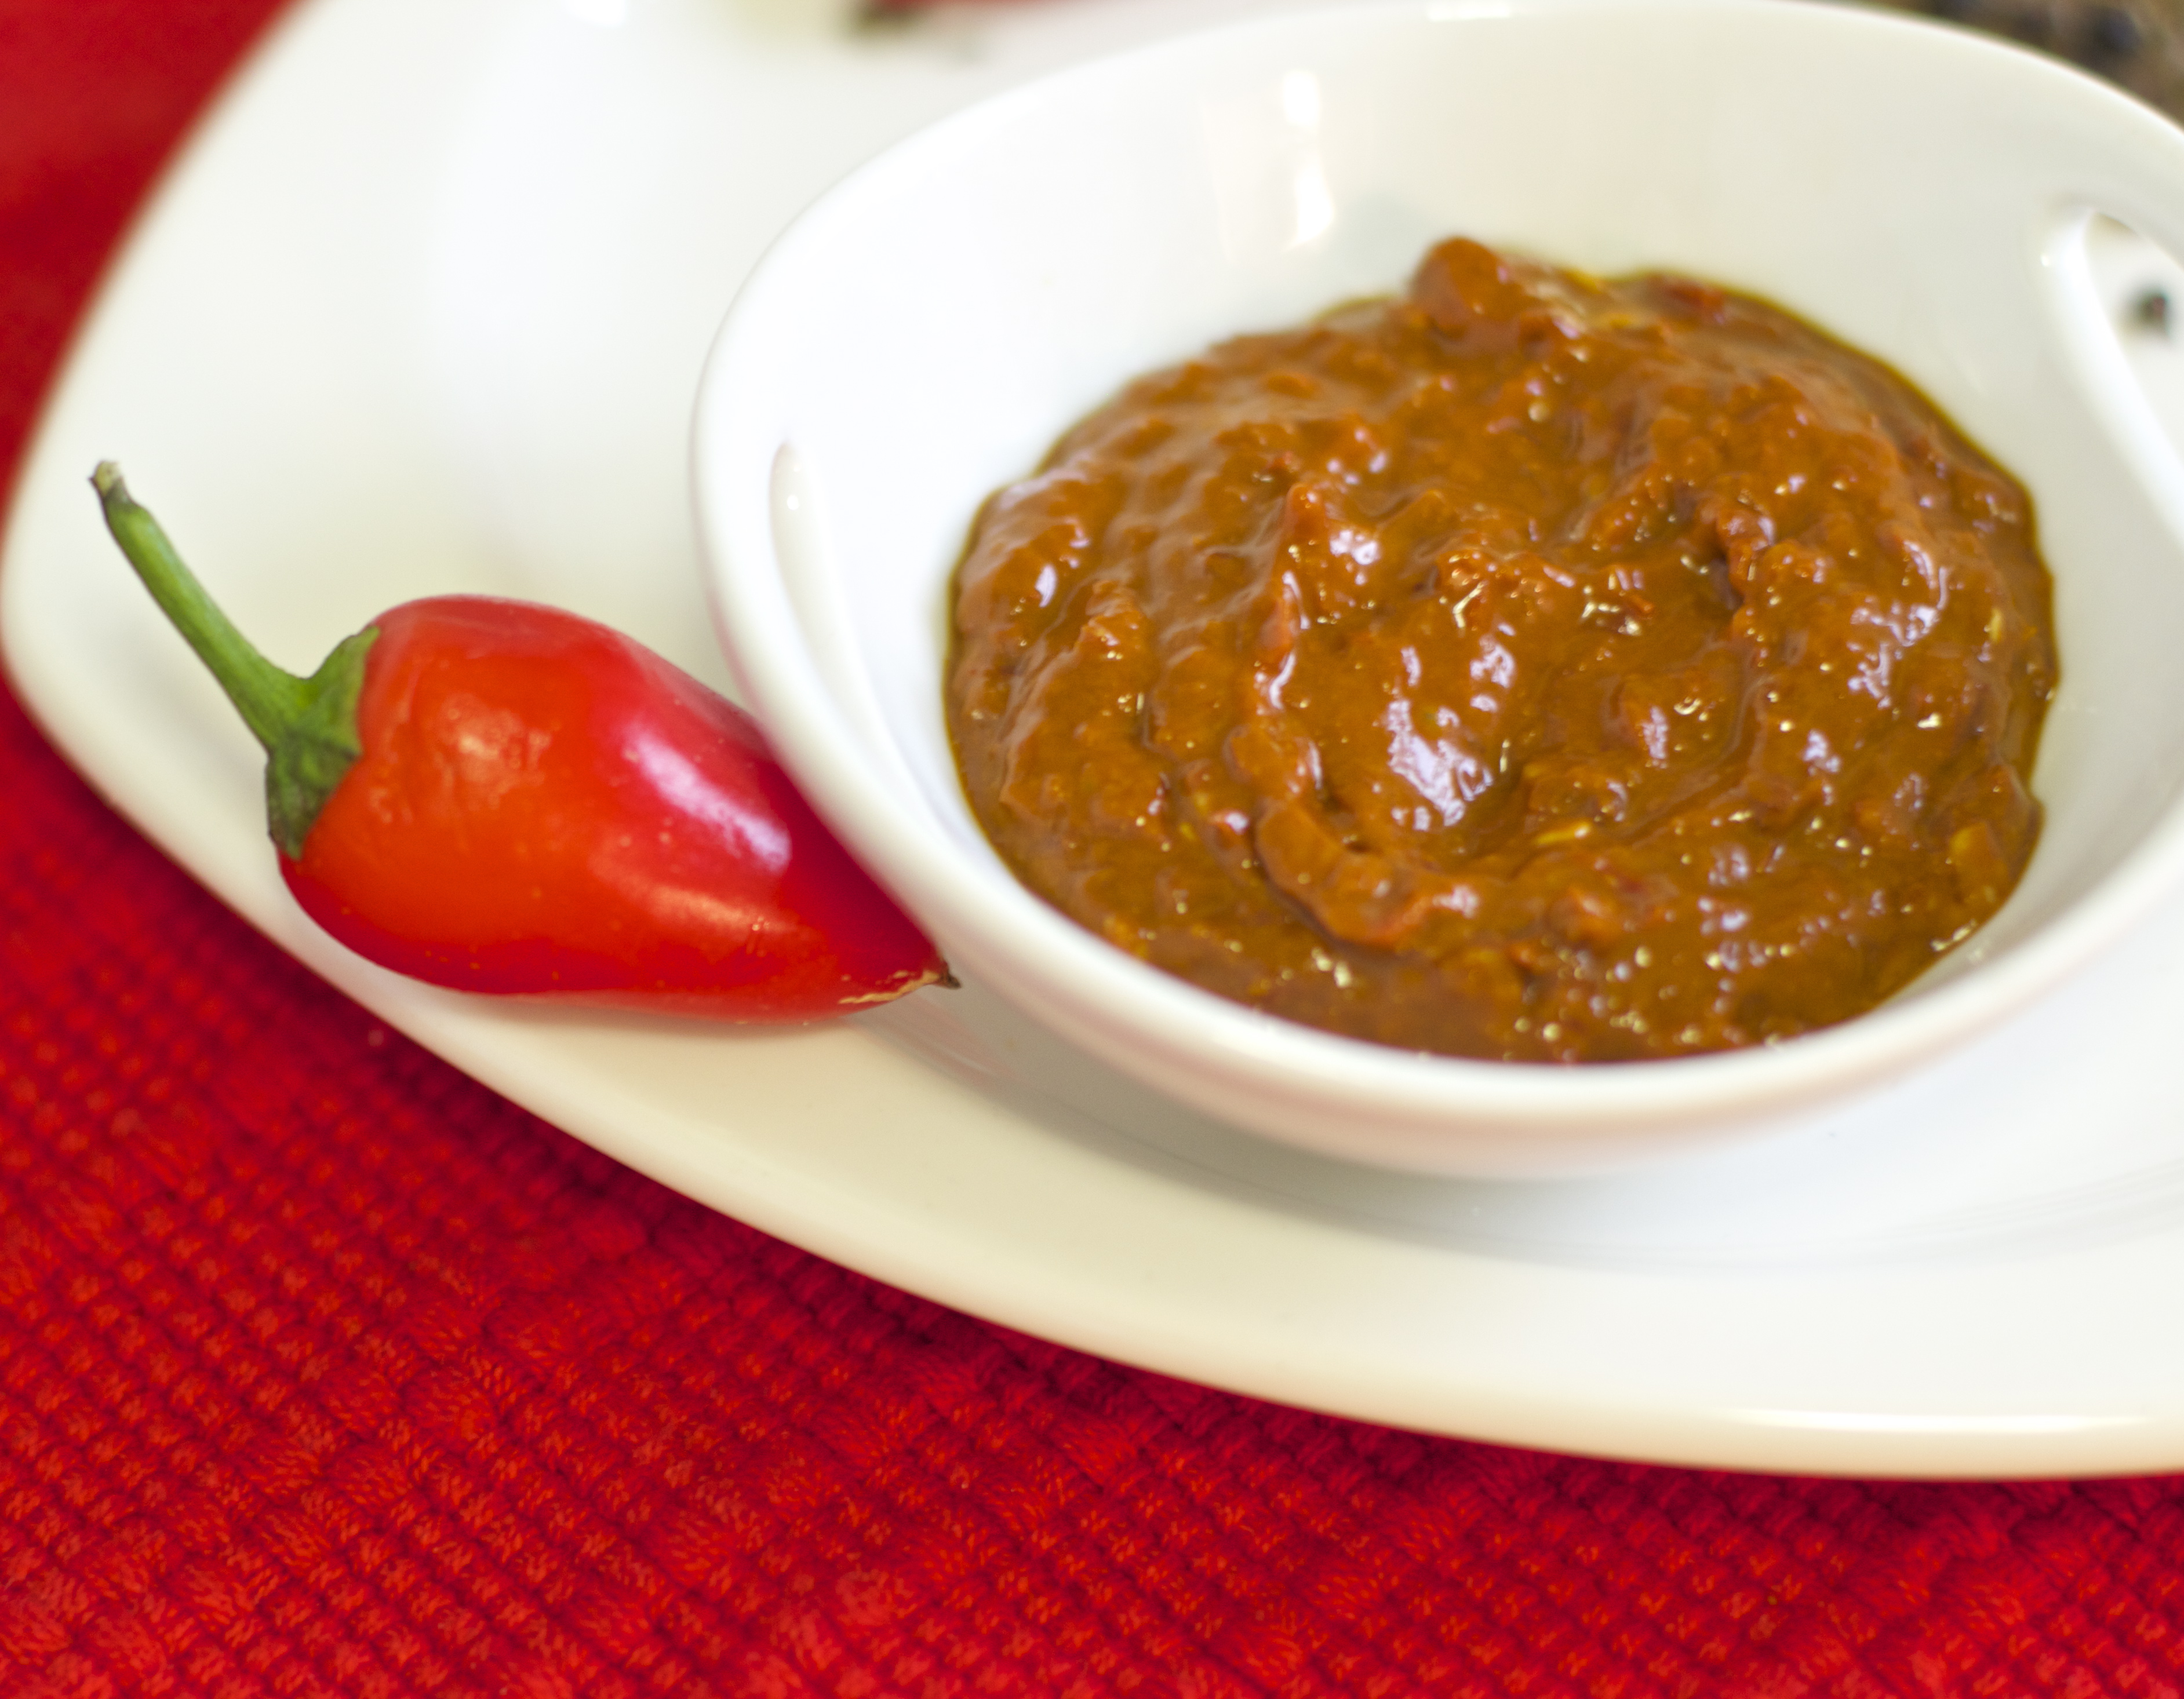
There are so many hot sauces and hot pepper pastes you could buy but it’s so much more fun to make one of your own and play with it until it fits your taste. I like to make it more like Harissa sauce which is a north african hot chili sauce. I don’t really follow strict rules or recipes here. You can use dried chillies or fresh ones like Jalapeño. In this recipe I used both dried chillies and red Jalapeño peppers. It is rare to see red Jalapeños but they’re actually just fully ripened green Jalapeños that turned red.

I do have one warning though, DO NOT touch your face and eyes after handling hot peppers! It will burn so bad you’ll have to call the fire fighters 😉

Ingredients

5 Dried Red Hot Chili Peppers

5 Fresh Jalapeño Peppers

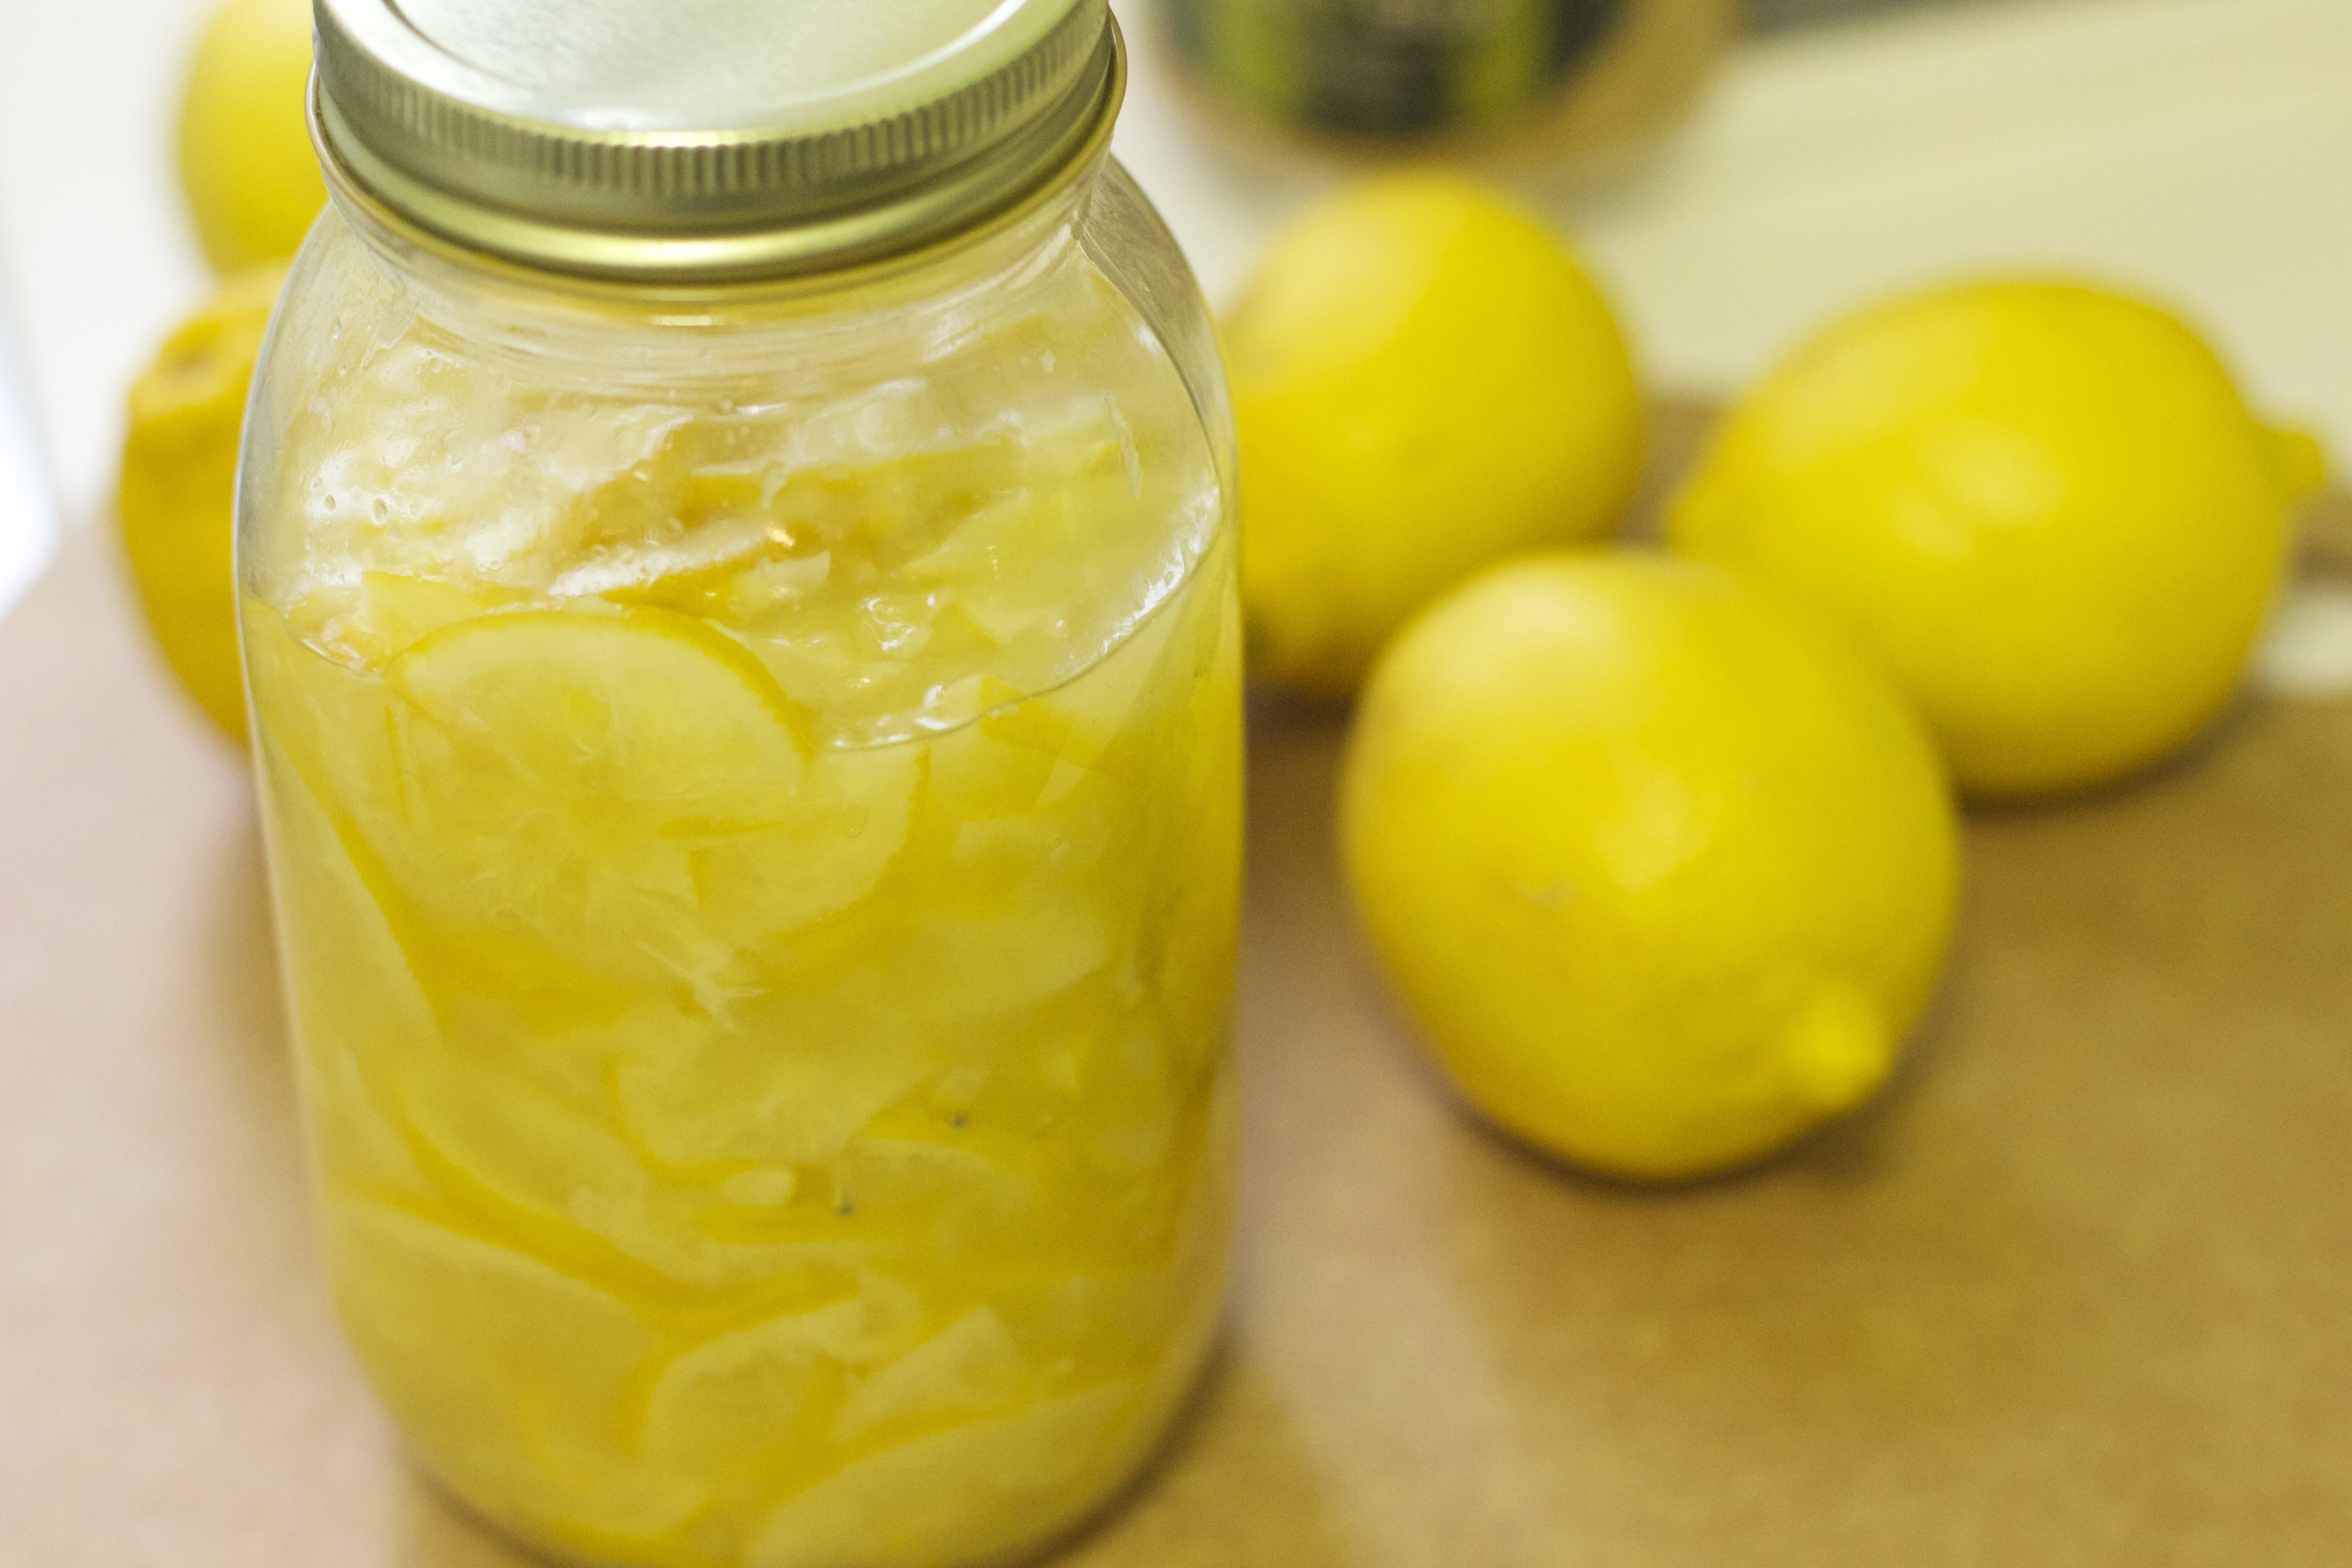
1 tsp. Vinegar or Lemon juice

Olive Oil (or if you prefer another oil; grape seed oil would be good)

½ tsp. Ground Cumin seeds

½ tsp.Ground Caraway seeds

½ tsp Ground Coriander

Sea Salt

Black Pepper

Crushed Garlic (Optional)

Preparation

Soak the dried peppers in hot water for at least 1 hour, wash and drain.

Remove all stems from the dried and fresh peppers.

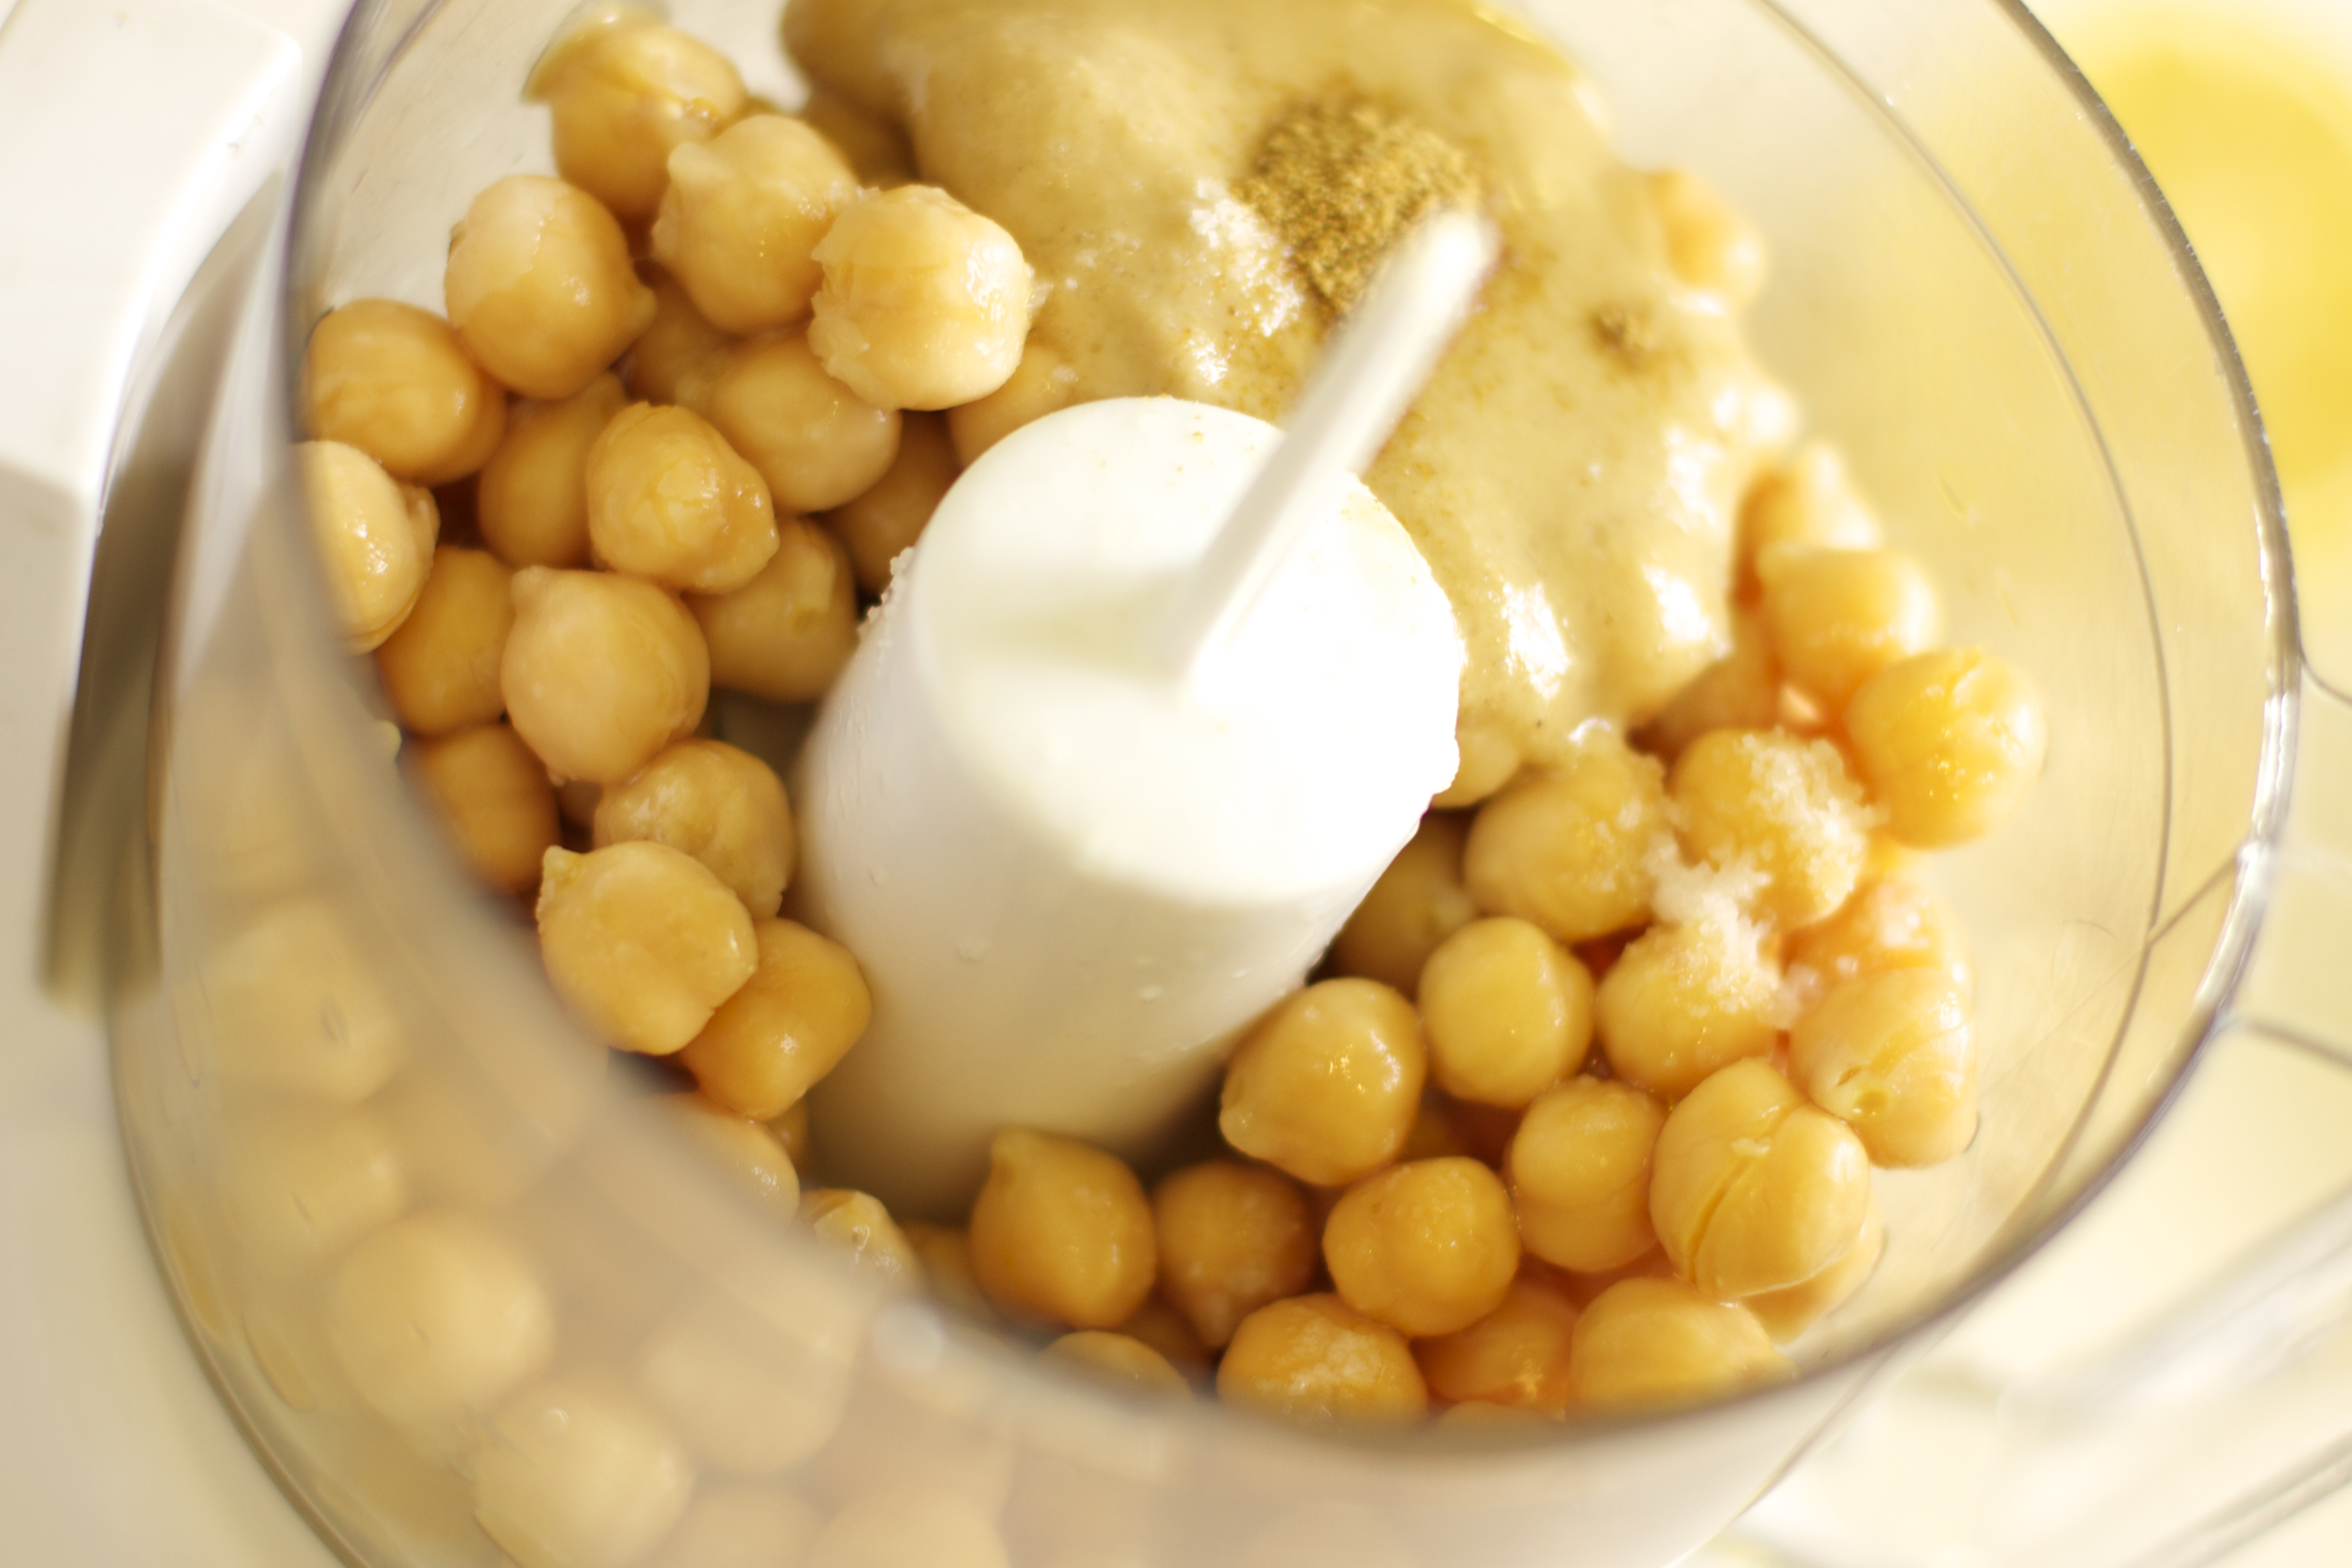
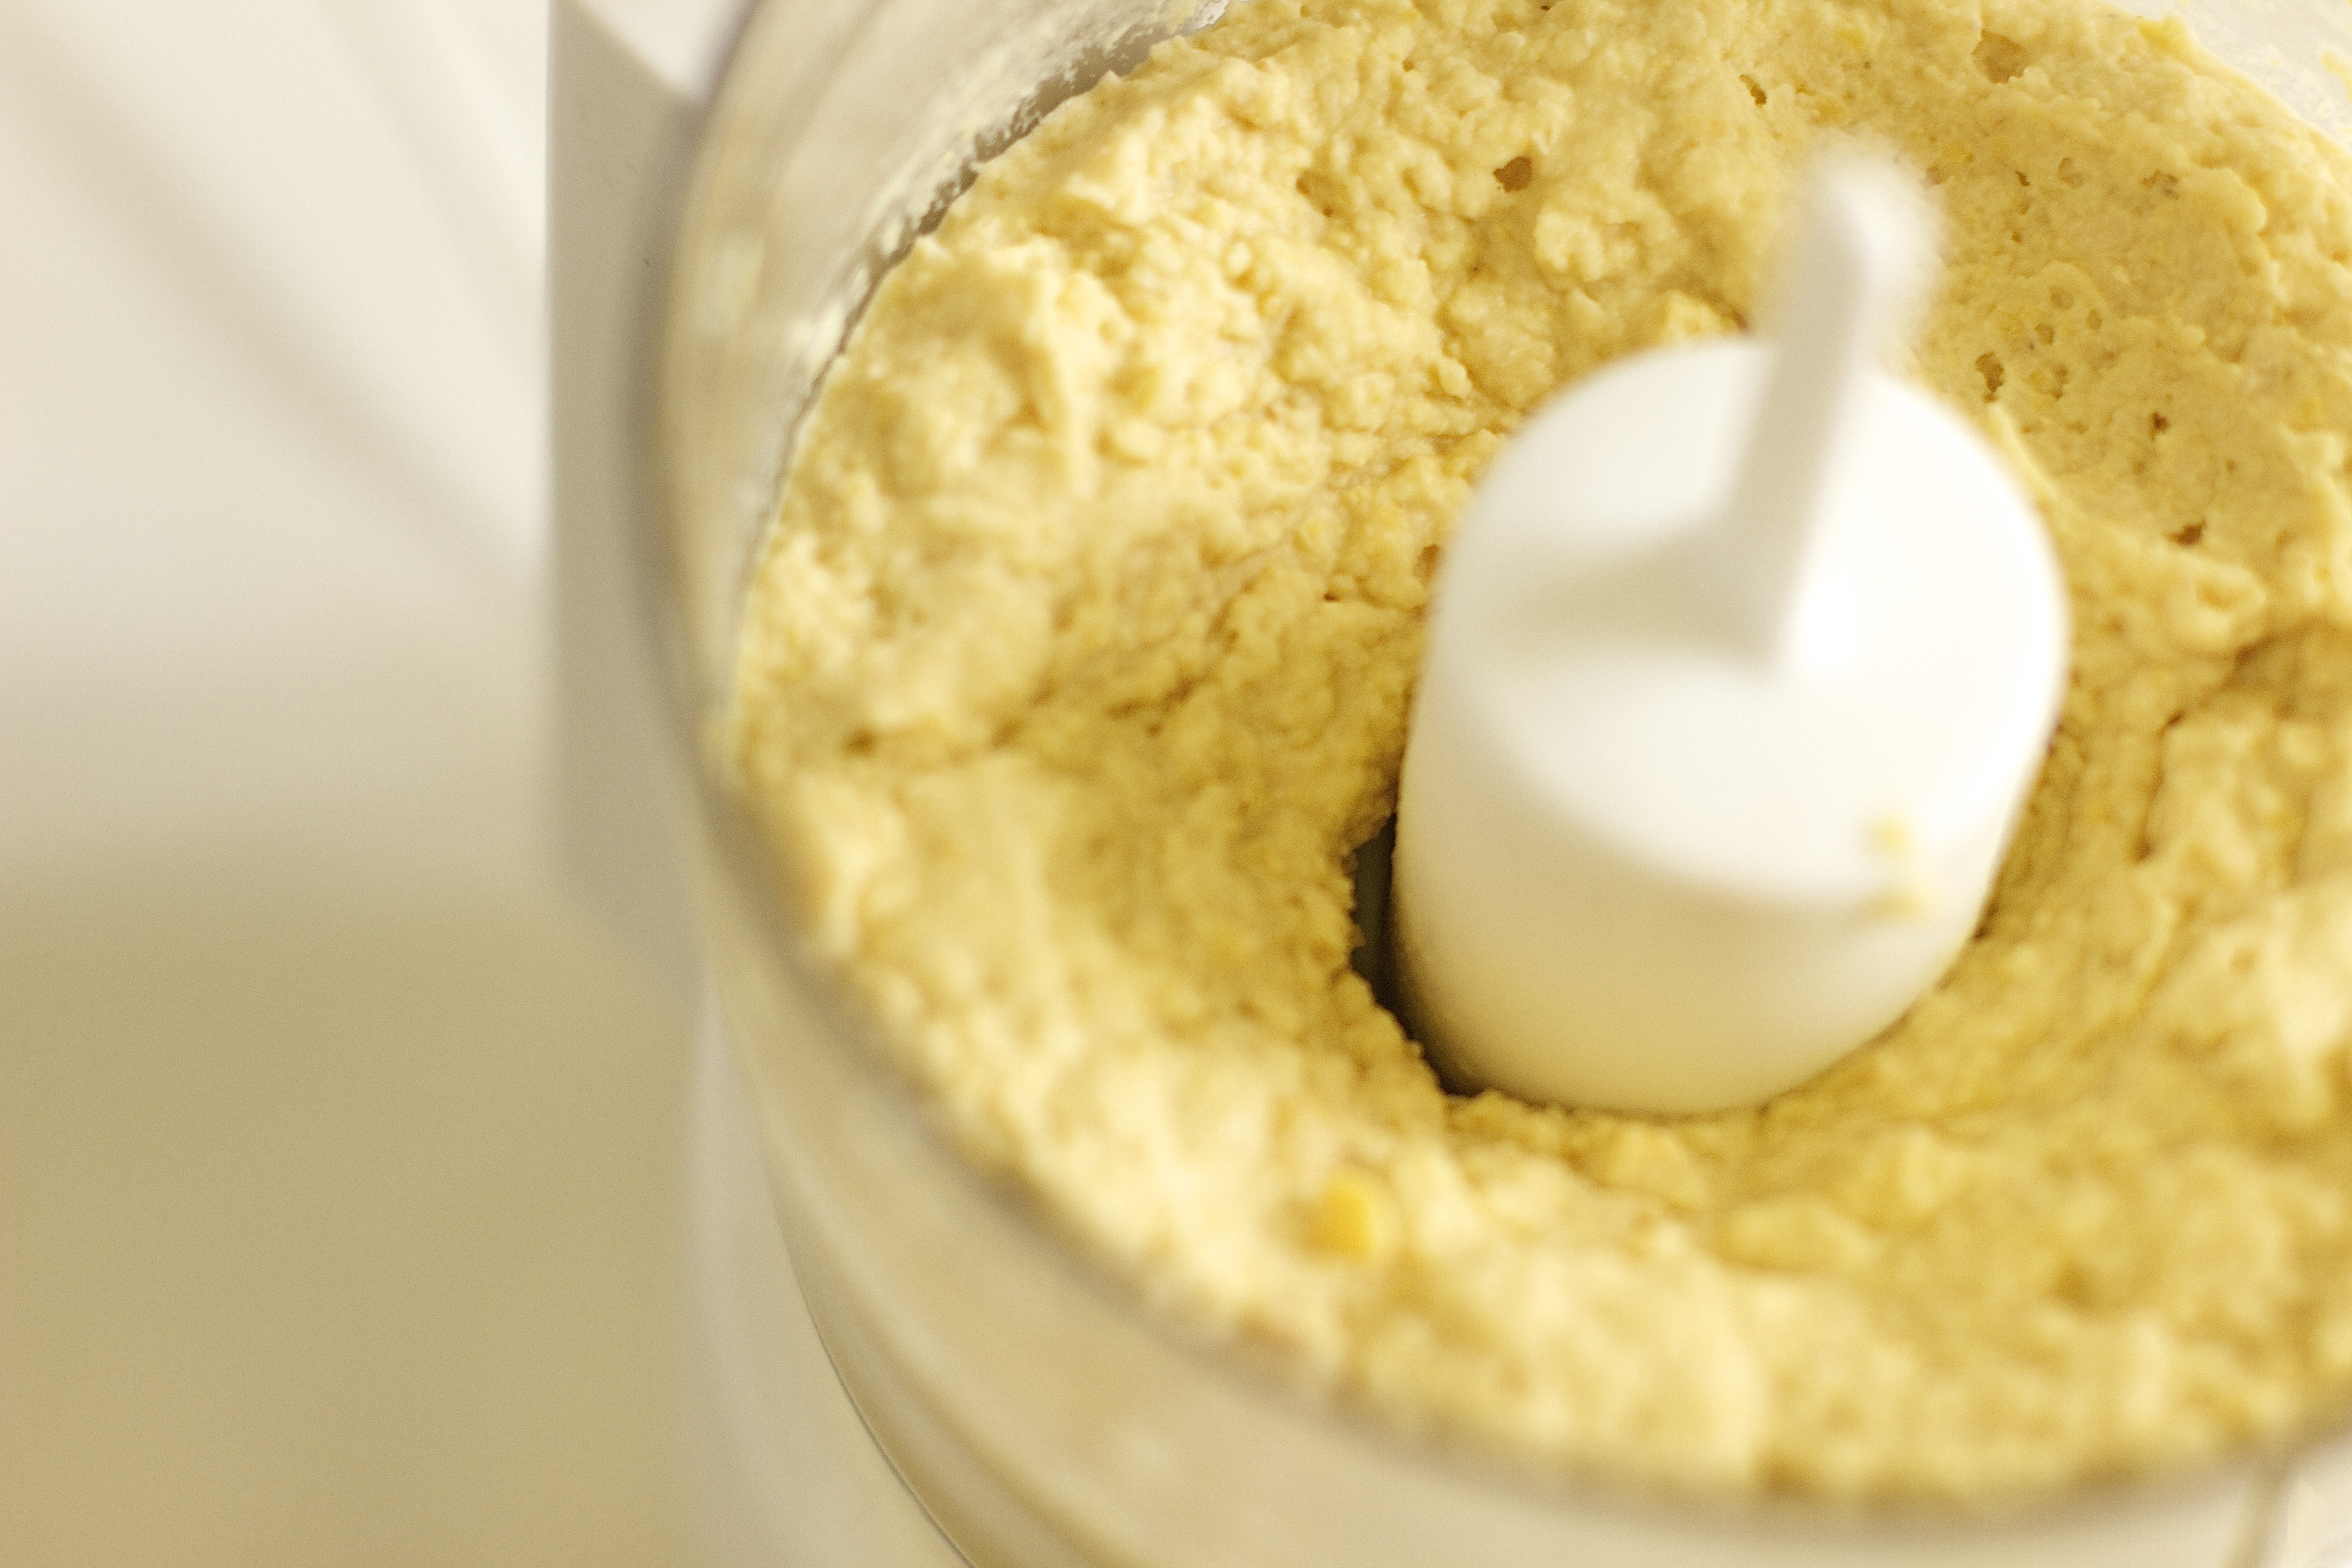
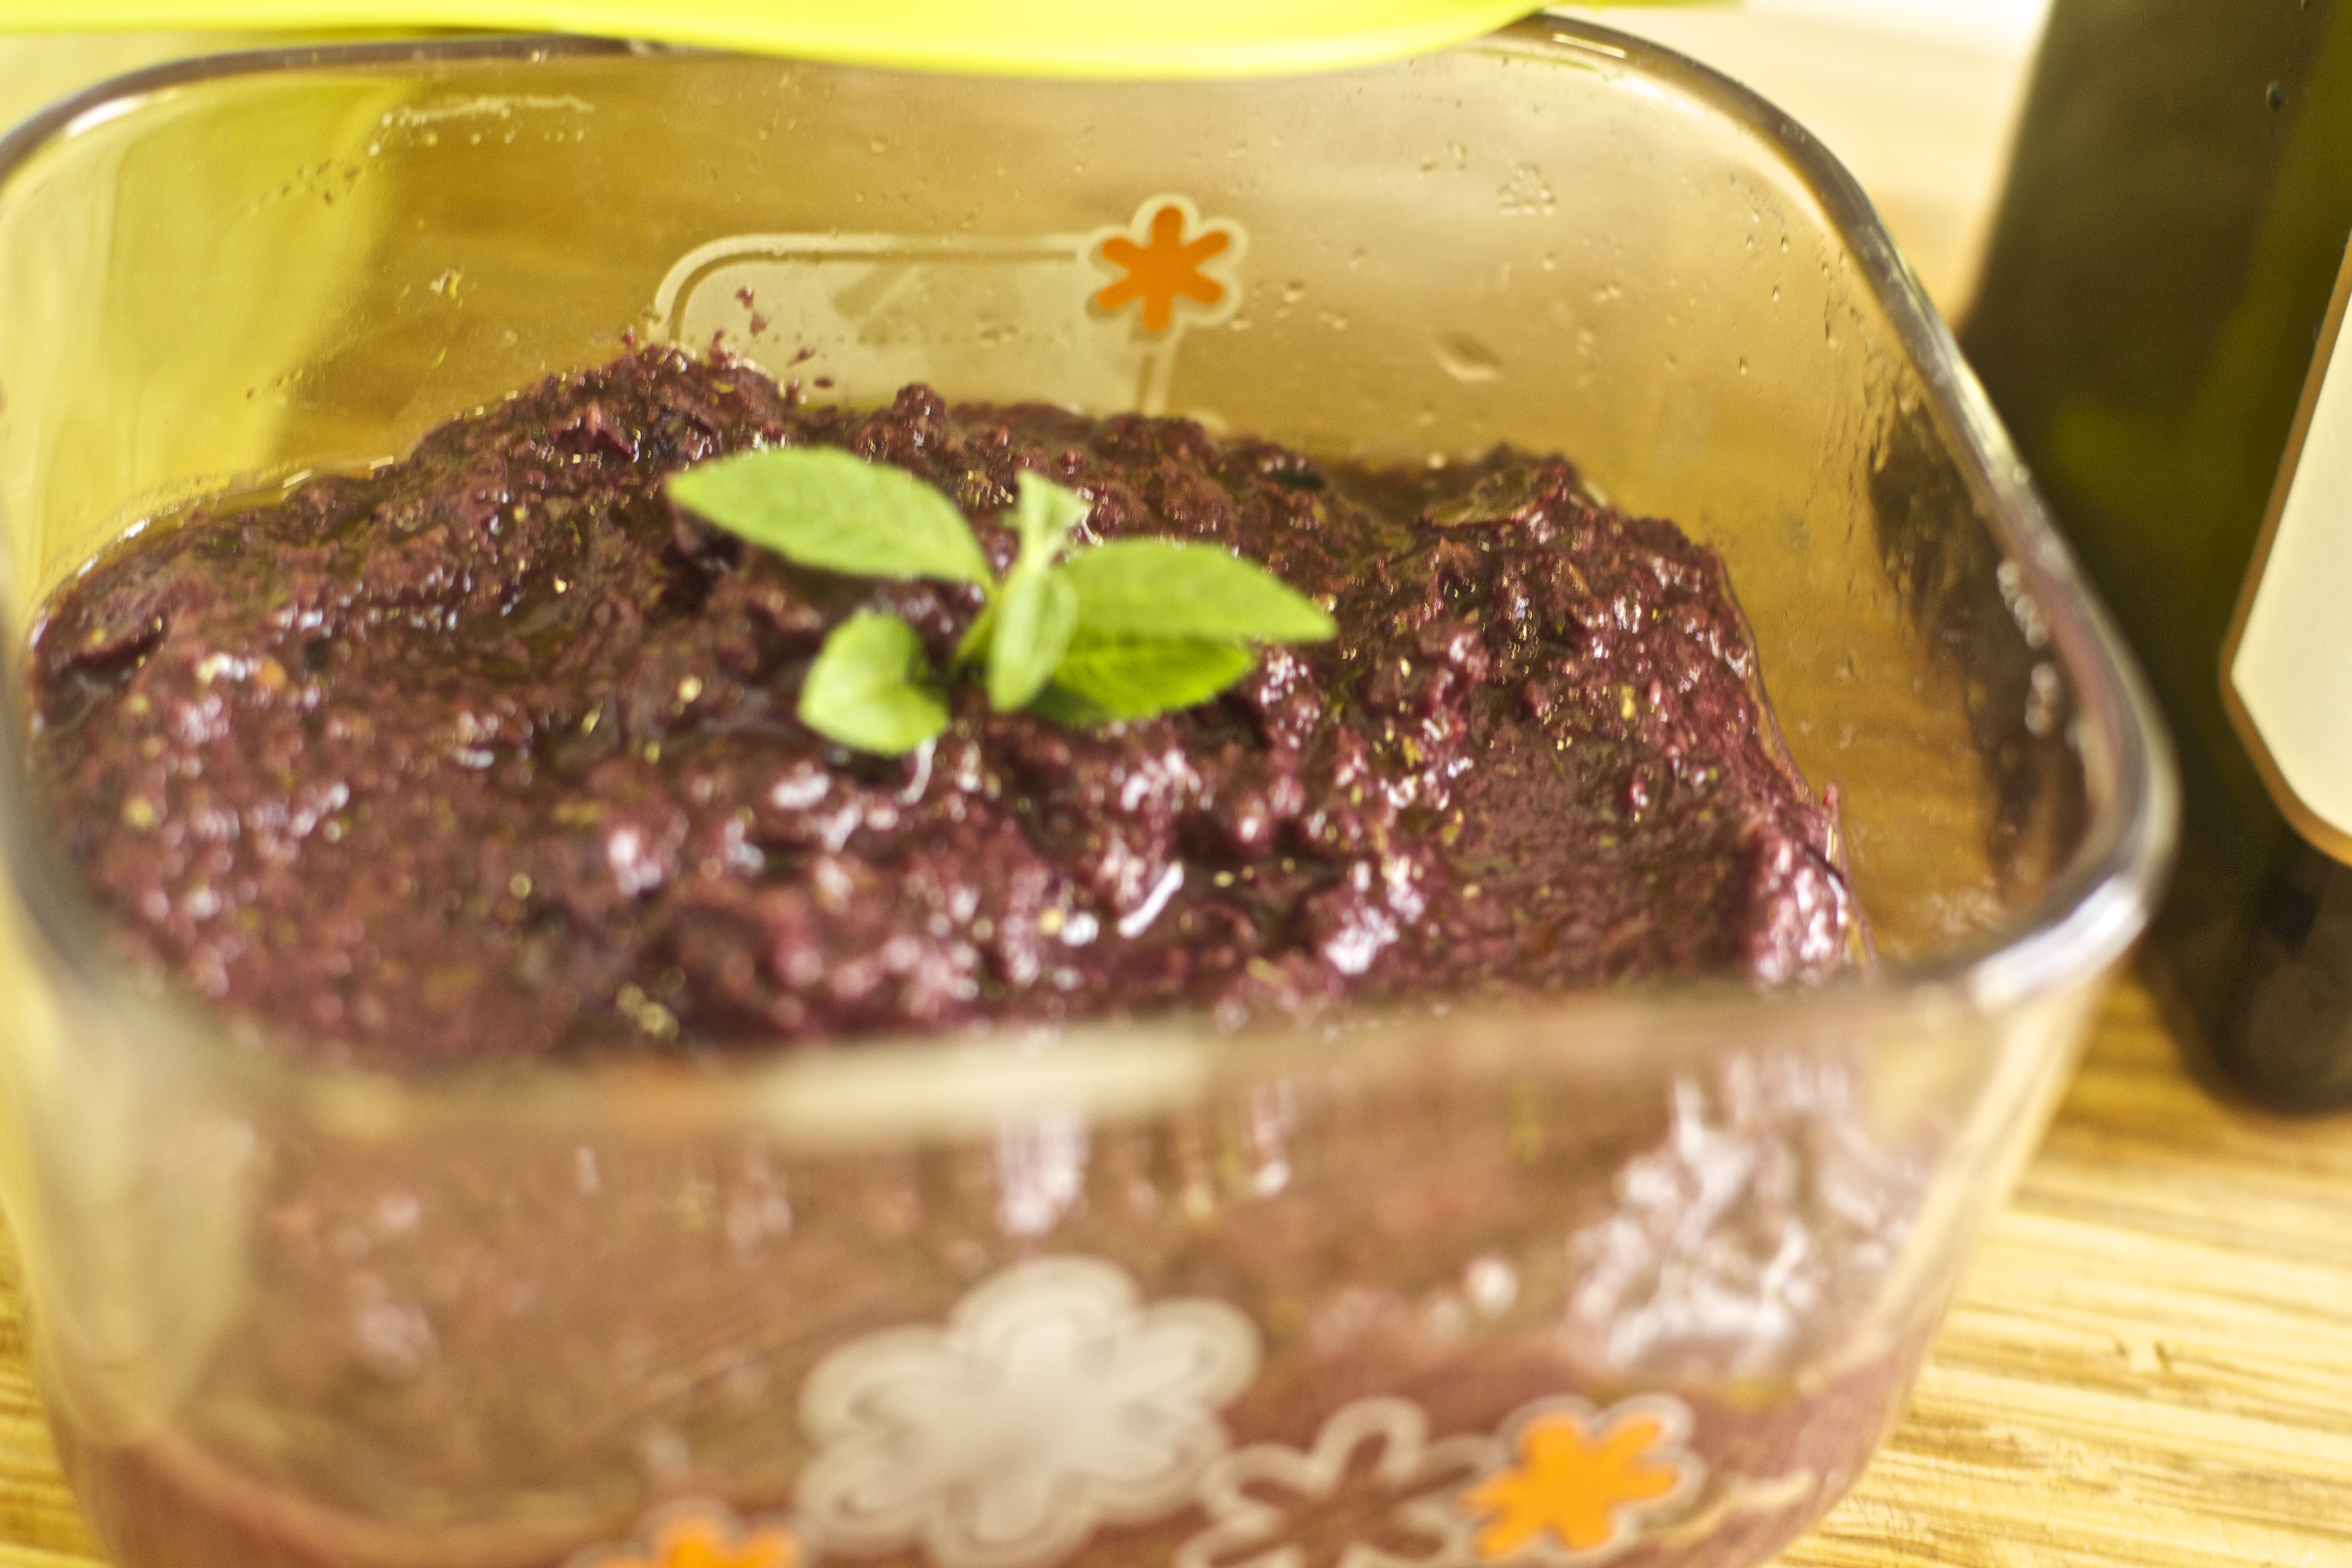
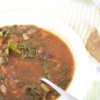
In a food processor place the peppers and spices, process and add the oil gradually until the mixture gets a paste consistency. Taste and correct the seasoning

Place in a container, pour some extra oil on top to create a top layer. that will keep it fresh longer.

You can add garlic and chopped cilantro if you like.

IMG_2121IMG_2124 IMG_2400IMG_2405


Signature

Preserved Meyer Lemons

Mayer Lemons

Meyer Lemon is a special lemon. It’s smaller and sweeter than other lemons; its rind is thin and delicate with a fragrant floral aroma. It’s less acidic and tastes like an orange and a lemon had a baby 🙂  That’s how I would describe it …

Usually, Meyer lemons are available only in winter. Some are darker in color, kind of a light orange color, which can be confusing. The first time I saw a Meyer lemon was when a co-worker brought it in to work. Thinking it was an orange, she bit into it–her face had the expression of a sour surprise …

A good way to enjoy them even when they’re not in season is to preserve them and make a preserved lemon condiment, which means to let them pickle in their own juices and salt until they become tender with perfect balance of  tart , saltiness and a hint of bitterness (from the rind).

Most preserved lemon recipes call for at least 2 to 3 weeks before it is ready to be used. I find that with the Meyer lemons it’s much quicker. Five to seven days is enough; the thin skin and slicing them very thin speeds up the process. If you can’t find Meyer lemons, use regular lemons, but just keep in mind that  they will take longer to preserve.

When ready, the liquid becomes thicker–almost like an oily jelly consistency. A deeper flavor will develop with time; the more it sits in the liquid the better. Oh… the flavor! So simple to make but yet so intense and bold.

If you’re like me, you will treat this stuff  like a jar of gold… I add just a little bit at a time to stews, sauces, sandwiches, salad dressings; or garnish just like in this stuffed grape leaves recipe. Once it’s in the fridge, it’s good for up to 6 months.

Ingredients

4-5 Meyer Lemons

1 Tbsp. Sea Salt

1 Cup fresh Lemon Juice

1 Cup filtered Water

Preparation

First, wash the lemons and trim both ends.

Slice the lemons very thinly, and remove the seeds.

Combine the brine liquid and pour over the lemons in a glass bowl. Press down on the lemons a bit with a large spoon or fork to squeeze out more juice and to soften them. Make sure everything is submerged in the liquid and cover. Set aside for  5 to 7 days at room temperature.

When ready, transfer into an airtight container/ jar and store in the refrigerator.

You can always adjust the saltiness if it’s too salty for your taste. Just wash some in water before you use them or add more water into the jar.

IMG_7014 IMG_7023 IMG_7031

Signature

Homemade Hummus Spread with Baby Bella Mushrooms

IMG_3029

Hummus is a must have staple in our kitchen, it’s always in the fridge and ready to use as a base for sandwiches, wraps or just like in this recipe – as a dip topped with mushrooms, served with fresh pita bread and chopped salad. Hummus is a Mediterranean spread/dip made from Garbanzo beans A.K.A Chic Peas, Tahini paste, lemon and spices. It is a good source of protein, calcium (in the Tahini) and is very satisfying.

I sometimes buy a good quality Hummus but prefer to make it myself from scratch. It takes 5 minutes on the clock to prepare, and yes, I did time myself  (:  I like to use the BPA-Free Tetra Pak® Garbanzo Beans or the BPA-Free Can (just like in my Mexican Black Bean Dip recipe). Sometimes I add a bunch of pitted olives into the food processor, for added zest, and make an Olive- flavored Hummus, which is  absolutely De-Lish’!

Ingredients

1 Can or 1½ Cup Cooked Garbanzo beans (about 15oz)

1½-2 Tbsp. Tahini

2 Tbsp. Lemon Juice (Juice of ½ lemon)

1 tsp. Cumin

1 Tbsp Olive Oil

Salt to taste

For the Mushroom Topping:

1 Pack Baby Bella Mushrooms, sliced ,stems off

Oilve Oil

Salt and Pepper

Chopped Parsley ,Scallion and Paprika  for garnish

Preparation

Place all Hummus ingredients in a food processor and mix, add lemon juice and olive oil gradually, until it becomes paste like consistency. Taste and adjust to your liking.

If it’s too “dry”, I like to add a little bit of the sesame oil that’s at the top of the Tahini Jar. (It also adds more flavor).

You can add more lemon juice or water if it is still not as smooth as you like, add it gradually, a Tbsp at a time so it won’t be too “watery”.

Don’t forget to leave some whole chic peas on the side for later.

Sauté the mushrooms in oil for a few minutes, until soft, add salt and pepper to taste.

To serve,  generously spread homemade Hummus on a plate. Drizzle olive oil on top, add mushrooms, chic peas and scallion. Decorate with paprika and parsley.

Get some fresh pita bread and start “wiping”…

IMG_2985

IMG_2959 IMG_2966 IMG_2970 IMG_2971  IMG_2990 IMG_3027

Signature

Vegan Fresh Basil Pesto

Pesto white

I love the smell of basil. I think it has an effect on the mind. I can’t imagine sniffing fresh basil and feeling bad. Think of basil and the first thing that comes to mind is Pesto sauce. Basil combined with the little flavor bombs A.K.A Pine nuts is just a perfect match. If pesto did not exist, I would want to be the one to invent it. Every time I make home-made Pesto I feel like I have  just created a magic potion. It doesn’t matter what I’ll add it to, it brings everything to the next level of goodness; Sandwiches, Pasta, Pizza or just as a snack with some chips and crackers. My latest “trick” is to layer it under tomato sauce on my Almost Home-Made Vegan Pizza for all those Green-O-Phobes :). There are many rituals and beliefs associated with basil. One that I especially like is that if two people smell a basil stem together they will remain friends forever. So go ahead and sniff some basil with someone you like 🙂

Ingredients

3 to 4 Cups fresh washed basil leaves

1/2 Cup Pine nuts

2 Cloves of Garlic

1/3 Cup Olive Oil

Juice of Half a Lemon

1 tsp. Sea Salt

Black Pepper

Preparation

In a food processor, mix everything except for the oil.

Drizzle the oil gradually as you blend until smooth.

Taste and adjust seasoning if needed.

IMG_5047

I wish you could smell it through the screen…

IMG_5032


Signature

Black Kalamata Olive Tapenade

IMG_2392Just as the famous saying: “Every woman needs A Little Black Dress in the closet” I need a little black spread in the fridge.. Just like the dress, it is simple but versatile and can be “dressed” up or down. Spread it on toasts, Crostini, sandwiches or add it to pasta dishes and more..

Takes minutes to make and it stays fresh for a long time. I did not add salt because the olives were already very salty. Depending on the olives you’re going to use, adjust the salt, after tasting, since the spread somehow concentrate the flavors.

The pesto paste I used for this recipe is one that I’ve been using for many years, I was so happy to find the mark ‘Vegan’ on it! If you can’t find it where you live, you might find something similar or make your own. It contains basil, sunflower and olive oils, salt, pine nuts, and garlic.


Ingredients

3/4 lb. Kalamata Olives, pitted

3 Tbsp. Olive Oil

2 Cloves Crushed Garlic

Juice of ½ Lemon

1 ½ Pesto Paste

1 Tbsp. Herbes De Provence

½ tsp. Oregano

Black Pepper

Preperation

Mix all of the ingredients except for the lemon juice in a food processor, add the lemon juice gradually as needed, (you might need less lemon) Blend until it becomes a smooth paste/spread. Place in a glass container and drizzle some olive oil on top.

IMG_2356 IMG_2331IMG_2371

Signature