Penne A La Cherry Vodka

IMG_5123

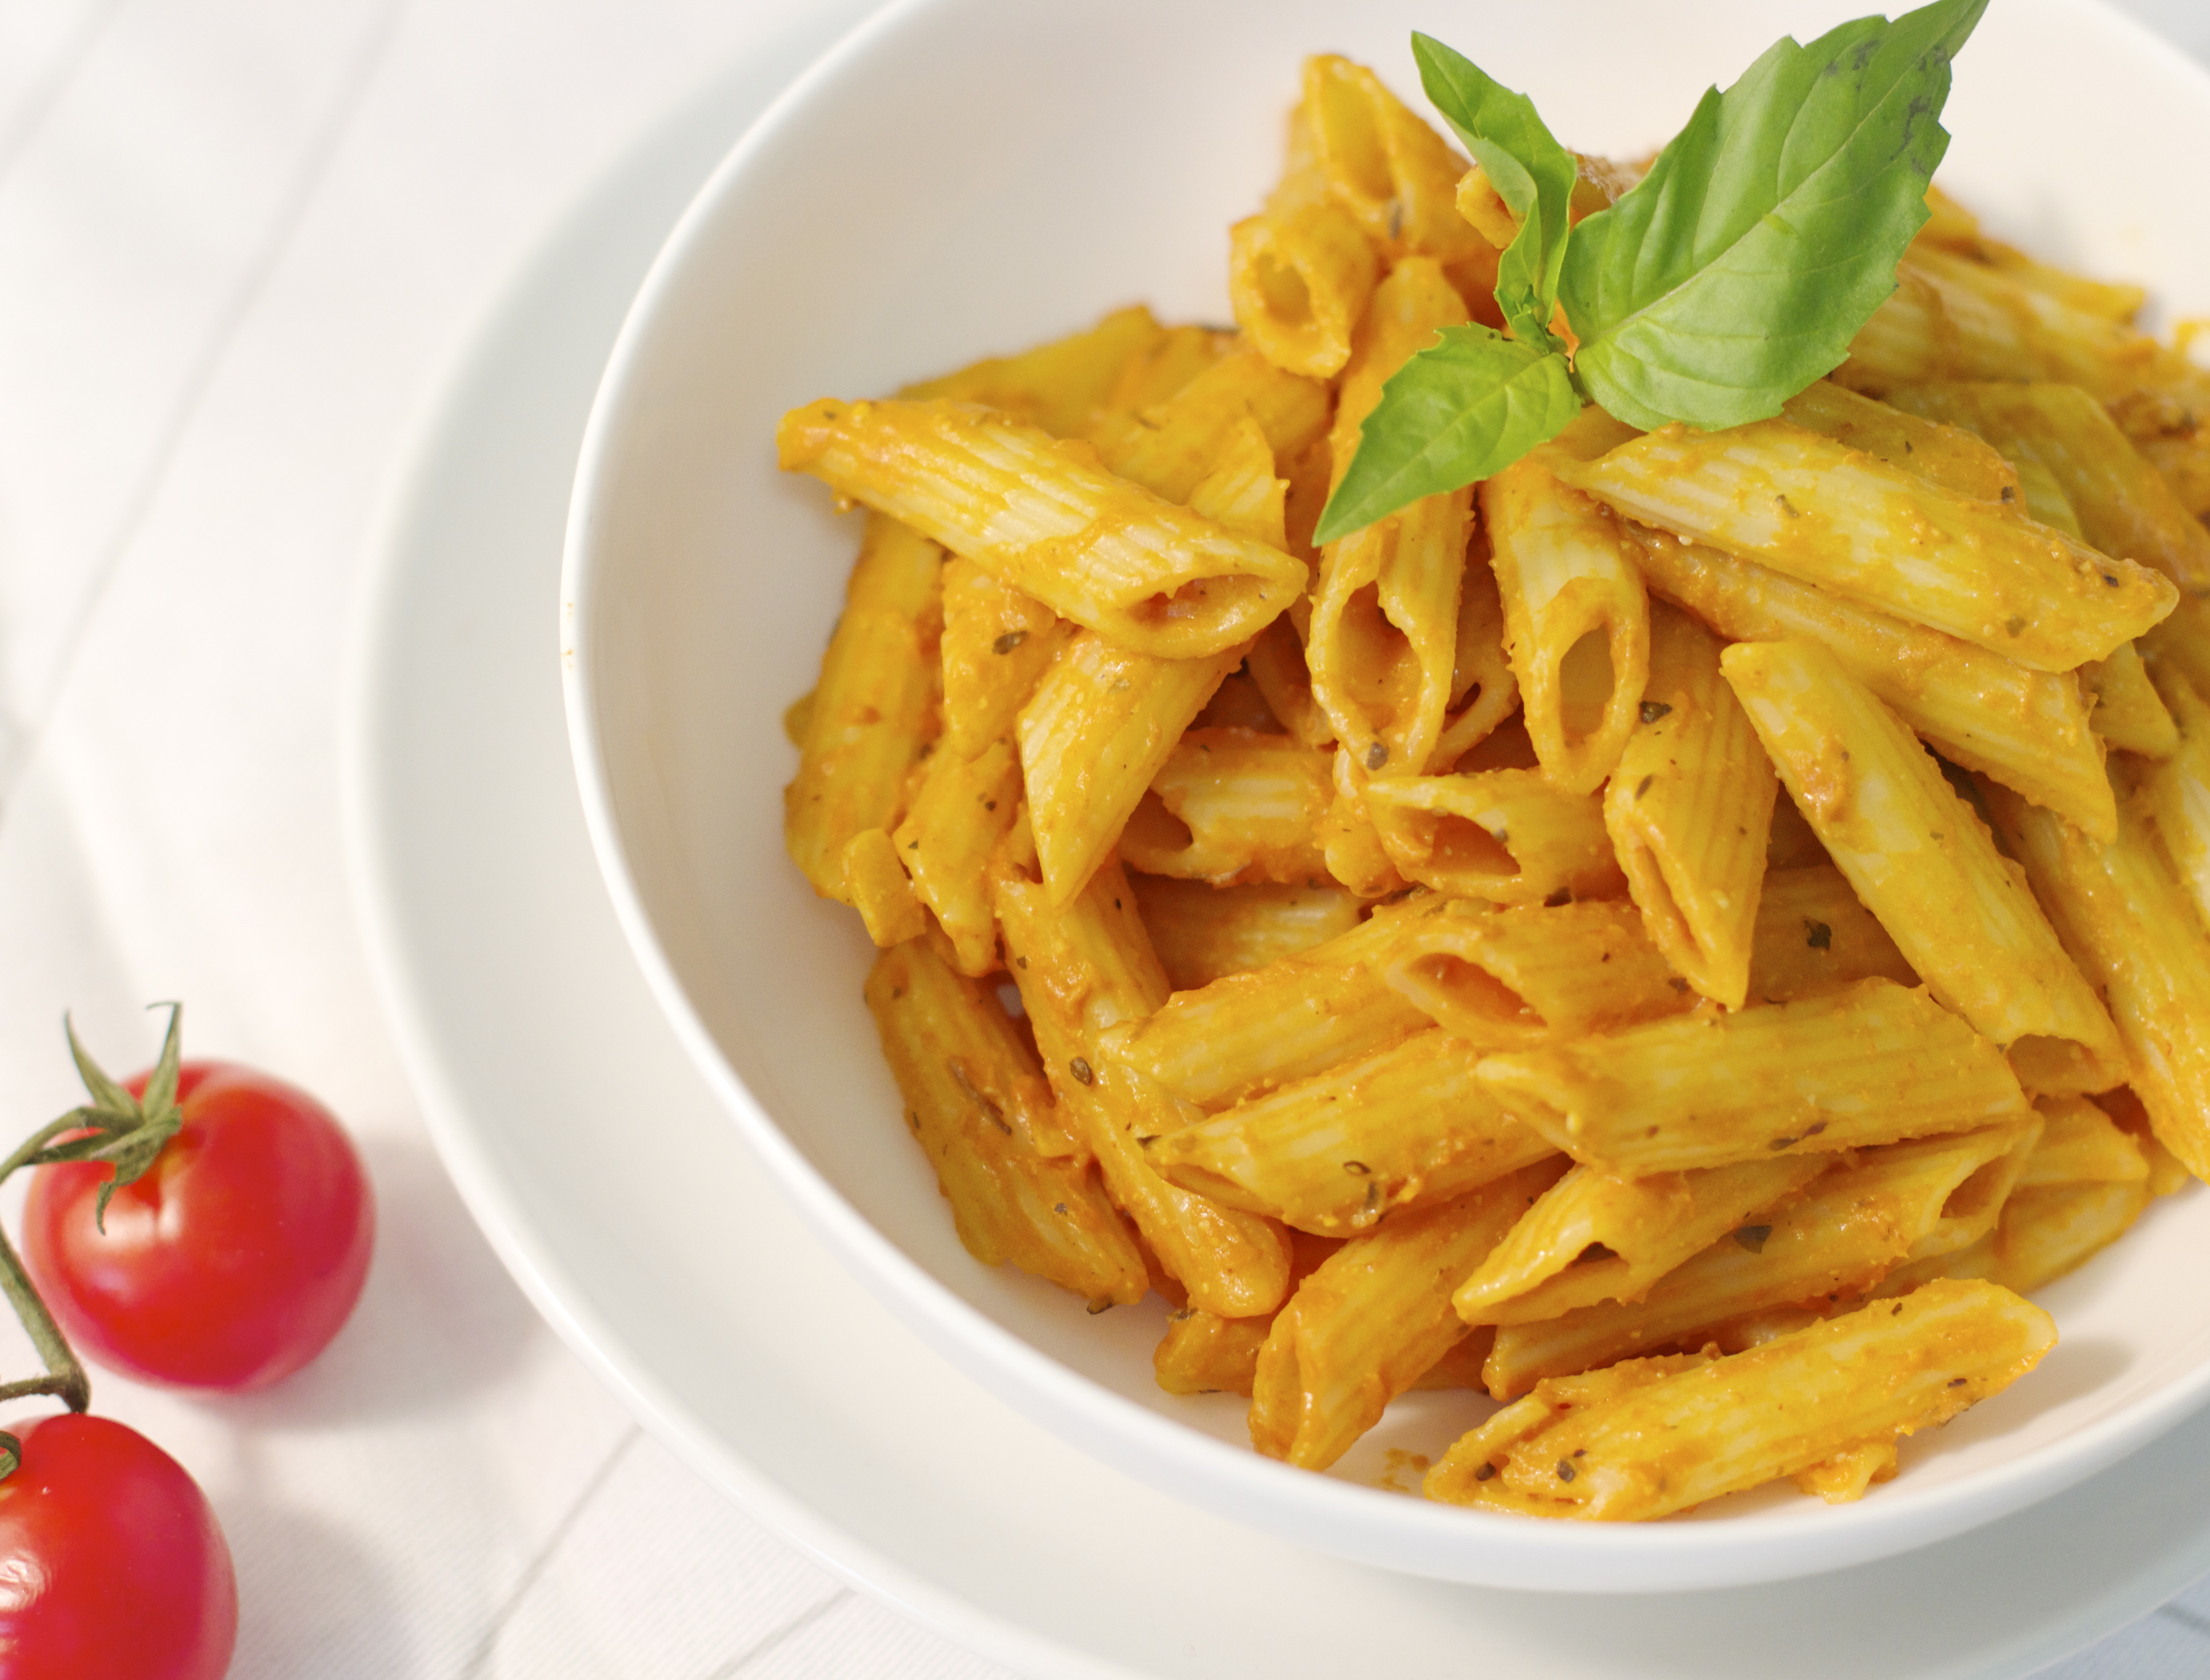
Traditionally, Penne Alla-Vodka has a pink creamy sauce. What gives the sauce its pink color is the tomato sauce mixed with heavy cream. These days, “Heavy cream” means something else for me. It means heavy cow’s udders, udders that will never comfort and nourish a baby cow because in the dairy industry cows are separated from their babies right after birth and the calfs are thrown into a small cage the size of their body. The mother cows are then “milked” by painful machines, so humans could steal their milk and drink it in their coffee or make heavy creams. Sad but true, I know it doesn’t have to be like that. We can have delicious nutritious food without it.

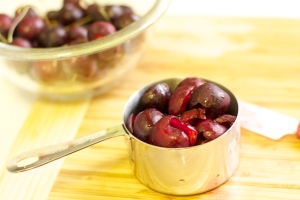
If you feel like you need a drink now… I’ve got your fix… how about Cherry Vodka? Well, not really for getting drunk but more for depth of flavors, most of the alcohol evaporates during cooking anyway, so don’t worry! it’s Ok to give it to the kids, worse case scenario they’ll go to sleep early. Just kidding,  just kidding…  (;

The ‘Cherry’ part in the Penne Alla ‘Cherry Vodka’ was an honest mistake which turned out to be a good mistake. I opened the freezer, picked up the bottle of Vodka without looking at it too much. Later I remembered that alcohol is not always vegan, I ran back into the kitchen to check and only then I realized it was a Cherry Vodka. Oh well, too late, it was already in the pan making friends with tomatoes and cashews. Also, technically tomatoes and cherries are both fruits right? so why not?  it works for me… I was happy to find out that it was indeed a vegan Vodka, which made it even more tastier now 🙂 If you want to find out if an alcohol beverage is vegan, you can check it on this site: http://www.barnivore.com

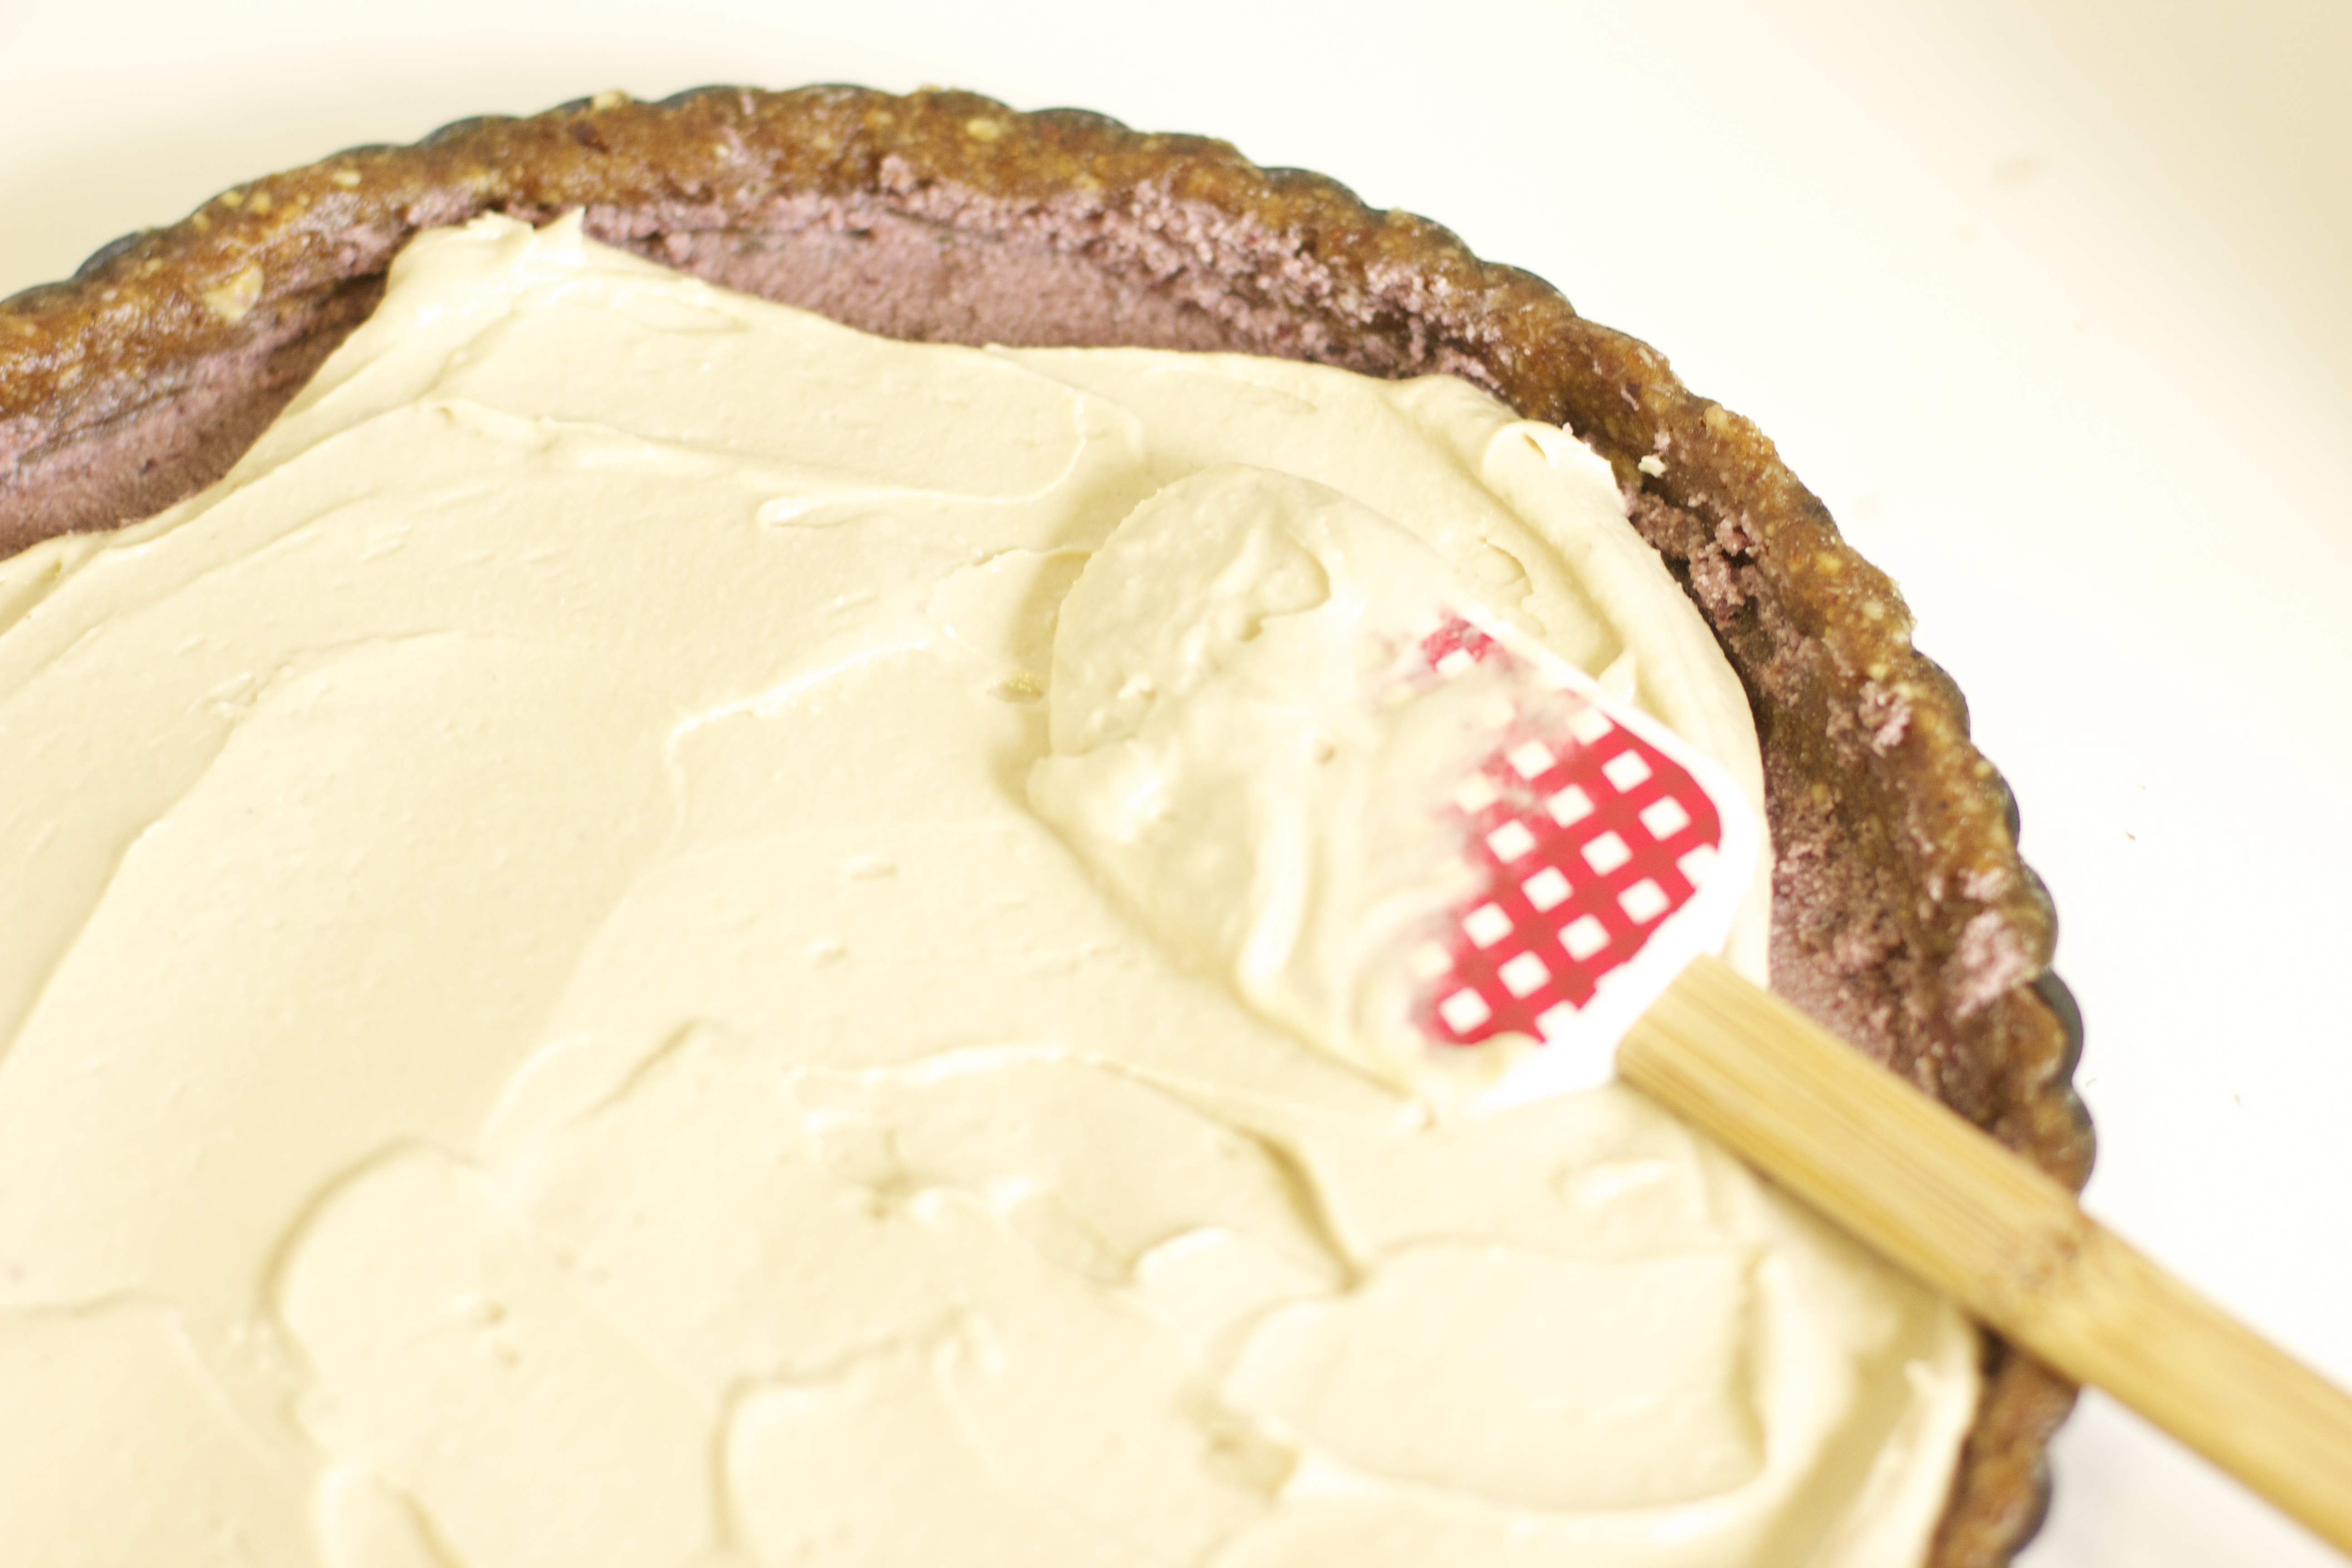
For the Heavy Happy cream I used cashew butter mixed in with unsweetened soy milk, If you can’t find cashew butter it’s easy to make a simple cashew cream/”milk”  from scratch. (see below)

Ingredients

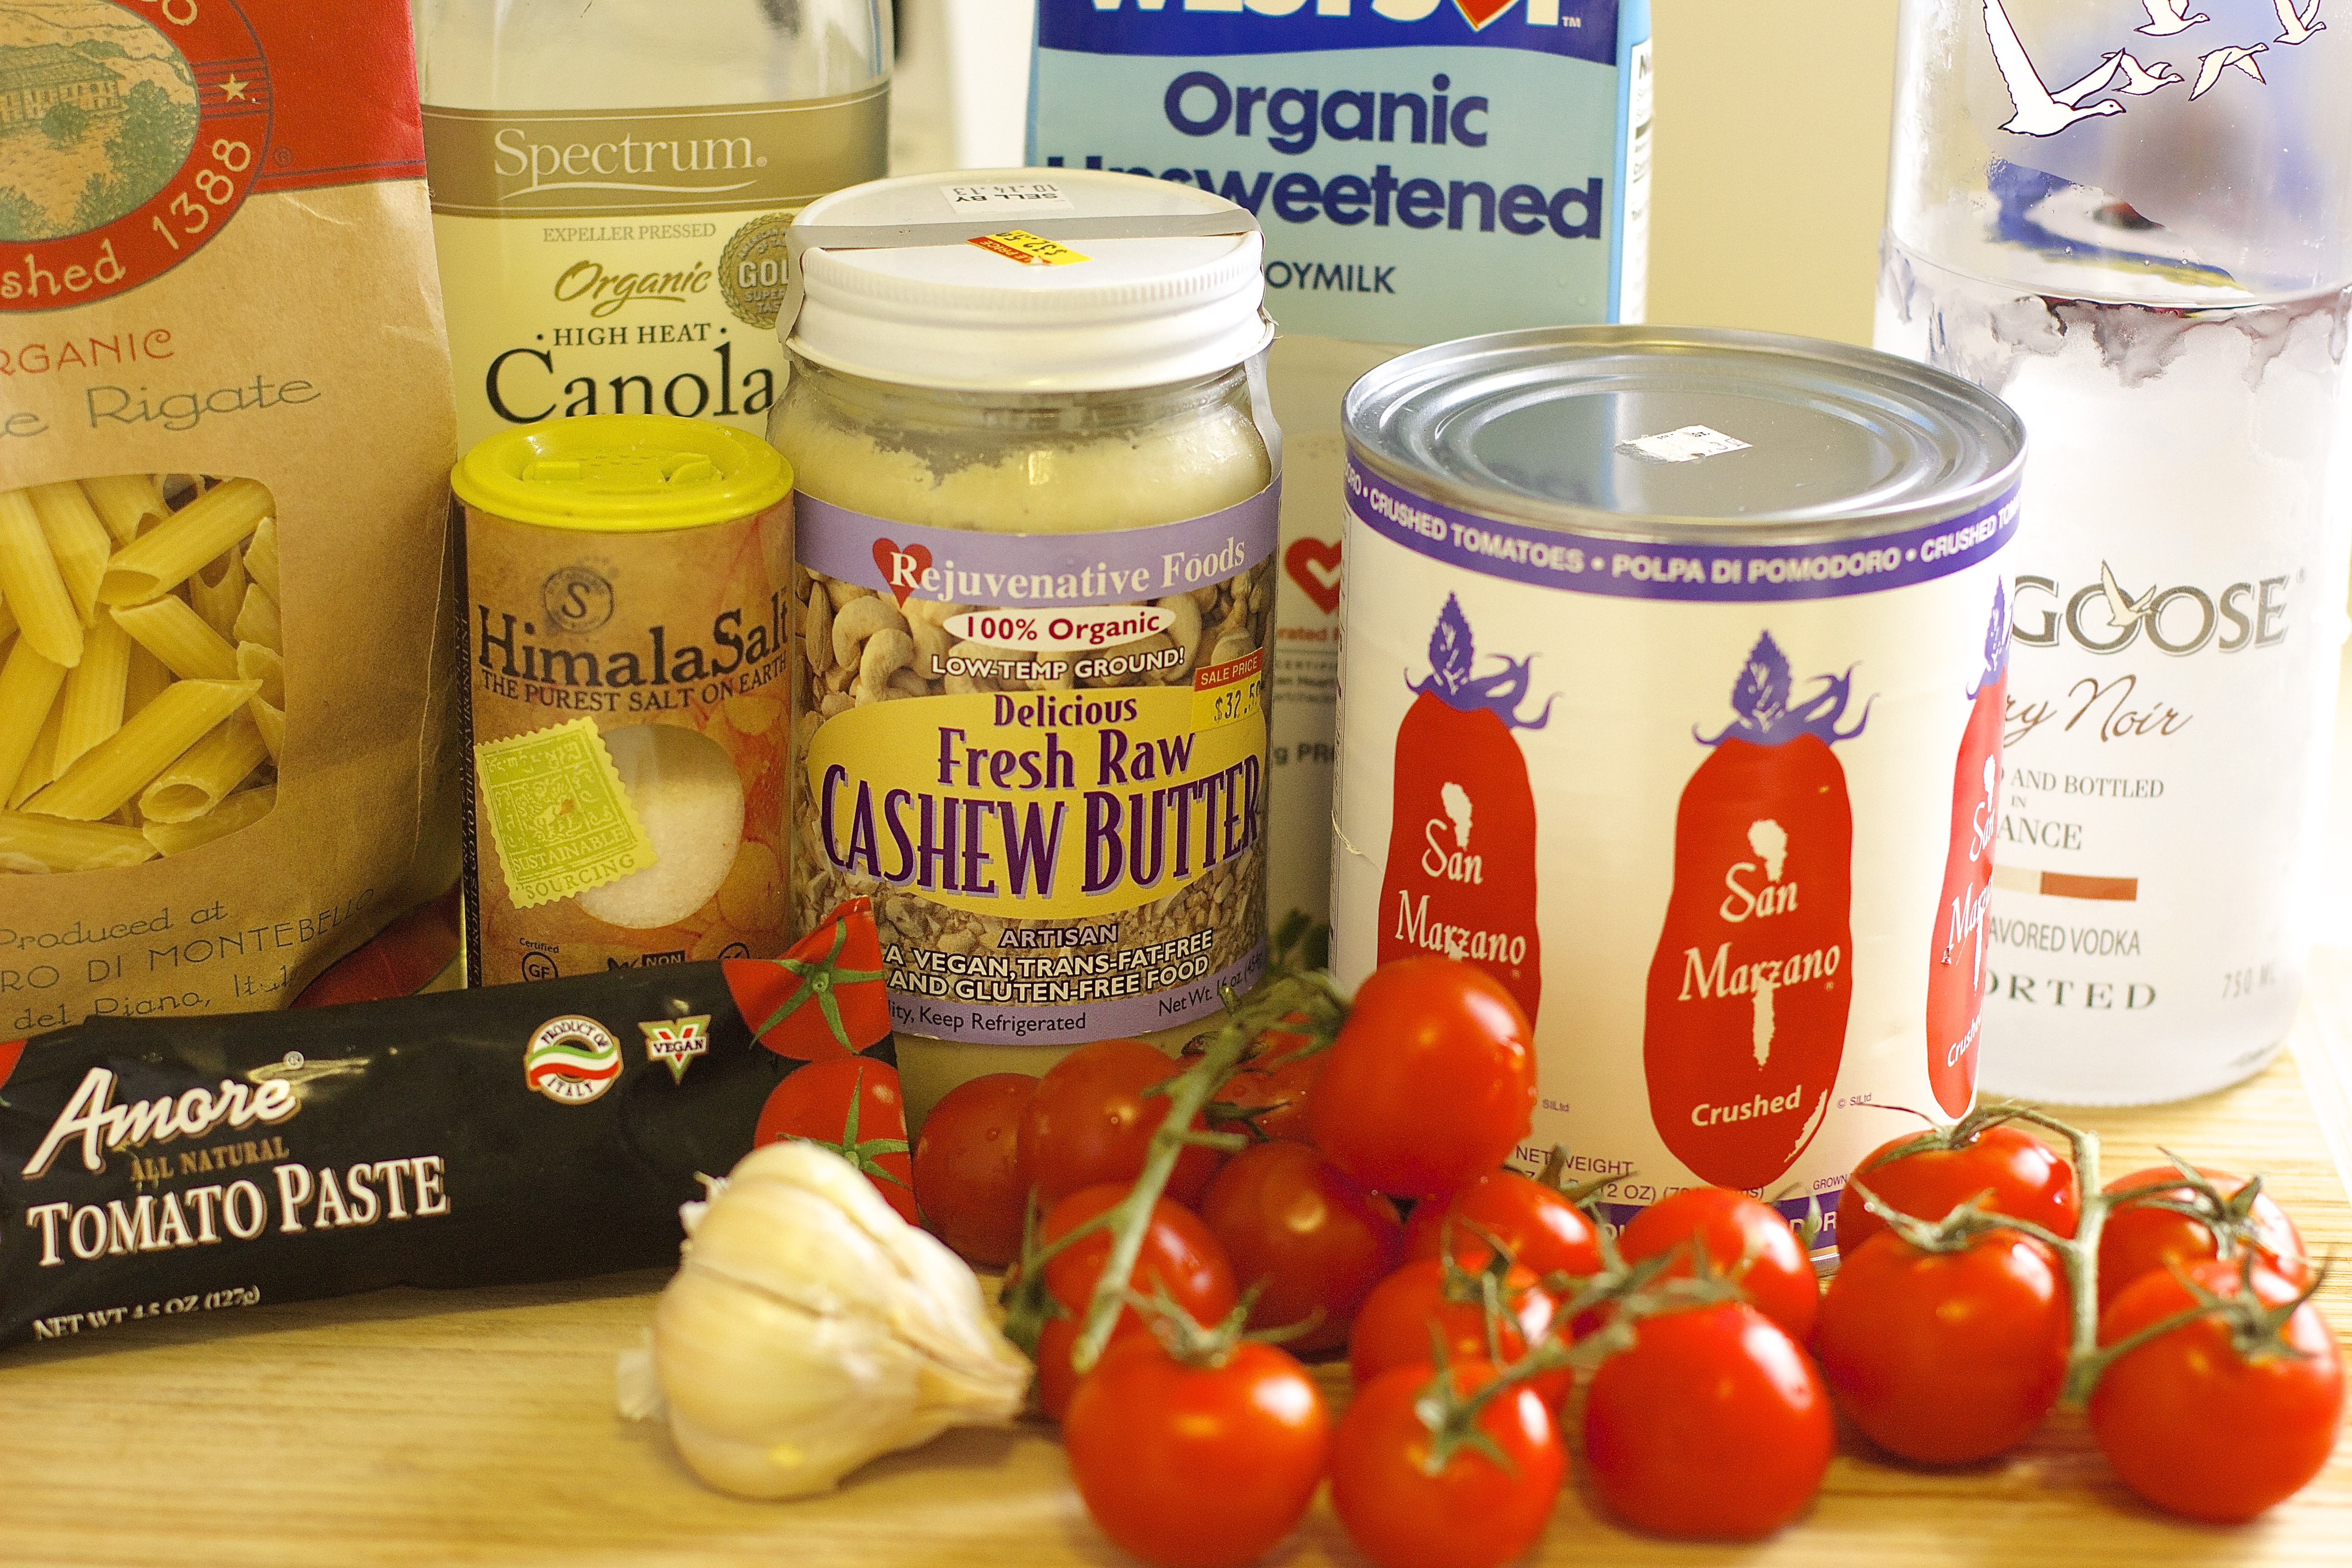
1 Pack Penne Pasta (about 16 oz.)

2 Cups Crushed Tomatoes (I used San Marzano 28 oz. can)

1 Tbsp. Tomato Paste

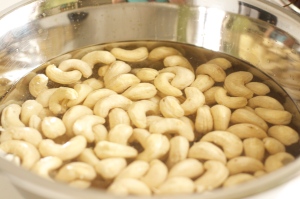
4 Tbsp. Cashew Butter (Or ¼ Cup raw cashews: see below)

1 Cup Unsweetened Soy Milk

3-5 Cloves Garlic

2 Tbsp. Cherry Vodka

1 tsp Oil

1 tsp. Dried Basil

Salt & pepper to taste

Preparation

Cook the pasta in salted boiling water according to the directions on the package, (about 9 minutes to get it ‘Al-Dente’) Drain and set aside (do not wash the pasta!)

In a saucepan add the garlic and oil, sauté for 2 minutes.

Add the crushed tomatoes, tomato paste, cashew butter, soy milk, cherry Vodka, basil, salt and pepper.

Stir in more water or soy milk if it’s too thick.

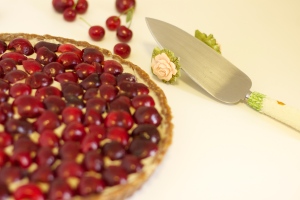
Cook for about 15 minutes and pour over the pasta to serve.

If you prefer to make the cashew cream from scratch:

Soak ¼ Cup raw cashews for 2-4 hours in water. Wash and drain. In a high-speed blender, place the cashews and ¾ Cup of soy milk or water and blend until creamy, add into the tomato sauce. (Instead of the cashew butter and soy milk).


IMG_5116 IMG_5119 IMG_5122

IMG_5140


Signature

Sweet Green Split Pea Soup

IMG_5925

This recipe is a “Phone recipe” I got from my mom. It’s the kind you don’t get with accurate measures. “Add a little bit of this, a bunch of that and cook until it’s ready”… which is fine here, there is room for adjustments anyway. You can play with the spices, the amount of liquid and the vegetables and it will still be delicious!

As a child, I did not appreciate it as much but now even the smell of it reminds me of Home Sweet Pea Home. It’s so interesting how senses like smell and taste are connected to memories. Winter, coming home from school straight to the kitchen table… that is my childhood pea soup memory. Plus, my hubby said it’s the best soup he ever tasted, but then again, he says that about everything I cook 😉

The soup tends to get very thick when it gets cold, so just add water and it’s good for the next day too.

Ingredients

2 Cups Dry Green Split Peas

1 Sweet Potato/Yam Peeled and Chopped into small cubes

4-5 Stalks of Celery, Chopped

1 Onion, Chopped  (I used a few sweet and mild Cipollini small flat onions but any Onion will do)

2 Cups Vegetable Broth

4-6 Cups of Water

2 Tbsp Oil (Olive Oil Or Coconut Oil)

1 tsp. Sea Salt

1 tsp. Adobo Spice Mix

1/2 tsp. Cumin

Black Pepper (the more the better for me…)

Chopped Dill (Optional)


Preparation

Soak the peas for 2-3 hrs. or more (the more soaking time the less cooking time).

In a large pot, Sauté the onion in oil.

Stir in the sweet potato and celery for a few minutes.

Rinse and drain the split peas and add them to the pot.

Add the Vegetable broth and water, bring to a boil and lower to simmer for 1 1/2 hr. until the peas are “melting”.

Add the salt and spices towards the end.

Serve with croutons and sprinkle chopped dill on top.

IMG_5852IMG_5858IMG_5933

Signature

The Healthier Chocolate “Milkshake”

Chocolate Banana Shake

The Beauty and The Banana

I’ll do anything to get my daughter to eat more fruits and vegetables. It took about 7 years to convince her to eat a banana just the way it is. So I had to come up with creative ways to make the banana invisible. I mixed it in the chocolate “Milkshake” and she loved it! Yey! Every time she is willing to taste something new and she likes it, I mark an imaginary “V” in my mind for yet another Victory for me. I’m sure some of you know what I am talking about 😉  There is no need for convincing here…  This shake is so delicious, healthy and easy to make and If you remember to freeze the bananas beforehand it becomes a frozen dessert no one can refuse!

*If you like, you can replace the almond butter with peanut butter.

Ingredients

2 Organic Ripe Bananas

2 Cups Almond Milk (play with the amount depending on and how smooth you like it)

1 Tbsp. Raw Almond Butter

1 Tbsp. Organic Date Syrup (If you have Dates, even better use 3-4  Medjool Dates)

1 Tbsp. Cacao Powder

1 tsp. Hemp Seeds (They contain complete protein, Omega 3 Fatty Acids and Fiber, this is Good stuff!!)

1/2 tsp Vanilla Extract

Preparation

Place all ingredients in a high-speed blender and blend until smooth.

IMG_5406

IMG_5467

Signature

Red Lentil and Acorn Squash Patties

IMG_5769

I made these patties in a few different versions before. I learned that a great way to experiment with making patties or veggie balls, is to use dry uncooked and soaked legumes as a base ingredient. Add vegetables, herbs and spices and the options are limitless! The fun fact is:, Legumes, due to their high content of starch (that’s the white stuff you see in the soaking water) act like a “glue” so there is no need for eggs. How simple and cool is that?! Actually, Falafel balls are made with the same principle, dry uncooked and soaked chic-peas or Fava beans mixed with spices and herbs and then fried.

In this recipe I used the beautiful Acorn squash with the red/orange lentils and made it ready for fall…  I served it with tri-color couscous and simple tomato sauce but It’s great in a sandwich too. So lets get to work! start soaking your lents…

Ingredients

1¼ Cup Red Lentils, Soaked in water for about 3 to 4 hours

1/2 Acorn Squash

1 Small Onion

1/2 Cup Bread Crumbs

1 tsp. Fresh Thyme leaves

1 tsp. Salt

1 tsp Cumin

1 tsp. Turmeric

1 tsp. Paprika

1/2 tsp. Dry Ginger powder

1/2 tsp Black pepper

1 Tbsp. Maple Syrup

Oil for Frying

Preparation

Preheat oven to 400º

Cut the acorn squash in half, scoop out the seeds, brush with olive oil, maple syrup and sprinkle with sea salt (I used only one half of the squash, the other half I used for another recipe).

Roast in the oven for 45 minutes to an hour until soft. Set aside to cool. After the acorn squash has cooled, scoop the “flesh” from its inside, do not use the skin.

Rinse and strain the lentils and chop the onion.

Place the mashed acorn squash, the lentils and the onion in a food processor and blend.

In a mixing bowl, add the mixture, the bread crumbs and the spices.

Heat up the oil in a frying pan. Use an ice-cream scooper to form balls, place it in the pan and flatten a little to look like patties. Fry on medium heat for 2-3 minutes on each side.

• Always fry one pattie first to test the flavoring. If more spices are needed, add it to the mixture before frying the whole batch.

• If the mixture is too soft for the ice cream scooper to pick up, add more bread crumbs.

• If you prefer, you can bake them in the oven, it comes out just as tasty. Just brush them with oil before baking.

Maple Roasted AcornIMG_5747IMG_5755IMG_5756Always test one first

IMG_5760


Signature

Kohlrabi and Roots Salad with Asian Touch

IMG_4732

I used to see kohlrabi only as a cooked vegetable in soups but since I learned about the benefits of raw food, I’ve been experimenting with the idea and discovering that almost everything is better raw. A great way to introduce raw hard vegetables is to cut them like noodles or slice them “paper thin”. To slice them super thin I used  a Japanese mandolin. Please be careful if you’re going to use one! It’s easy to forget that your fingers are at the end of it and cut yourself. It wouldn’t be such a vegan salad if there is blood in it ha?! 😉

Colorful and fresh, this salad could complement any asian style meal and it’s also fun to eat it by itself with chopsticks.

IMG_4703

Ingredients

1  Purple Kohlrabi

1 Green Kohlrabi

1 Golden Yellow Beet

3-4 Radishes

3 Celery stems

Asian Dressing

1 Tbsp Soy sauce

1 Tbsp Tahini

1/2 Lemon juice

1 tsp Ginger  minsed super fine

1/4 Cup filtered water

1 tsp Maple Syrup

Black sesame seeds (I had the mixture with herbs)

Preparation

Slice the vegetables with a mandolin.

Whisk all dressing ingredients and pour over the salad, sprinkle with sesame seeds and…Done!

IMG_4716IMG_4725 IMG_4728

Signature

Almost Home-Made Vegan Pesto Tomato Pizza

IMG_5095

It took me more time to take the pictures than to actually prepare this beautiful Pizza, which was about 5 minutes. There, I said it! You can call The Martha Stewart Police on me… guilty as charged… If I can make a Vegan Wholesome Pizza that is healthier than a frozen Pizza and quicker than a Vegan Delivery Pizza than I’m choosing the easy-healthier-quick one. I wish someone will see the potential and open a Vegan Pizzeria close to me already! :). Some super moms, somewhere, are probably making the whole thing from scratch. Not me, I love time saving short cuts that lets me keep the good quality ingredients without compromising on taste, especially on days where I don’t have the time to do rocket-science recipes.

There are a few things to keep in mind / have in advance:

1. I try to keep a good quality tomato sauce handy for quick recipes like this one.

2. I used the Fresh Pesto Sauce from a day before, but even if you choose to make it the same day, it’s super quick to make as well (you can use a store-bought vegan pesto if you’d like).

3. For the crust, I found this organic great whole grain ready-made crust. If you can’t find it where you live, use any crust you like or even make it on an Indian Naan bread or pita bread (make sure to check the ingredients since some of them are made with dairy).

4. I also keep shredded mozzarella Daiya cheese which is the invention of the century for vegans… but there are other kinds of vegan cheese that you could use (Trader Joe’s has one that really melts good).

Ingredients

One 12″ Pizza Crust (I used Rustic Crust Organic Great Grains)

Tomato sauce (Marinara or basic Pizza sauce)

5 Tbsp Pesto sauce

1 Cup Shredded Mozzarella style Vegan Cheese (I used Daiya)

a bunch of heirloom tomatoes, thinly sliced

a few Sliced olives and fresh basil leaves for topping

Preparation

Pre-heat oven to 425°

Spread a layer of the pesto sauce on the crust first, spread the tomato sauce over it than sprinkle with the shredded “cheese”.

Add the sliced tomatoes, olives and decorate with basil leaves.

If you want to get fancy, add some crushed pistachios mixed with nutritional yeast for a “parmesan- ish” twist.

Bake for 8-12 minutes. Cool for 3 min. before cutting into slices and serve.

IMG_5055IMG_5056IMG_5081IMG_5104

Reading the ingredients list on the Pizza crust, happy I found it!IMG_5085IMG_5062

Signature

Vegan Fresh Basil Pesto

Pesto white

I love the smell of basil. I think it has an effect on the mind. I can’t imagine sniffing fresh basil and feeling bad. Think of basil and the first thing that comes to mind is Pesto sauce. Basil combined with the little flavor bombs A.K.A Pine nuts is just a perfect match. If pesto did not exist, I would want to be the one to invent it. Every time I make home-made Pesto I feel like I have  just created a magic potion. It doesn’t matter what I’ll add it to, it brings everything to the next level of goodness; Sandwiches, Pasta, Pizza or just as a snack with some chips and crackers. My latest “trick” is to layer it under tomato sauce on my Almost Home-Made Vegan Pizza for all those Green-O-Phobes :). There are many rituals and beliefs associated with basil. One that I especially like is that if two people smell a basil stem together they will remain friends forever. So go ahead and sniff some basil with someone you like 🙂

Ingredients

3 to 4 Cups fresh washed basil leaves

1/2 Cup Pine nuts

2 Cloves of Garlic

1/3 Cup Olive Oil

Juice of Half a Lemon

1 tsp. Sea Salt

Black Pepper

Preparation

In a food processor, mix everything except for the oil.

Drizzle the oil gradually as you blend until smooth.

Taste and adjust seasoning if needed.

IMG_5047

I wish you could smell it through the screen…

IMG_5032


Signature

Smiley Coconut Snowballs

IMG_2217

While I was researching the famous phrase: ‘You are what you eat’, to find out who said it, I stumbled upon a very funny comment in one of the sites. Someone said it was his mom who said it first… 🙂 I’m sure she is not the first mom telling it to her kids, wanting them to eat healthy. As a mother, a big part of my life is worrying about what my daughter eats and I know I’m not alone in the ‘Picky Eaters Parents Club’.  So I have to be creative and “sneak-in” the ‘good stuff’ into the food I make for her. It makes me happy to see her eating something healthy in disguise. For her it’s a dessert and all I see is the chia seeds.

Easy and quick, no baking involved so even the kids can help make it. Everyone loves them, including the grown ups! Back to ‘You are what you eat’, even though I don’t have scientific evidence, I’m pretty sure you can become a smiley (and healthy) snowball after eating these cute & delicious munchkins 😉

(makes about 25-35 Balls)

Ingredients

2 Cups Raw Almond Flour/Meal (Ground Almonds)

2 Cups Unsweetened Shredded dry Coconut Flakes

1 Tbsp Chia Seeds, Soaked in ¼ Cup Almond Milk (it will expand into 3 Tbsp. after soaking for 15-20 minutes)

½ Cup Maple Syrup

2 tsp. Vanilla Extract

1 Tbsp. Coconut Oil

Pinch of Salt

Options: Add Teaspoon Raw Almond Butter, Cashew Butter or Cinnamon

(If you want Chocolate balls, just add 1 1/2 Tbsp. of Cocoa Powder)

For the Decoration:

Shredded dry Coconut to cover

Vegan Chocolate Chips (for the eyes)

Goji Berries (for the mouth)

Pine Nuts (for nose)

Preparation

Mix everything well, don’t add the liquid all at once (Almond milk with soaked chia seeds), try to play with the amounts to the desirable consistency. The coconut oil melts in room temperature so after you’re done mixing, place in the fridge for 10-20 minutes to harden, so its easy to work with. Take it out of the fridge and form balls. Dip in the shredded dry Coconut, decorate and serve, or keep in fridge for later. Smile & Enjoy!

IMG_2130 IMG_2150 IMG_2191


Signature

Vegetable “Rainbow”, Pineapple, Cashew and Tofu in Peanut Coconut Curry Sauce

IMG_4092

A few years ago, I traveled to Asia. One of the exotic places I was lucky to be in was Thailand. Picture beautiful beaches, white sand, turquoise water, friendly people and great food. Life was so easy back then… drinking coconut water straight from its shell, so many tropical fruits right from the tree, fun in the sun and no responsibilities. That was a long time ago. Lots of coconuts fell off the trees and lots of pineapples were cut-open since my days of freedom in the sun 🙂 Good thing, I can always go back there in my mind with the help of  memories and Thai food.

I once heard that the “secret” of Thai cuisine is in its right balance of flavors: savory and sweet, spicy and sour all together in harmony. This dish, I think, has it all: Beautiful colors, flavors and textures. The peanut curry sauce here is a sauce that can upgrade any vegetable stir fry dish, as long as you have peanut butter, coconut milk and spices at home. Usually I like to add Thai curry paste to give it a spicy kick. Feel free to add it if you like the “heat”, but even without it, this sauce will get you hooked!. The main work here is really just to chop the vegetables.

If you’re not going to use the Thai curry paste, you could use just the curry powder (I like both). Traditionally curry blend is made from “the five C’s”: Chili, Coriander, Cumin, Cinnamon, and Cardamom. I like to make my own from Coriander, Turmeric, Cumin, Cinnamon, Mustard powder, Garlic powder and Hot Paprika.

Ingredients

1 Large Sweet Potato/Yam

1 Fresh Pineapple or 1 Can of Pineapple Chunks

1 Pack of Tofu

Handfull Cashews

1 Pack of Mushrooms

¾ Cup Chopped Carrots

1 Red Bell Pepper

1 Cup Green Peas

5 Cloves of Garlic

1 Cup Organic Vegetable Broth

3 Tbs Sunflower Oil

For the Sauce:

1 Can of Coconut Milk

1 Inch Ginger

2 Tbs Peanut Butter

Curry Powder or Thai curry paste

Cilantro or Thai Basil (if you can find it)

Coriander

Turmeric

Cumin

Salt

IMG_3993 IMG_4005 IMG_4008

Preparation

Chop all the vegetables and dice the tofu and pineapple.

Mince the garlic and ginger.

Add the oil to a heated pan and start by sautéing the sweet potato.

Gradually add all the vegetables and tofu, starting with the hardest .

Let that cook on medium heat for about 20-25 minutes.

Add the vegetable broth slowly as needed so the vegetables will not get dry while cooking.

Add the pineapple and cashews towards the end.

Meanwhile, in a medium bowl make the curry sauce.

Combine the ginger,garlic with coconut milk, peanut butter, spices and salt.

Mix well until you have a thick yellow sauce.

Pour the curry sauce over the vegetables and let cook for a few more minutes on medium-low heat.

Serve with jasmine or basmati rice.

Garnish with Thai basil or cilantro and enjoy!

IMG_4014IMG_4095

Curry


Signature

Raw Coconut Cherry Pie with Cashew Cream

IMG_4475

Who doesn’t love cherries?!  They’re so beautiful and flavorful. They are rich in vitamin C and are considered a super-fruit. Their season is short so I knew I had to do something quick with the bag of sweet cherries I got. The first thing I thought about is the color. That’s the real “food coloring” of nature, without the chemicals!  Mixing the cherries with the coconut cream makes a pretty purple, then topping the pie with fresh cherries over the white cashew cream and I got two colors for the price of one…  There is no baking here, just a lot of blending and cherry pitting.

For the look of clean lines of the pie layers, you can put it in the freezer for a few minutes between each layer of cream to allow it to set and prevent the layers from mixing. This decadent pie is so rich and full of nutrients, it is hard to eat more than one piece, which makes it almost a guilt-free dessert 🙂

Before you start, remember to soak the cashew in filtered water for at least 4 hours (preferably in the fridge).


IMG_4394

IMG_4459IMG_4479


Ingredients

Crust:

1½ Cup Walnuts

1 Cup Pecans (I used small American Native Pecans)

2 Tbsp Water (more if needed)

1½ Cups Pitted Medjool Dates

½ Cup Shredded Coconut

1½ tsp Coconut Oil

½ tsp Cinnamon

Pinch of Salt

IMG_4409IMG_4412

Cashew Cream:

2 Cups Soaked Raw Organic Cashews

½ Cup Maple Syrup

1 Tbsp Coconut Oil

1 Tbsp Lemon Juice

1 tsp Vanilla Extract

Pinch of Salt

IMG_4377IMG_4402

Cherry Coconut Cream:

2 Cups Pitted Cherries

½ Cup Coconut Cream (Cream = Not the coconut milk)

½ Cup Coconut “Meat”

1 Tbsp Maple Syrup

1 tsp Vanilla Extract

IMG_4451IMG_4421

Preparation

Crust:

Put all ingredients for the crust into a food processor and blend until smooth.

Note that sometimes the dates are a bit dry and need more water to help bind it all together. Add water only if needed.

Press the mixture into the bottom and up the sides of a pie pan. You will need to do some patch work to spread evenly.

Place the crust in the fridge to set and harden.

Cashew Cream:

Soak the cashews for a minimum of four hours. Wash and drain.

Blend all ingredients in a high speed blender (A good high-speed blender is important, you want the cashew cream to be super smooth with no pieces)

Place cream over the crust and put in the freezer to set.

Cherry Coconut Cream:

Blend all ingredients until smooth.

Add this layer of cream onto the pie and freeze to set.

Finally, top the pie with a layer of cherry halves and serve.


* You can freeze the pie. If you do, don’t forget to thaw it ten minutes before serving.

IMG_4434IMG_4444IMG_4446IMG_4449IMG_4450IMG_4490IMG_4495 IMG_4471IMG_4487

Signature